Ranch Chicken: Shattering Panko Crust
- Time: Active 10 minutes, Passive 20 minutes, Total 30 minutes
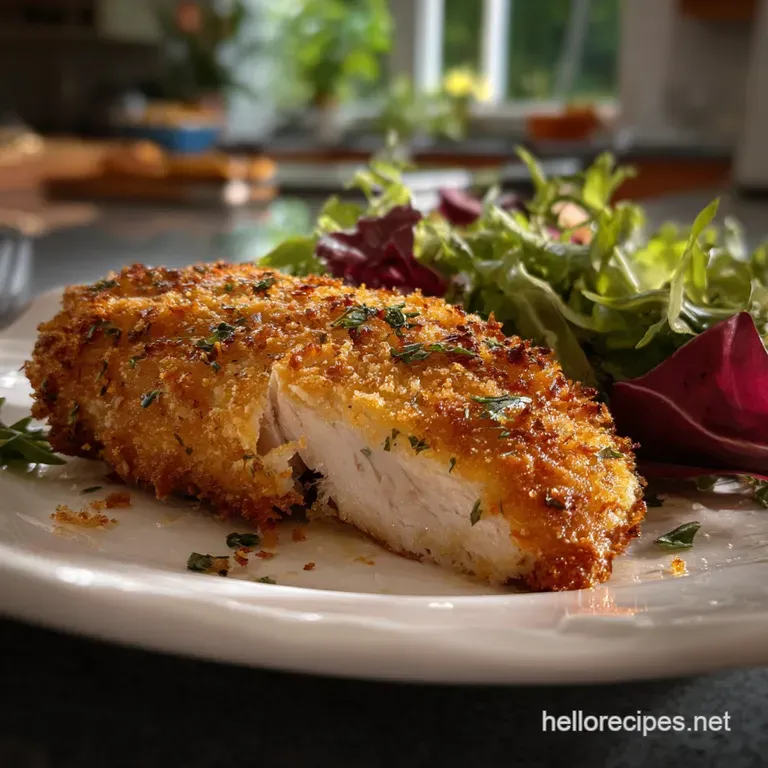
- Flavor/Texture Hook: Shattering golden panko crust with a tangy, herb forward finish
- Perfect for: High protein weeknight dinners or meal prep enthusiasts
- Achieving Culinary Innovation with Ranch Chicken
- The Science of Why it Works
- Ingredient Deep Dive for Flavor Enthusiasts
- The Alchemy of Umami: Selecting Elements
- Precision Engineering: Essential Kitchen Tools
- From Prep to Plate: The Method
- Success Strategies for Ranch Chicken
- Advanced Scaling and Methods
- Debunking Common Kitchen Myths
- Efficient Storage and Zero Waste
- Innovative Pairings for a Complete Meal
- High in Sodium
- Recipe FAQs
- 📝 Recipe Card
Achieving Culinary Innovation with Ranch Chicken
I used to be the person who avoided cooking poultry at home because it always ended up resembling a piece of dry, stringy cardboard. We’ve all been there, right? You pull a pan out of the oven, and the meat is so tough you need a chainsaw to get through it.
That changed the day I stopped treating the coating as just "flavor" and started looking at it as a piece of culinary technology designed to protect the protein from the harsh environment of a hot oven.
This specific approach to a Ranch Chicken recipe isn't about just dumping a packet of seasoning on meat and hoping for the best. It’s about creating a pressurized environment where the juices stay trapped while the exterior undergoes a radical transformation.
Think of it as a protective suit for your chicken that happens to taste like a herb flecked dream. We're using a blend of fats and acids to ensure every bite is as juicy as the last, solving the "boring chicken" problem once and for all.
The innovation here lies in the balance between the mayonnaise and the Greek yogurt. While many recipes stick to one or the other, combining them gives us the best of both worlds: the fat for richness and the acid for structural breakdown.
When that sheet pan hits the oven, the sizzle you hear is the sound of the panko crisping up while the creamy layer underneath becomes a savory glue. Trust me on this, once you try this method, you'll never go back to the standard breading station again.
The Science of Why it Works
- Lactic Acid Tenderization
- The Greek yogurt contains lactic acid which gently breaks down the lean muscle fibers without making them mushy like citrus can.
- Emulsified Moisture Barrier
- The mayonnaise creates a hydrophobic layer around the protein, physically preventing steam from escaping the meat during the roasting process.
- Starch Gelatinization
- As the panko heats, it absorbs the small amount of fat from the butter and mayo, creating a rigid, crispy structure known as the Maillard reaction.
| Thickness | Internal Temp | Rest Time | Visual Cue |
|---|---|---|---|
| 1 cm | 74°C | 3 mins | Juices run clear immediately |
| 2 cm | 74°C | 5 mins | Crust is dark golden brown |
| 3 cm | 74°C | 7 mins | Sides of meat feel firm |
Choosing the right thickness for your poultry is the first step in ensuring even cooking across the entire tray. If one piece is twice as thick as another, you'll end up with one dry piece and one undercooked piece, which is exactly what we want to avoid. If you're feeling fancy, you can even check out my Poultry Seasoning recipe for more ways to customize the flavor profile beyond the ranch packet.
Ingredient Deep Dive for Flavor Enthusiasts
| Ingredient | Science Role | Pro Secret |
|---|---|---|
| Mayonnaise | High fat binding agent | Use full fat for better browning |
| Greek Yogurt | Protein tenderizer | Whisk until silky before adding ranch |
| Panko | Texture architect | Press firmly to ensure maximum adhesion |
The Alchemy of Umami: Selecting Elements
- 4 (170g) chicken breasts: Pounded to 2.5 cm thickness. Why this? Uniform thickness ensures every part of the breast reaches safety at the same time.
- Substitute: Chicken thighs (will be much juicier but take 5-10 minutes longer).
- 1 tsp Kosher salt: The essential mineral for flavor.
- Substitute: Sea salt (use slightly less as the grains are finer).
- 0.5 tsp Cracked black pepper: Adds a sharp, floral heat.
- Substitute: White pepper for a more subtle, earthy bite.
- 0.25 cup full fat mayonnaise: The moisture guard.
- Substitute: Sour cream (adds more tang but less "crust" stability).
- 0.25 cup Plain Greek yogurt: The tenderizing agent.
- Substitute: Buttermilk (only if you marinate it for 2 hours beforehand).
- 2 tbsp Dry ranch seasoning mix: The flavor powerhouse.
- Substitute: Homemade herb mix (dill, chive, parsley, onion powder).
- 1 tsp Garlic powder: For that deep savory baseline.
- Substitute: Fresh grated garlic (use sparingly as it can burn).
- 0.5 cup Freshly grated Parmesan cheese: Adds salt and fat to the crust.
- Substitute: Pecorino Romano for a sharper, saltier punch.
- 1 cup Panko breadcrumbs: For the shattering crunch.
- Substitute: Crushed Ritz crackers (sweeter and more buttery).
- 1 tbsp Melted butter: Promotes even browning.
- Substitute: Olive oil (healthier but lacks that specific nutty aroma).
- 1 tsp Dried parsley: For a pop of color and earthiness.
- Substitute: Fresh chives added after baking for a bright finish.
Precision Engineering: Essential Kitchen Tools
You don't need a high tech lab to make this, but a few specific items make a huge difference in the final texture. A heavy duty rimmed baking sheet is non negotiable because it prevents the juices from running off and potentially smoking in your oven.
I also swear by a wire cooling rack set inside the baking sheet; this allows hot air to circulate under the meat, ensuring you don't end up with a soggy bottom.
A meat thermometer is your best friend here. If you're still guessing doneness by poking the meat with your finger, it's time to upgrade. Pulling the meat at exactly 74°C (165°F) is the difference between a meal that's "okay" and one that's "gastronomy level." Finally, a gallon sized freezer bag or heavy plastic wrap is perfect for pounding the breasts down without making a mess of your kitchen counters.
From Prep to Plate: The Method
- Level the protein. Place chicken between plastic wrap and pound to a uniform 2.5 cm thickness using a meat mallet. Note: This prevents the tapered ends from overcooking.
- Season the base. Sprinkle 1 tsp Kosher salt and 0.5 tsp pepper over both sides of the meat.
- Synthesize the emulsion. In a small bowl, whisk 0.25 cup mayo, 0.25 cup Greek yogurt, 2 tbsp ranch seasoning, and 1 tsp garlic powder. Smell the sharp, herbaceous aroma as the spices hydrate in the fat.
- Construct the crust. In a separate shallow dish, combine 1 cup Panko, 0.5 cup Parmesan, 1 tbsp melted butter, and 1 tsp parsley. The mixture should look like damp sand.
- Apply the barrier. Slather the ranch emulsion generously over the top and sides of each breast. Note: This acts as the "glue" for your crunch layer.
- Encapsulate the meat. Press the chicken firmly into the Panko mixture until every inch is coated. Ensure the coating is thick enough to hide the pink of the meat.
- Initiate the roast. Place on the prepared wire rack and bake at 200°C (400°F) for 20 minutes.
- Monitor the transformation. At the 15 minute mark, check the color. Wait until you see a deep, mahogany gold and smell the toasted Parmesan.
- Verify the core. Use a thermometer to ensure the internal temperature has reached exactly 74°C.
- Allow for redistribution. Let the meat rest on the rack for 5 minutes before slicing. Note: This allows the juices to reabsorb into the fibers.
Success Strategies for Ranch Chicken
Preventing a Soggy Bottom
The most common heartbreak with breaded meat is the "steamed" underside. When the meat sits directly on a flat pan, the juices escape and saturate the breading, turning it into mush.
By using a wire rack, we utilize convection technology allowing the hot air to hit the bottom of the chicken just as effectively as the top. If you don't have a rack, preheating your baking sheet for 10 minutes before adding the chicken can help sear the bottom crust instantly.
Rescuing Over Salted Coating
Sometimes the ranch packet you use might be saltier than expected, especially if you also used a very salty Parmesan. If you taste the breading and it's too much, don't panic. You can dilute the intensity by tossing in an extra half cup of unseasoned Panko or even some finely crushed unsalted crackers.
Serving the final dish with a squeeze of fresh lemon juice also helps cut through the sodium and brightens the overall flavor profile.
| Problem | Root Cause | Solution |
|---|---|---|
| Coating falling off | Surface too wet | Pat meat dry with paper towels before breading |
| Dry interior | Overcooking | Pull from oven at 71°C; let carryover heat reach 74°C |
| Pale crust | Not enough fat | Mist the top of the panko with oil spray before baking |
Common Mistakes Checklist
- ✓ Forgot to pound the chicken (results in uneven doneness).
- ✓ Using low-fat or fat free mayo (the crust won't brown properly).
- ✓ Crowding the pan (prevents the air from circulating, leading to steaming).
- ✓ Slicing the meat immediately (all the velvety juices will run out on the board).
- ✓ Using pre shredded Parmesan (the cellulose coating prevents it from melting into the panko).
Advanced Scaling and Methods
When you're feeding a crowd, you might want to try a ranch chicken casserole style or even a slow cooker ranch chicken approach for a more "pulled" texture. For this specific crispy baked version, if you need to double the recipe, use two separate baking sheets rather than crowding one.
Scaling down is easy simply halve the emulsion and breading. If you're only making one breast, you can still use a whole egg for the bind if you prefer, but the mayo yogurt mix is much more stable for small batches.
In terms of cooking, a smaller batch in a large oven might cook 2-3 minutes faster because there is more hot air per surface area of meat.
| Feature | Fresh Preparation | Shortcut Version |
|---|---|---|
| Texture | Ultra crispy shatter | Softer, more "homestyle" |
| Prep Time | 10-12 minutes | 5 minutes |
| Flavor Depth | Complex, nutty, herb heavy | Standard ranch profile |
If you want a Low Carb version, do swap the Panko for crushed pork rinds. If you want a Spicier kick, do add 1 tsp of cayenne to the ranch mix. If you want a Cheesy explosion, do stuff the breast with a slice of mozzarella before coating.
Debunking Common Kitchen Myths
Myth: The mayo makes it taste like warm salad dressing. Truth: Once heated, the mayonnaise loses its "jar" flavor and essentially transforms into oil and egg solids.
It provides the fat necessary for the panko to fry in the oven, leaving behind only a rich, buttery mouthfeel without any vinegar heavy notes.
Myth: Searing the meat first seals in the juices. Truth: Searing does not create an impermeable seal. In fact, for a breaded recipe like this, searing first would likely make the coating fall off and overcook the meat.
The "seal" is actually the mayo yogurt emulsion, which provides a physical barrier against moisture loss.
Efficient Storage and Zero Waste
Storage Guidelines: You can keep your leftovers in an airtight container in the fridge for up to 4 days. To maintain that shattering crust, avoid the microwave! Reheat in an air fryer at 180°C for 4-5 minutes, or in a toaster oven.
If you must freeze it, do so after baking. It will stay good for 2 months, but the crust will lose some of its structural integrity upon thawing.
Zero Waste Strategies: If you have leftover ranch emulsion, it makes an incredible dip for raw vegetables or a spread for a turkey sandwich the next day. Any leftover panko mixture can be toasted in a pan and sprinkled over roasted broccoli or pasta for an instant texture boost.
Don't throw away the chicken scraps from trimming; freeze them in a bag to make a small batch of stock later.
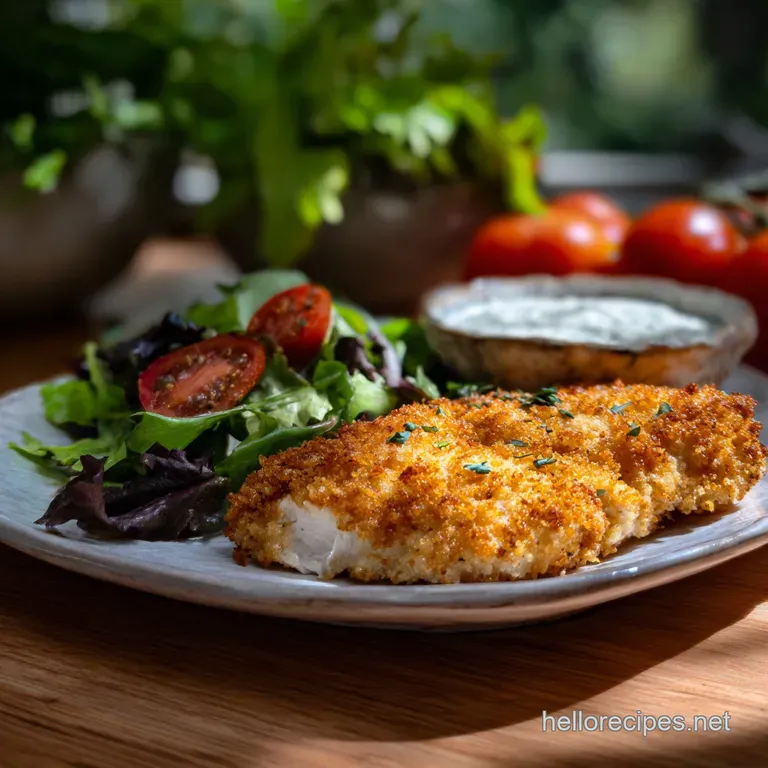
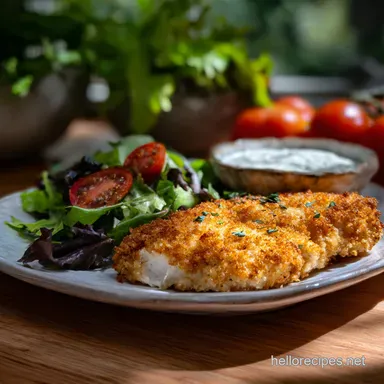
Innovative Pairings for a Complete Meal
This dish is incredibly versatile, but I love pairing it with something that offers a textural contrast. A crisp green salad with a light vinaigrette cuts through the richness of the Parmesan crust beautifully. If you're looking for something heartier, it goes incredibly well with a Whole 30 Meal recipe featuring roasted root vegetables.
For a more traditional feel, a side of garlic mashed potatoes or even a simple lemon butter pasta works wonders. The key is to keep the side dishes relatively simple so that the complex herb profile of the chicken remains the star of the show. If you're feeling adventurous, try serving it cold the next day sliced over a ranch chicken salad recipe with fresh corn and black beans. It’s an innovative way to use the technology of the "moisture lock" to enjoy a juicy lunch hours later.

High in Sodium
1085 mg mg of sodium per serving (47% % of daily value)
The American Heart Association recommends limiting sodium intake to about 2,300mg per day.
Tips to Reduce Sodium
-
Reduce Added Salt-25%
Omit the 1 tsp of Kosher salt entirely. The ranch seasoning and Parmesan cheese already contribute significant sodium. This simple change makes a big difference!
-
Lower Sodium Cheese-15%
Substitute the freshly grated Parmesan cheese with a lower sodium cheese option such as part skim mozzarella. Choose a brand with 50% less sodium.
-
Low-Sodium Ranch-20%
Prepare your own ranch seasoning blend from scratch using herbs and spices and omitting added salt. There are many recipes online that show how to make a delicious, low-sodium ranch.
-
Unsalted Butter-5%
Ensure you are using unsalted butter. Even a small amount of salt from the butter can contribute to the overall sodium content.
-
Boost Flavor with Herbs
Experiment with using more fresh or dried herbs and spices to enhance the flavor of the chicken without relying on salt. Try garlic powder, onion powder, or paprika.
Recipe FAQs
What is ranch chicken?
It's chicken coated in ranch seasoning and often baked or fried. This dish features chicken, typically breasts or thighs, coated in a mixture that includes dry ranch seasoning, breadcrumbs, and sometimes cheese, then cooked until golden and crispy.
Are ranch and chicken good together?
Yes, they are a fantastic combination. The tangy, herbaceous, and savory notes of ranch seasoning complement the mild flavor of chicken beautifully, creating a crowd pleasing dish.
Can you put ranch seasoning on chicken?
Absolutely, it's a popular way to flavor chicken. You can mix the dry seasoning into a binder like mayonnaise or yogurt before coating the chicken, or even sprinkle it directly onto the chicken before cooking for a simpler flavor boost.
What makes ranch chicken so good?
It's the irresistible blend of crispy texture and savory, tangy flavor. The ranch seasoning provides a unique herb and garlic profile, while the coating, often panko or breadcrumbs, ensures a satisfying crunch, making it highly addictive.
How do I make ranch chicken crispy?
Use panko breadcrumbs and ensure good air circulation during cooking. Coating the chicken with a binder like mayonnaise and Greek yogurt, then pressing firmly into panko, and baking on a wire rack helps achieve that shattering crust.
Can I make a spicy version of ranch chicken?
Yes, by adding a kick of heat. You can easily incorporate cayenne pepper or a dash of hot sauce into the ranch seasoning mixture or the coating for a spicy twist on this classic, similar to how heat is balanced in our Kickin' Buffalo Wing Sauce Recipe: Pub Quality at Home!.
What's the best way to ensure ranch chicken stays juicy?
Don't overcook it and use a moisture locking binder. A combination of mayonnaise and Greek yogurt acts as an emulsified barrier, trapping juices inside while the chicken cooks. If you enjoyed controlling the moisture barrier here, see how we use the same principle of fat and acid for tenderness in Nanas Famous Ribs and BBQ Sauce Recipe FallOffTheBone.
Ranch Chicken
Ingredients:
Instructions:
Nutrition Facts:
| Calories | 442 kcal |
|---|---|
| Protein | 45.2 g |
| Fat | 21.4 g |
| Carbs | 14.8 g |
| Fiber | 0.7 g |
| Sugar | 1.6 g |
| Sodium | 1085 mg |
