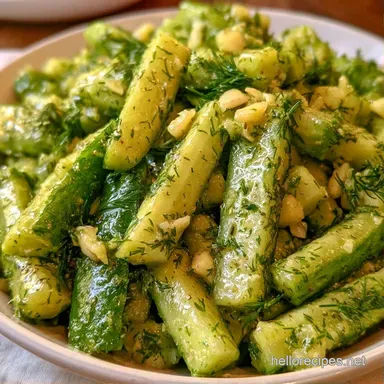
Refrigerator Dill Pickles: Garlic and Dill
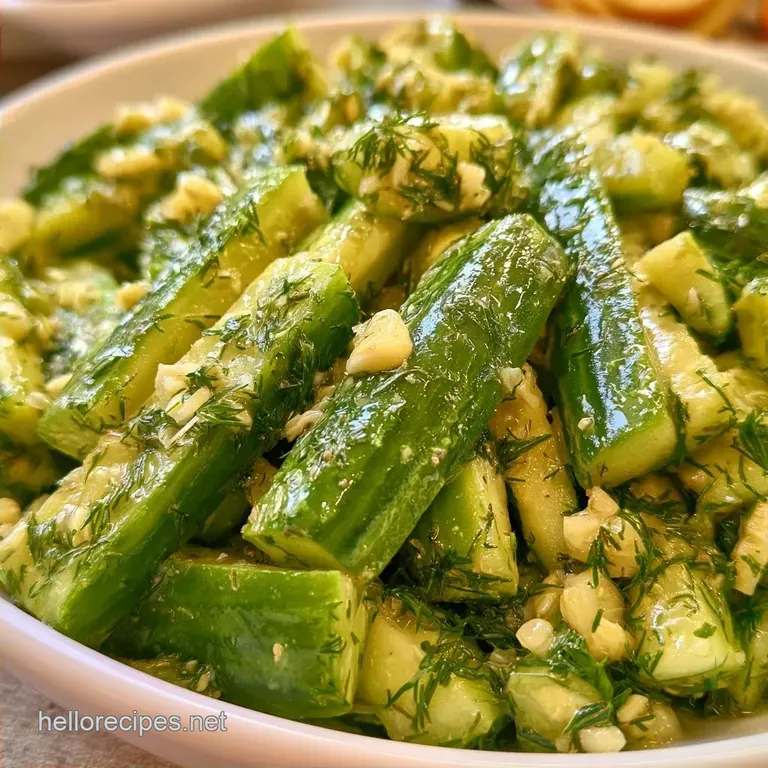
- Time: 15 min active + 48 hours chilling
- Flavor/Texture Hook: Shattering crunch and pungent garlic zip
- Perfect for: Quick meal prep and low budget snacking
Easy Refrigerator Dill Pickles That Snap
Pickling started as a survival tactic. Long before we had humming refrigerators in every kitchen, people used salt and acid to keep the harvest from rotting during the winter. From the Jewish delis of New York to the farmhouse kitchens of the South, the briney, sour crunch of a pickle became a cultural staple.
It represents a way of making something humble last longer, turning a simple garden vegetable into a sharp, savory treat.
I remember trying to make these when I first moved into a tiny apartment with barely any counter space. I didn't have the equipment for proper canning, and honestly, the thought of boiling jars for hours felt like too much work for a Tuesday. I wanted that classic deli snap but needed something fast.
That's where Refrigerator Dill Pickles come in. They skip the heavy processing, which means the cucumbers don't get that "cooked" taste. You end up with something bright, crisp, and honestly, much cheaper than the fancy jars at the store.
How This Method Works
- The Crunch Secret: Avoiding the boiling process helps the pectin remain intact, ensuring the cucumbers stay firm instead of becoming limp.
- The Brine Ratio: Using equal parts water and vinegar creates sufficient acidity for safety without overwhelming the palate.
Want to avoid mushy pickles? It all comes down to the variety of cucumber. Standard slicing cucumbers hold too much water, which weakens the brine and leads to soft skins.
Curious how this differs from traditional canning? Here is a breakdown of the main trade offs.
| Feature | Fridge Method | Canning Method | Best For |
|---|---|---|---|
| Time to Eat | 48 hours | 1-4 weeks | Quick cravings |
| Texture | Very crisp | Softer/Processed | Long term storage |
| Equipment | Simple jars | Water bath canner | Bulk preserving |
Now, let's break down exactly what you'll need to put in the jar for these Refrigerator Dill Pickles.
Recipe Specs
Before we start, keep these precision checkpoints in mind. Your brine should reach a light simmer (about 185°F / 85°C) before pouring. The headspace at the top of the jar should be exactly 1/2 inch.
Finally, the chill time is non negotiable: 48 hours is the minimum for the flavor to penetrate the core.
The Core Ingredients
I've found that using budget friendly ingredients doesn't mean sacrificing the taste. You don't need expensive organic vinegars; standard distilled white vinegar does the heavy lifting here.
| Ingredient | What It Does | Best Swap |
|---|---|---|
| Kirby Cucumbers | Provides the crunch | Persian cucumbers (smaller, thinner skin) |
| White Vinegar | Preserves and adds tang | Apple cider vinegar (milder, fruitier) |
| Kosher Salt | Draws out water | Sea salt (avoid table salt to prevent cloudiness) |
| Fresh Dill | Adds the signature herby note | Dried dill (use 1 tbsp instead of 1/2 cup) |
The Full List: 2 lbs Kirby cucumbers, sliced into spears or rounds Why this? Low water content ensures a better crunch 4 cloves garlic, smashed Why this? Smashed cloves release more oils than minced 1/2 cup fresh dill, roughly chopped 1
Tbsp dill seeds Why this? Provides a deeper, woodier dill flavor 1 cup white distilled vinegar 1 cup filtered water 2 tbsp kosher salt Why this? Large grains dissolve predictably 1 tbsp granulated sugar Why this? Balances the
Harshness of the vinegar
Gear For The Job
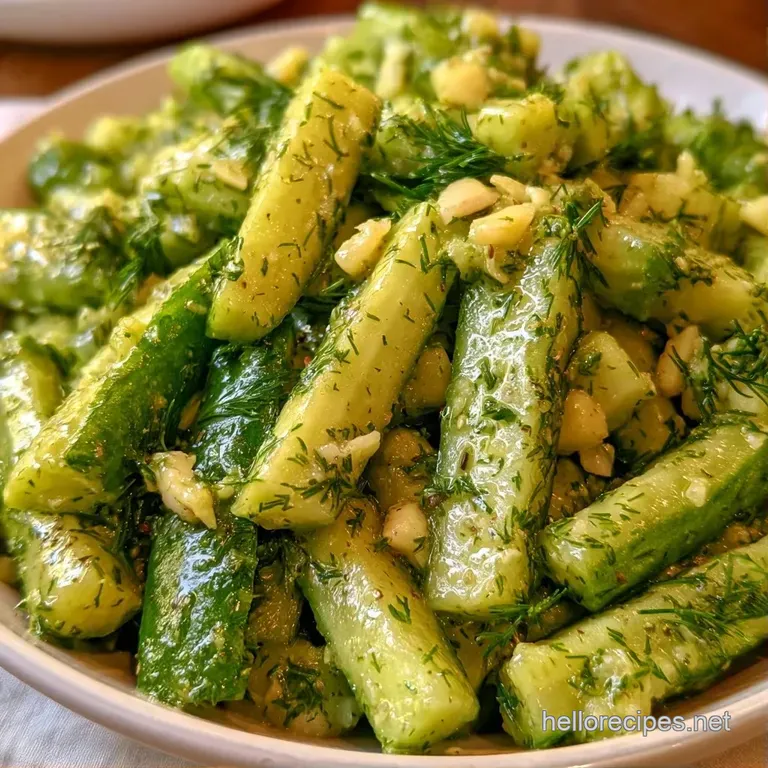
Professional equipment isn't required for this. Standard quart sized Mason jars (such as Ball or Kerr) are the go-to choice. For the brine, I use a small stainless steel saucepan. To keep the cucumbers crisp, you can use a vegetable peeler to lightly scrape off the blossom end.
Putting Them Together
Here are the instructions for preparing your Refrigerator Dill Pickles to perfection.
- Thoroughly clean the Kirby cucumbers and cut them into rounds or spears.
- Distribute the crushed garlic, chopped fresh dill, and dill seeds evenly across the bottom of two clean, quart sized Mason jars.
- Fit the cucumbers into the jars as tightly as possible. Note: They should be snug enough to stay submerged, but avoid crushing them.
- Using a small saucepan, mix the water, vinegar, salt, and sugar over medium heat.
- Stir the contents until the sugar and salt have fully dissolved.
- Warm the liquid until it reaches a light simmer, characterized by small bubbles appearing around the edges.
- Take the pan off the heat and carefully pour the hot brine over the cucumbers until they are fully covered.
- Leave approximately 1/2 inch of headspace at the top of each jar.
- Clean the rims, tighten the lids, and allow the jars to cool at room temperature for 30 minutes.
- Transfer the jars to the fridge for at least 48 hours before serving.
Chef's Note: For a more pungent flavor, try a 2:1 vinegar to water ratio, though most find the 1:1 balance ideal.
Avoiding Pickle Disasters
Simple recipes can still encounter a few hiccups, usually stemming from the salt or the produce. Don't be alarmed if your brine appears cloudy; this often happens when using table salt with anti caking agents or unfiltered water. It affects the appearance, not the safety.
Avoiding Mushy Texture
A lack of crunch is typically caused by the temperature or the type of cucumber. A common pitfall is using English cucumbers (sold in plastic wrap), as they hold too much moisture. For that classic, shatter crisp bite, use Kirby cucumbers.
Addressing Cloudy Brine
Cloudiness is typically caused by impurities in the salt. Using sea salt or pure kosher salt generally fixes this issue. Also, be sure to sterilize your jars with hot water before you begin.
Fixing Over salting
If the pickles taste too salty, remove one-third of the brine and replace it with filtered water. Let them set for another 24 hours to let the flavors balance out.
| Problem | Root Cause | Solution |
|---|---|---|
| Soft cucumbers | Incorrect variety or excessive heat | Use Kirby cucumbers; let brine cool slightly |
| Cloudy liquid | Impure salt or tap water | Use kosher salt and filtered water |
| Dull flavor | Insufficient chilling time | Wait the full 48 hours before opening |
Great Ways to Serve
These Refrigerator Dill Pickles are a fantastic addition to a sandwich board. They cut through the richness of fatty meats and creamy cheeses. I love serving them alongside a Traditional Potato Salad recipe for a classic summer picnic spread.
You can also chop them up and stir them into a tuna or chicken salad. The acidity wakes up the mayo and adds a nice pop of green. If you're hosting a party, just put out a bowl of spears with some toothpicks and watch them disappear.
Keeping Them Fresh
Because these aren't canned, they need to stay chilled. They will remain fresh in the refrigerator for as long as 2 months. Keep the lids tightly sealed so the vinegar smell doesn't take over your fridge.
Save the remaining brine rather than discarding it, as it's basically a seasoned vinegar. Use it to marinate chicken breasts before grilling or add a splash to potato salad for a zesty kick. You can also use the liquid to quick pickle sliced red onions, similar to how you'd prepare pickled onions for tacos.
Fun Flavor Swaps
After you've mastered the basic recipe, feel free to experiment with different flavors. Most of these tweaks are very affordable since you likely already have the ingredients in your pantry.
- Spicy Garlic Heat: Add two sliced jalapeños or a teaspoon of red pepper flakes to each jar.
- Sweet and Sour: Increase the sugar to 3 tbsp for a taste reminiscent of bread and butter pickles.
- Apple Cider Twist: Substitute white vinegar with apple cider vinegar for a fruitier, softer tang.
- Herbal Mix: For a more sophisticated profile, add a sprig of fresh thyme or a few peppercorns.
- For a sharper tang
- add 2 extra tbsp of vinegar.
- For a softer bite
- slice cucumbers into thin rounds instead of spears.
- For a bolder aroma
- double the smashed garlic cloves.
The beauty of Refrigerator Dill Pickles is how adaptable they are. As long as you select the right cucumber and give them enough time to chill, you'll have a snack that puts commercial jars to shame. Once you experience that fresh, garlic forward crunch, you'll never go back to the soggy slices from a supermarket jar.
Recipe FAQs
What is the process for making simple dill pickles?
Pack sliced Kirby cucumbers into jars with fresh dill, dill seeds, and smashed garlic. Pour over a hot brine of water, vinegar, salt, and sugar, then chill for 48 hours.
Is making homemade pickles difficult?
No, it is very straightforward. You only need a few pantry staples and a refrigerator, skipping the complex canning process entirely.
How do I prepare the pickle brine?
Simmer equal parts water and white distilled vinegar with salt and sugar. Stir until the solids dissolve, then remove from heat before pouring over the cucumbers.
Why do these pickles taste so professional?
Smashed garlic and a mix of fresh dill and dill seeds provide a pungent zip. These pickles pair perfectly with Smoked Corned Beef for a classic deli experience.
Which ingredients create a NY-style kosher dill?
Prioritize heavy garlic and dill seeds with Kirby cucumbers. This combination provides the salty punch characteristic of New York delis.
How to turn these pickles into relish?
Finely dice the chilled pickles and remaining brine. Mix them together for a quick, chunky condiment.
Is it true that homemade pickles always lose their crunch?
False. Keeping the cucumbers cold and avoiding boiling water baths preserves the pectin for a shattering snap.
Refrigerator Dill Pickles in 20 Minutes