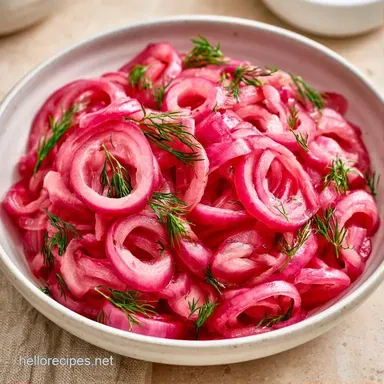
Crispy Dill Onion Pickles
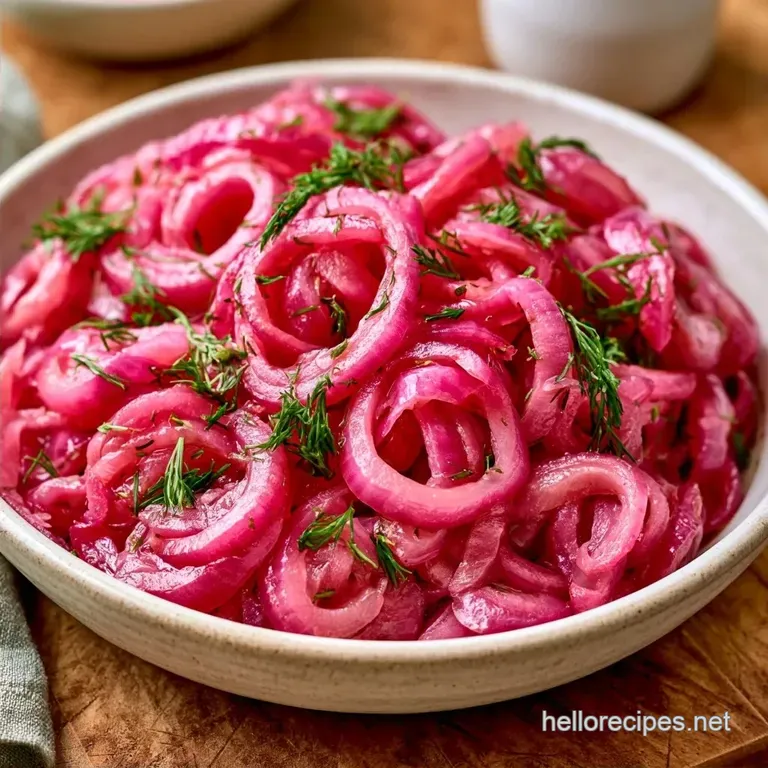
- Time: 10 min active + 2 hrs 45 mins total
- Flavor/Texture Hook: Shattering crunch and zesty dill tang
- Perfect for: Burger night, deli sandwiches, or meal prep
Dill Onion Pickles
I remember buying a jar of "premium" deli pickles that cost way too much, only to find they were mushy and tasted like nothing but salt. It was a letdown. I wanted that sharp, vinegar snap that actually wakes up a burger, so I started messing around with red onions and fresh dill in my own kitchen.
The result is a treat that takes almost no effort. You don't need a cellar or a chemistry degree to get this right. You just need a few basic pantry staples and a couple of hours of patience.
These Dill Onion Pickles deliver a bright, punchy flavor that cuts through rich meats and cheeses. Trust me, once you have a jar of these in the cooler, you'll stop buying the store-bought versions entirely.
How to Actually Nail This
Getting the texture right is the only part that really matters here. If they're soft, you've failed. But if you follow a few simple rules, you'll get a crunch that actually makes a sound when you bite into it.
Temperature Shock: Pouring hot brine over cold onions creates a quick seal on the outside of the vegetable. Serious Eats' testing suggests that this rapid change helps maintain the structural integrity of the cell walls, keeping the onion crisp.
Osmotic Balance: The salt to vinegar ratio draws out excess water from the onion cells. This makes room for the dill and garlic to seep in, ensuring the flavor is consistent from the skin to the core.
This is why these Homemade Refrigerator Dill Pickles taste so much more cohesive than the watery ones from a supermarket.
If you're looking for something slightly different, you might enjoy my zesty pickled red onions, but for that classic deli vibe, the dill is non negotiable.
| Feature | Quick Fridge Method | Traditional Ferment |
|---|---|---|
| Time | 2 hours 45 mins | 2-4 weeks |
| Texture | Extra crispy | Softer/Tender |
| Taste | Bright & Vinegary | Funkier & Complex |
Gear You'll Need
Keep things basic. No specialized equipment is required just standard tools you probably already own.
2 Essential Containers
Wide mouth Mason jars are the best choice. Their broad openings allow you to pack the onions firmly without damaging them. Stick with glass, as vinegar can erode or react with plastic and metal over time.
3 Prep Tools
To get thin, uniform slices that absorb the brine evenly, use a slicing tool or a keen blade. You will also need a small pot to heat the brine and a spoon for packing the onions down.
The Ingredient List
Stick to the measurements. This is a budget friendly recipe, but using the right salt makes a difference in the final snap.
| Component | Purpose | Substitute Notes |
|---|---|---|
| Red Onion | Main body and color | White onion: Less color, sharper bite |
| White Vinegar | Tangy acidity | Apple Cider Vinegar: Fruitier, milder |
| Kosher Salt | Texture and safety | Table salt: Use half as much (it's saltier) |
| Fresh Dill | Herbal punch | Dried dill: Use 1 tsp, less punchy |
- 2 large red onions, thinly sliced (approx. 1.5 lbs / 680g)
- 4 cloves garlic, smashed (20g)
- 4 sprigs fresh dill, roughly chopped (10g)
- 1 cup (240ml) distilled white vinegar Why this? Provides a clean, sharp acidity.
- 1 cup (240ml) filtered water
- 2 tbsp (34g) kosher salt Why this? Coarser grains dissolve slower and don't over salt.
- 1 tbsp (12g) granulated sugar
- 1 tsp (2g) black peppercorns, lightly cracked
Quick Recipe Specs
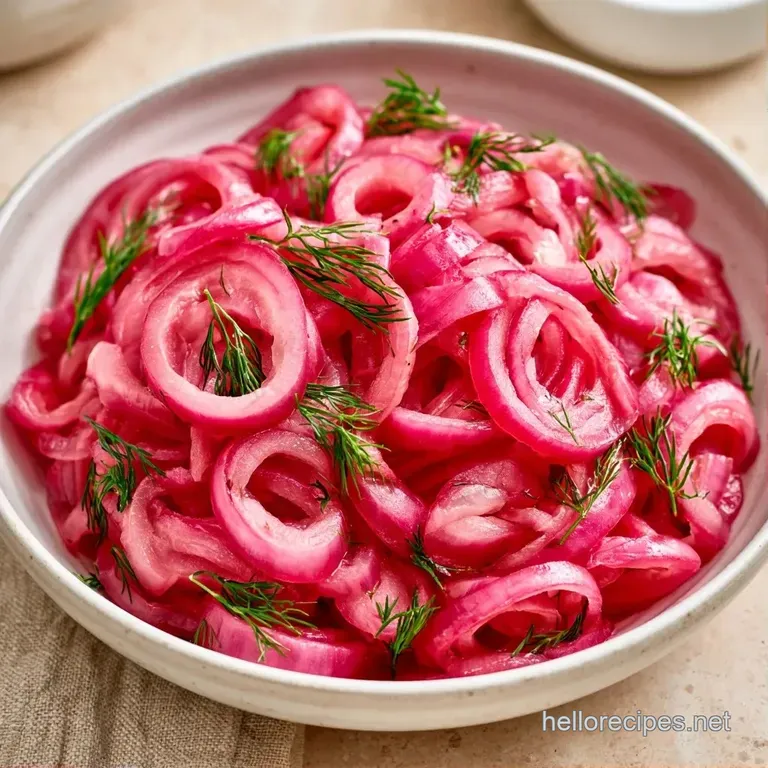
Before we get started, here is the timing. Don't skip the cooling phase, or you'll risk making the onions soft.
- Prep time: 10 minutes
- Cook time: 5 minutes
- Total time: 2 hours 45 mins
- Yield: 25 servings
Step by step Guide
Let's get started. Layering is the secret to this Quick Dill Pickles Recipe.
Phase 1: The Aromatic Base
Start by placing smashed garlic cloves, cracked peppercorns, and half of the fresh dill at the bottom of clean, wide mouth Mason jars. Positioning the aromatics first ensures the most potent flavors concentrate where the brine settles.
Phase 2: Packing the Jars
Firmly pack the sliced red onions into the jars, using a spoon to press down and remove any air pockets. Leave roughly 1/2 inch (1.2cm) of headspace and top the mixture with the remaining fresh dill. This helps keep the Dill Onion Pickles fully submerged.
Phase 3: The Rapid Brine Infusion
Mix water, vinegar, salt, and sugar in a saucepan. Simmer over medium heat, stirring until the salt and sugar have completely dissolved, which usually takes about 5 minutes.
Immediately pour the hot brine over the onions, making sure they are completely covered. Seal the lids tightly. Let the jars sit on the counter for 30 minutes to cool before refrigerating for at least 2 hours.
Fixing Common Issues
Even the easiest recipes can run into trouble. Most often, the culprit is the water temperature or quality.
Fixing Cloudy Brine
A milky or cloudy appearance is typically caused by minerals found in tap water. While this won't change the flavor, switching to filtered or distilled water ensures a crystal clear result.
Avoiding Soft Textures
Mushy onions usually result from boiling the brine for too long or placing jars in the refrigerator while they are still steaming. While a "temperature shock" is necessary, excessive heat will cook the vegetable rather than pickle it.
Correcting Excess Salt
If you used table salt instead of kosher salt, the brine may taste overly aggressive. You can balance this by stirring in a small pinch of sugar or a bit of filtered water to soften the pH.
| Problem | Fix |
|---|---|
| Clouded Brine | Use distilled water |
| Soft Onions | Cool on counter 30 mins first |
| Too Salty | Add 1 tsp sugar |
Storage and Scraps
Stored in the fridge, these Refrigerator Onion Pickles will remain crisp and fresh for about 3 weeks. To prevent contamination, always use a fresh utensil when scooping some out.
Similar to Overnight Refrigerator Dill Pickles, the taste reaches its peak around day three, which is when the garlic really kicks in.
Save your leftover brine! It is a concentrated burst of flavor that works great stirred into potato salad or used to season grilled poultry. If the liquid runs low but you still have onions, you can quickly make some homemade pickle juice to top them off.
Easy Flavor Twists
After you've mastered the standard Dill Onion Pickles, feel free to customize the flavor profile. I enjoy adjusting the heat levels to complement whatever I'm serving.
For a Spicy Kick: Place a teaspoon of dried red pepper flakes or a sliced jalapeño at the bottom of the jar. This version makes an excellent topping for spicy burgers or tacos.
For a Sweeter Vibe: Use double the sugar. This shifts the taste toward a bread and butter style, which pairs beautifully with sharp cheddar on a charcuterie board.
These Quick and Easy Refrigerator Dill Pickles are a versatile starting point. You can even substitute shallots for red onion if you prefer a more refined, delicate flavor.
Serving Suggestions
The best way to use these is as a balance. Since they are sharp and acidic, they pair beautifully with rich or fatty dishes.
Elevated Burgers Swap out standard slices and pile these onto a beef patty instead. The acidity helps cut through the richness of the meat and cheese.
A Charcuterie Highlight Add a small heap of Dill Onion Pickles to a board with salami and olives. The vibrant pink of the red onions provides a professional look, while the tang refreshes the palate between various cheeses.
Salad Topper Mix a spoonful into a kale or spinach salad. Since the onions bring their own zing, you can avoid using a heavy vinaigrette.
Truly, this is the ideal Refrigerator Dill Pickles Recipe for anyone wanting maximum taste with very little work. These Dill Onion Pickles have become a permanent staple in my house.
Recipe FAQs
How to make these dill onion pickles?
Pack jars with garlic, peppercorns, and dill, then add sliced onions. Pour a simmering mixture of water, vinegar, salt, and sugar over the top and refrigerate after cooling.
Do vinegar based refrigerator pickles need to be kept chilled?
Yes, they require refrigeration. Because these aren't processed in a boiling water bath, the cold temperature prevents spoilage and preserves the crunch.
Can the leftover brine be reused?
Yes, it is a versatile flavor base. Use it as a marinade or a tangy addition to potato salad. If you enjoyed balancing the acidity in this brine, the same principle of flavor balancing is used in our homemade ranch.
Is it true that you must can these pickles to make them safe?
Actually, no. These are designed as refrigerator pickles, meaning the high acidity of the vinegar and cold storage keep them safe for several weeks.
What is the best way to prepare the brine?
Simmer water, vinegar, salt, and sugar in a saucepan. Stir until the salt and sugar dissolve completely before pouring the hot liquid immediately over the vegetables.
Will the onions stay crunchy despite the hot liquid?
Yes, the quick heat creates a flash pickle effect. The combination of vinegar and a brief heat exposure preserves the snap while allowing the garlic and dill to penetrate quickly.
Is it a myth that only red onions work in this recipe?
That's a myth. You can use cucumbers or carrots, though red onions provide the most vibrant color and a sharp, sweet contrast.
Dill Onion Pickles