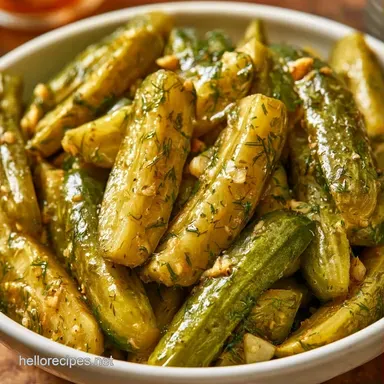
Old Fashioned Refrigerator Dill Pickles with Dill Seed
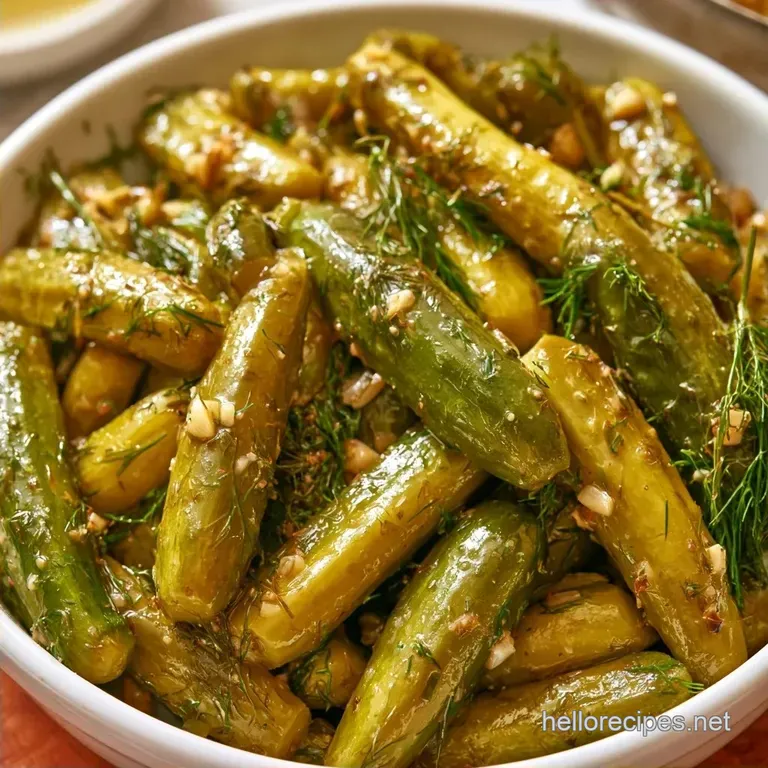
- Time:15 minutes active + 24 hours chilling
- Flavor/Texture Hook: Sharp, vinegary tang with a shattering crunch
- Perfect for: Fast meal prep, sandwich toppers, or a quick salty snack
- Quick and Crispy Refrigerator Dill Pickles
- Quick Summary of the Specs
- What You'll Need for Brine
- Basic Tools for the Job
- Step by Step Pickling Process
- Fixing Common Pickling Issues
- Easy Flavor Twists and Swaps
- Storage and Waste Tips
- Serving Your Homemade Snacks
- The Truth About the Crunch
- Recipe FAQs
- 📝 Recipe Card
Quick and Crispy Refrigerator Dill Pickles
The smell of white vinegar hitting a hot pan always takes me back. It's that sharp, clean scent that fills the kitchen right before you pack the jars. There is nothing like the sound of a cold cucumber snapping between your teeth, especially when you've made them yourself in about fifteen minutes.
I used to buy the store-bought jars, but they always felt a bit soft. I wanted that aggressive, bright flavor you find at a real New York deli. Once I stopped trying to do the full water bath canning process and just stuck to the fridge, everything changed.
These Refrigerator Dill Pickles are the way to go if you want a snack that tastes fresh. You don't need a bunch of fancy gear, just some jars and a stove. Trust me, once you try this version, the store-bought ones will taste bland.
Quick Summary of the Specs
Let's break down the timing. While the active work is quick, patience is key. A full day in the refrigerator is necessary for the brine to properly soak into the center of the cucumber spears.
If you are preparing these for a party, make them two days in advance. They actually taste better after 48 hours, which gives the garlic and dill seed enough time to fully meld.
What You'll Need for Brine
I prefer using Kirby cucumbers because they have thicker skins and stay firm. Persian cucumbers work too, but they're a bit softer. Honestly, don't even bother with the giant slicing cucumbers you see in the produce aisle, as they have too much water and will turn mushy.
| Ingredient | Role | If You Don't Have It |
|---|---|---|
| Kirby Cucumbers (900g) | The base for Refrigerator Dill Pickles | Persian cucumbers (smaller, thinner skin) |
| Distilled White Vinegar (240ml) | Provides acidity and preservation | Apple cider vinegar (milder, fruitier taste) |
| Kosher Salt (15g) | Draws out moisture and seasons | Sea salt (avoid table salt as it's too fine/cloudy) |
| Dill Seed (15g) | Adds earthy, concentrated dill flavor | Extra fresh dill sprigs |
The Produce
Get the freshest cucumbers you can find. If they feel bendy or soft, skip them. You want them hard as a rock. I always wash them in cold water and scrub the skins to get any grit off.
The Brine Base
The vinegar and water ratio is 1:1 here. This gives you a bright tang without being so acidic that it burns your throat. I use filtered water to keep the brine clear, though tap water works fine if yours tastes clean.
The Seed & Spice Blend
Using both fresh dill and dill seed is a pro move. The fresh sprigs give you that "green" taste, but the seeds provide a deep, pungent punch that lingers.
Basic Tools for the Job
Basic equipment is all you need for this. A minimal setup works perfectly; I typically use a small saucepan and several pint jars. If you don't have jars with lids, any airtight glass container will work just as well.
Try to avoid using plastic containers. Vinegar can occasionally react with certain plastics, and glass maintains a more consistent temperature in the fridge, which helps preserve the crunch.
Step by step Pickling Process
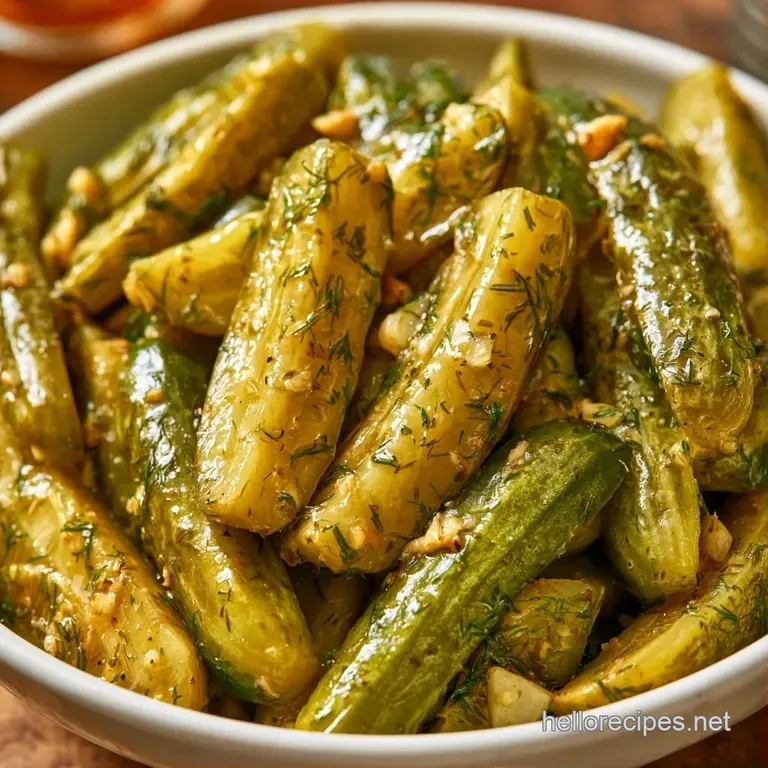
Let's get started. This section moves quickly, but precision is key.
- Wash the cucumbers well. Trim about 1/16th of an inch off the blossom end of each one. Note: This removes enzymes that can make pickles soft.
- Cut them into coins or spears and divide them evenly among four pint jars.
- Add one smashed garlic clove and one sprig of fresh dill to each jar, tucking them firmly between the cucumbers.
- Divide the mustard seed, red pepper flakes, and dill seed evenly across the four jars. Using these with dill seed ensures every bite is seasoned.
- Mix the distilled white vinegar, filtered water, kosher salt, and sugar in a small saucepan.
- Bring the mixture to a simmer over medium heat, stirring occasionally until the salt and sugar are completely dissolved (usually about 5 minutes).
- Take the pan off the heat immediately.
- Fill the jars with the hot brine, ensuring the cucumbers are fully submerged.
- Gently tap the jars on the counter to release any trapped air.
- Seal the lids tightly. Let them cool to room temperature, then refrigerate for at least 24 hours.
Chef's Note: If you're in a rush, you can put them in the fridge sooner, but don't skip the 24-hour wait. The salt needs time to draw out the cucumber juices so the brine can move in.
Fixing Common Pickling Issues
The biggest worry people have is the "mush factor." Most of the time, it's a produce issue, not a recipe issue. If your cucumbers aren't firm to start , no amount of vinegar will save them.
Another common issue is cloudy brine. This usually happens if you use table salt with additives or if the water is very hard. It doesn't affect the taste, but it doesn't look as clean.
Preventing Mushy Pickles
Always cut off the blossom end. That's where the pectin breaking enzymes live. If you leave that tip on, your Refrigerator Dill Pickles will likely lose their snap within a few days.
Stopping Cloudy Brine
Stick to distilled vinegar and filtered water. Using kosher salt instead of iodized table salt also keeps the liquid crystal clear.
| Problem | Root Cause | Solution |
|---|---|---|
| Soft/Mushy Texture | Blossom ends left on | Trim 1/16" off the flower end |
| Brine is Cloudy | Iodized salt used | Use Kosher or Sea salt |
| Too Salty | Too much salt for the volume | Add a splash more water or vinegar |
Easy Flavor Twists and Swaps
After you've mastered the base Refrigerator Dill Pickles, feel free to experiment with the seasonings. I personally enjoy tossing in a few fresh jalapeño slices for a sharper kick.
If you prefer a touch more sweetness, bump the sugar up to 2 teaspoons. This creates a "bread and butter" style hybrid that still keeps the dill front and center. These Dill Pickles with Dill Seed serve as an excellent starting point for further customization.
For a different kind of zest, try preparing some pickled onions using a similar brine method. It's a perfect chance to finish off your remaining vinegar.
| Goal | What to change |
|---|---|
| Spicy Kick | Mix in an additional 1 tsp red pepper flakes |
| Sweeter Profile | Boost sugar to 2 tsp |
| Sharper Tang | Use 300ml vinegar and 200ml water |
You can also craft Dill Pickles with Dill Seed by substituting rice vinegar for white vinegar to achieve a milder, Asian inspired acidity.
Storage and Waste Tips
Because they aren't heat sealed, these don't last as long as canned pickles. Keep them refrigerated to ensure they stay crunchy and delicious for roughly 3 to 4 weeks.
If you notice the brine thickening, simply shake the jar. Always keep them chilled to keep them safe and crisp; never leave them out on the counter.
Sustainable Tips
Save the leftover brine! These Pickles with Dill Seed leave behind a liquid that is essentially a salty, vinegary treasure. Try using it to season chicken or pour it over boiled potatoes for a quick salad.
Since we used with dill seed in the blend, the remaining liquid is very aromatic. It's also wonderful for adding a sharp acidity to a homemade potato salad. If you're making a creamy potato salad, use a tablespoon of this brine instead of plain vinegar.
Serving Your Homemade Snacks
These make a fantastic accompaniment to hearty sandwiches, such as burgers or a Reuben, as the tangy flavor balances the richness of the meat and cheese. They're also a must have for any deli style platter.
For a lighter snack, try pairing them with apple slices and cubes of sharp cheddar. The interplay of salty pickle and sweet apple is a great combination.
To serve guests, cut them into thin rounds and arrange them on a tray with nuts and olives. They add a vibrant, crisp touch to any appetizer array.
The Truth About the Crunch
The reason Refrigerator Dill Pickles stay so crisp is the temperature. Traditional canning involves boiling the jars, which essentially cooks the cucumber and softens the cell walls.
By using a quick simmer brine and then chilling immediately, we keep the pectin intact. This results in that specific "shattering" snap when you bite into them.
The use of with dill seed is also key here. Seeds hold their flavor much longer than fresh leaves during the chilling process, ensuring the Refrigerator Dill Pickles don't taste watery after a week.
Recipe FAQs
Can I use dill seed instead of fresh dill?
Yes, you can use seed alone, though combining both fresh and dried dill creates a more complex flavor. We use both in this recipe to get a deeper herbal punch.
How to make the best refrigerator dill pickles?
Pack sliced cucumbers, garlic, and herbs into pint jars. Pour over a simmered brine of vinegar, water, salt, and sugar before refrigerating for 24 hours.
Is it true that you must use a canning bath for these to be safe?
That's a myth. Keeping these pickles chilled in the refrigerator ensures they remain safe and crisp without a water bath.
Which amount of dill seed is best for four jars?
Add one tablespoon of dill seed divided evenly among your jars. This ensures every spear gets a consistent amount of spice.
What foods pair best with these pickles?
These pair perfectly with a rich burger and some homemade mayonnaise. The acidity of the pickle cuts through the creaminess of the spread.
Refrigerator Dill Pickles 4