The Proper Puffy Ones Ultra Flaky Buttermilk Biscuits That Practically Climb out of the Oven
- Why These Buttermilk Rounds Redefine Southern Breakfast Glory
- The Secret to Truly Sky-High Biscuit Stacks
- The Essential Quartet: Sourcing Your Perfect Baking Components
- Cold Science: Prepping Your Dairy and Fat for Maximum Lift
- Mastering the Cold Fold Technique for Unbeatable Layers
- The Gentle Art of Cutting and Setting Up for the Bake
- Troubleshooting Common Flaky Buttermilk Biscuits Pitfalls
- Next-Level Flavor Enhancements and Serving Suggestions
- Recipe FAQs
- 📝 Recipe Card
Why These Buttermilk Rounds Redefine Southern Breakfast Glory
There is a certain magic that happens when simple ingredients flour, butter, and cultured dairy are treated with respect and chilled properly. These Flaky Buttermilk Biscuits are not merely a side dish; they are the centrepiece of comfort, capable of transforming a mundane morning into a celebrated Southern event.
We aren't aiming for spongy bread here; we are chasing airy, defined layers that shatter satisfyingly upon the first bite, releasing an intoxicating aroma of warm butter and slight tang.
This Buttermilk Biscuits Recipe is the cornerstone of authentic American baking tradition, built on technique rather than complicated additions.
The Secret to Truly Sky-High Biscuit Stacks
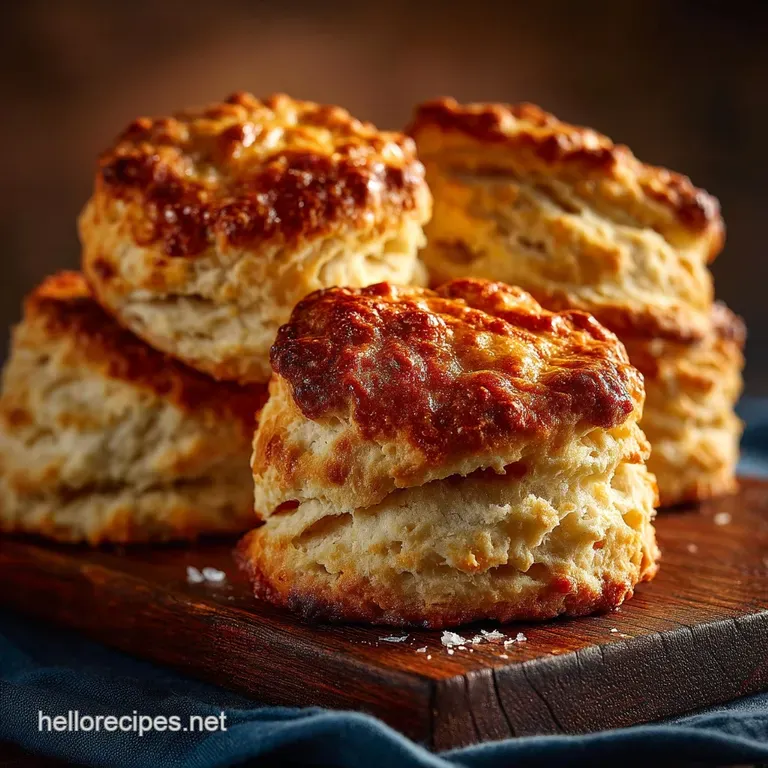
Achieving that coveted vertical rise requires a deep understanding of thermodynamics and dough structure. It's all about trapping pockets of cold air and water, which instantly turn to steam when they hit the heat, forcing those layers apart.
This dedication to lift separates the truly Ultimate Flaky Biscuits from their flatter counterparts.
Defining the Perfect Flaky Buttermilk Biscuits Texture
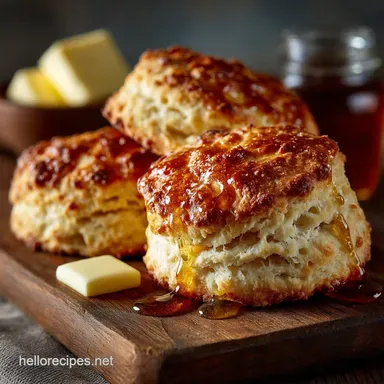
The hallmark of a superb biscuit is texture contrast: a golden, slightly crisp exterior yielding instantly to an incredibly light, feathery interior. When you look at a cross section, you should see distinct, visible sheets of dough separated by the remnants of melted butter.
This layering is what makes them irresistible, demanding to be pulled apart by hand rather than sliced with a knife.
A Vow Against Flat, Dense Disappointments
The primary reason biscuits fail to achieve true height is the introduction of warmth or the temptation to overmix. If the butter melts into the flour prematurely, there are no distinct fat layers left to create steam pockets.
Similarly, kneading the dough develops gluten too much, resulting in an elastic structure that resists expansion, leading directly to those dense, flat disappointments nobody wants on their plate.
Elevating Your Sunday Roast Game Instantly
While famously associated with breakfast, these Fluffy Southern Buttermilk Biscuits play an equally vital role accompanying dinner. Imagine a deeply savoury chicken and dumplings or a slow cooked pot roast a perfectly textured biscuit is the ideal vessel for soaking up rich pan gravies and juices, instantly elevating any humble roast into a feast.
The Essential Quartet: Sourcing Your Perfect Baking Components
The simplicity of the ingredient list means that quality and preparation matter profoundly. For this Flaky Buttermilk Biscuits Recipe , you will need 2 ½ cups of all-purpose flour (315g), 1 tablespoon of fresh baking powder, 1 teaspoon of baking soda, 1 teaspoon of fine sea salt, 8 tablespoons (1 stick or 113g) of unsalted butter, and 1 cup (240ml) of ice-cold buttermilk.
Note that the butter must be frozen solid this is non-negotiable for creating those incredible layers.
Cold Science: Prepping Your Dairy and Fat for Maximum Lift
The entire success of creating Homemade Buttermilk Biscuits From Scratch hinges on temperature control. Everything that touches the flour mixture must be actively cold.
Choosing the Right Acidity Level in Your Buttermilk
Buttermilk is essential not only for moisture but also for its tang and its chemical reaction with the leavening agents. The acid in the buttermilk reacts vigorously with the baking soda, creating carbon dioxide gas bubbles that contribute significantly to the rise.
If your buttermilk tastes strongly sour, you’ll get a sharper flavour; a milder buttermilk provides a gentler tang, perfectly complementing rich flavours like a future Cinnamon Honey Butter Biscuits topping.
The Crucial Temperature Check for Your Butter Blocks
We specify frozen butter because we need the fat to remain in solid, visible chunks as it's mixed into the flour. The preferred method here is the Flaky Biscuits Grated Butter Technique .
By grating the frozen stick of butter directly into the flour mixture, you ensure rapid incorporation without the heat of your hands melting the butter into the powder, keeping those future steam pockets perfectly intact.
Beyond Flour: The Role of Leaveners in Biscuit Volume
Both baking powder and baking soda are necessary here. The baking soda neutralizes the acid in the buttermilk for flavour balance, while the baking powder (which contains both acid and base) offers a secondary, reliable lift during the baking process itself, guaranteeing maximum vertical expansion.
Ensure both are fresh for peak performance.
Related Recipes Worth Trying
- The Only Flaky Buttermilk Biscuits Recipe Youll Ever Need — Achieve skyhigh layered Flaky Buttermilk Biscuits using the secret cold butter folding technique Foolproof results for the perfect homemade buttermilk biscuits
- Best Homemade Apple Pie Recipe Flaky AllButter Crust — Master the classic apple pie with this foolproof recipe for a shatteringly flaky buttery crust and a warm spiced apple filling Get baking
- The Heritage Apple Pie Flaky AllButter Crust Recipe — Master the ultimate homemade apple pie with this stepbystep recipe featuring a shatteringly flaky crust and perfectly spiced filling Its pure comfort
Mastering the Cold Fold Technique for Unbeatable Layers
Once the dry ingredients and frozen butter are mixed to a coarse meal with visible pea-sized butter pieces, it is time to introduce the liquid. Add the 1 cup of ice-cold buttermilk all at once and stir just until a shaggy, messy dough forms. Do not try to make it smooth.
Turn this mass out onto a lightly floured surface to begin the lamination process.
The Gentle Art of Cutting and Setting Up for the Bake
The folding technique is what builds the structure. Gently pat the shaggy dough into a rough 1 inch thick rectangle. Fold it like a business letter: bring the bottom third up, then fold the top third down over it. Rotate the dough 90 degrees, pat gently again, and repeat the three fold process two more times.
This creates dozens of separate butter planes. After the third fold, pat the dough to a uniform ¾-inch thickness.
Achieving the 'Shaggy Mass' Before the First Fold
That initial stage the shaggy mass is your cue to stop mixing by hand. You should still see streaks of butter; if it looks smooth, you’ve already overdeveloped the gluten. This rough state allows the subsequent folds to create defined layers rather than just blending everything together.
Stop Overworking: Recognizing When Dough is Just Right
The dough should hold together loosely when pressed, but it should still look slightly uneven. If you handle it too much while folding, the friction will warm the butter and you will lose the delicate structure required for true lift. Work swiftly and decisively.
The Critical Chill Period: Preparing for Oven Ascent
While some fast recipes skip this, a 30-minute chill period in the refrigerator after the final fold and shaping locks everything down. This allows the gluten you developed during folding to relax and ensures the butter is rock hard again just before hitting the oven.
Oven Placement and Temperature for Golden Crust Perfection
For our Cast Iron Buttermilk Biscuits (or standard baking sheet), preheat your oven precisely to 425° F ( 220° C).
Place the cut rounds close together on the sheet if you prefer tall, soft sides, or slightly spaced if you want crispier edges. Bake for 12 to 15 minutes. Rotating the pan halfway through ensures even browning across the top crust.
Troubleshooting Common Flaky Buttermilk Biscuits Pitfalls
The most frequent issue is sticking edges. Remember, when cutting the rounds, use a sharp, 2 inch cutter and press straight down with firm pressure. Do not twist! Twisting seals the bottom edge, physically preventing the biscuit from rising vertically.
If your biscuits are spreading sideways instead of up, your butter was likely too soft when mixing, or your baking powder is expired. If they are tough, you overworked the dough after the initial buttermilk addition.
Next Level Flavor Enhancements and Serving Suggestions
Once these beauties emerge from the oven tall, golden, and smelling incredible they deserve the proper finish.
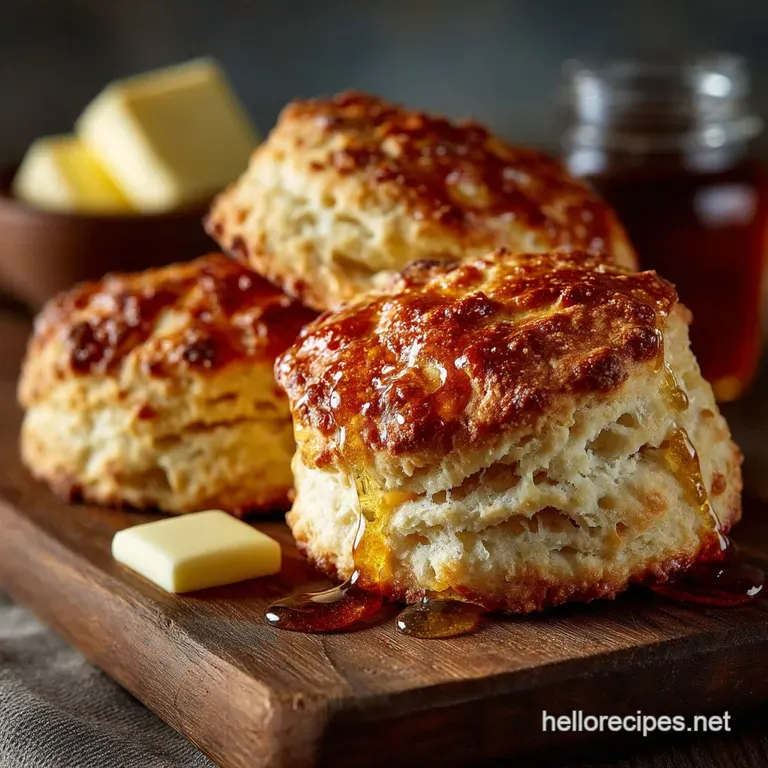
Why Brushing with Melted Butter Post Bake is Non-Negotiable
As soon as they exit the oven, brush the tops liberally with 2 tablespoons of melted unsalted butter. This not only adds an immediate layer of richness but helps keep the top crust tender and prevents it from hardening prematurely as the biscuit cools.
Storage Secrets: Keeping Freshness Locked In
These are undeniably best eaten immediately, but if you must store them, allow them to cool completely, then store them in an airtight container at room temperature for up to two days. To reheat, slice them open and warm them briefly in a toaster oven or on a griddle until the exterior crisps slightly.
Variations: Spice Additions and Savory Toppings
While the classic preparation shines, consider folding in sharp cheddar and jalapeños for a spicy kick, or even adding a teaspoon of finely ground espresso powder for a subtle depth that pairs beautifully with sweet toppings like Cinnamon Honey Butter Biscuits .
For a classic Southern pairing, ensure you have a generous pot of rich, peppered sausage gravy ready to drown these incredible rounds.
The Science of Layers: Understanding Butter Pockets
The fundamental science hinges on the fact that water transforms into steam much faster than butter melts. When the cold butter chunks hit the high oven heat, the water content within the butter rapidly vaporizes.
This steam pushes against the surrounding dough layers, forcing them apart before the fat itself fully melts and seals the structure. It is this instantaneous steam explosion that gives you the distinct, airy layers inherent in truly Flaky Buttermilk Biscuits .
Recipe FAQs
Why are my Flaky Buttermilk Biscuits coming out flat instead of puffy?
Usually, flat biscuits are down to one of two things: either your leavening agents (baking powder/soda) are past their prime, or you've overworked the dough, meaning the gluten has tightened up and won't allow for a good rise. Remember, the dough should still look a bit shaggy!
Do I really need to freeze the butter for these biscuits? It seems like a fuss!
Absolutely, old bean! Freezing the butter until it's rock solid is crucial for achieving those gorgeous, distinct layers. When the frozen butter hits the hot oven, it creates steam pockets that push the dough upwards, giving you that signature height.
If the butter melts before it hits the oven, you just end up with heavy, dense biscuits.
I cut the biscuits, but they didn't rise tall did I do something wrong with the cutter?
You've hit upon a classic baking rookie error: twisting the cutter! When you twist, you effectively seal the edges of the dough, which stops the biscuit from climbing straight up. Always use a sharp cutter and press straight down firmly, then lift straight up.
Don't worry if you have to stack the scraps just press them together lightly, don't knead them.
Can I make the dough ahead of time, or freeze the raw biscuits?
Yes, both are possible! You can refrigerate the shaped, unbaked biscuits on the tray for up to 24 hours, just cover them tightly; you might need an extra minute or two in the oven. For freezing, place the cut biscuits on a baking sheet, freeze until solid, then transfer them to a freezer bag.
Bake from frozen, adding about 5 minutes to the baking time.
What's the best way to store leftover buttermilk biscuits so they don't go stale overnight?
Biscuits are best eaten the day they are baked, but if you have leftovers, wrap them snugly in foil or place them in an airtight container at room temperature. To revive them the next day and this is the trick sprinkle them lightly with water and reheat them in a moderate oven (around 350°F or 175°C) for 5 8 minutes until they steam back to life.
Flaky Buttermilk Biscuits 2