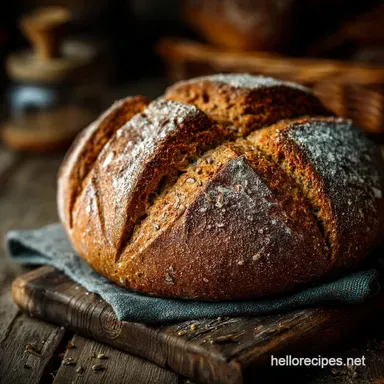
The Continental Classic Robust Caraway Rye Loaf
- Moving Beyond Mass-Produced Loaves
- Unearthing the Deli-Style Rye Tradition
- Essential Components for Authentic Rye Bread
- Preparing Your Workspace and Necessary Tools
- Mixing, Kneading, and the Crucial First Proof
- Achieving the Perfect Bake and Crust Finish
- Common Mistakes and Troubleshooting Your Rye Bread Loaf
- Recipe FAQs
- 📝 Recipe Card
Moving Beyond Mass Produced Loaves
There is a profound difference between the pale, soft loaves labeled "Rye" at the supermarket and a robust, genuine Rye Bread Recipes Homemade loaf baked in your kitchen. Homemade rye possesses a complexity, a chewy density, and an earthy aroma that simply cannot be replicated by mass production.
If you’ve been searching for that deeply satisfying, sturdy slice that defines true continental baking, you’ve arrived. This particular recipe yields The Continental Classic, a loaf built for hearty meals and demanding palates, moving your baking skills far beyond simple white flour doughs into a world of texture and depth.
Unearthing the Deli Style Rye Tradition
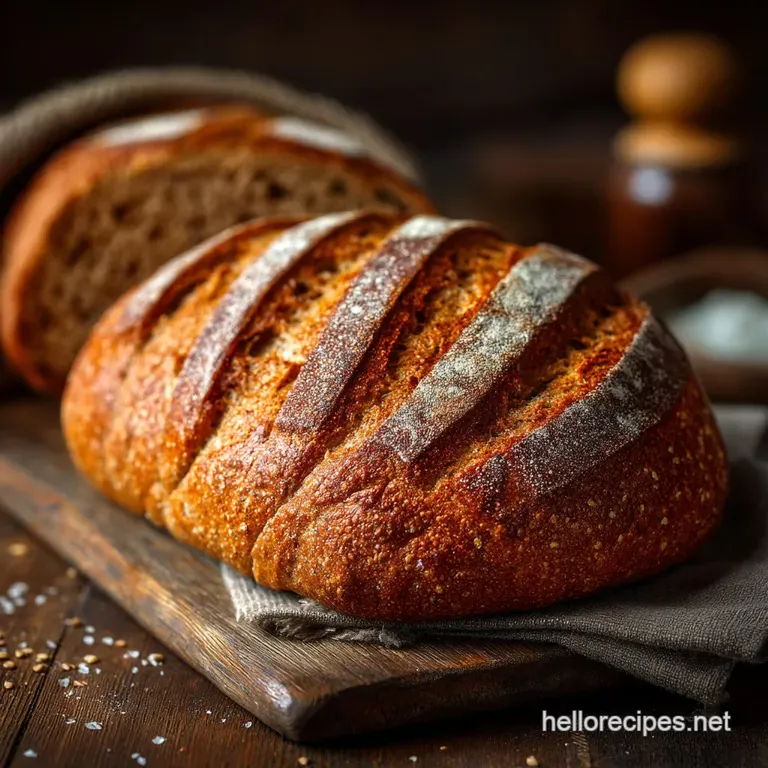
This loaf draws direct inspiration from both Northern European baking practices and the iconic American Jewish Rye Bread Recipe , which is the foundation of every classic deli sandwich.
What makes this recipe so compelling is its dual nature: it is rustic yet refined, slightly sour yet balanced by sweetness. Achieving this balance relies heavily on the specific blend of high protein wheat flour (300g) and dark rye flour (200g), which provides the structural support needed while preserving the traditional flavour profile.
This process produces a resilient, fragrant crust and a structured crumb, making it the ideal base for a quintessential Rye Sandwich Bread .
Decoding the Classic Caraway Flavour Profile
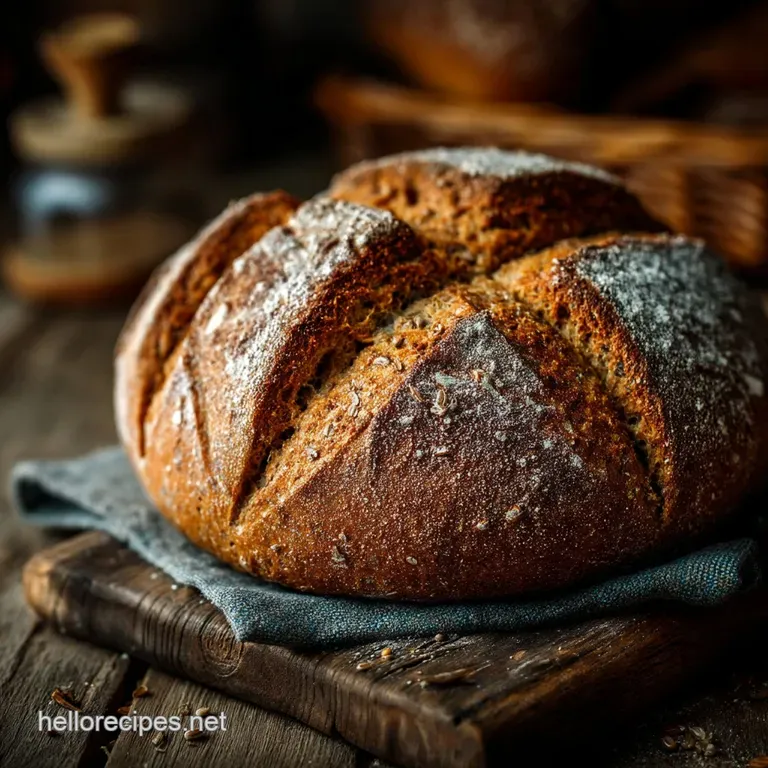
The signature taste of classic deli rye hinges on one essential component: the aromatic caraway seed. We use 15 grams (or 2 tablespoons) of these seeds, incorporated directly into the dry mix.
When baked, the caraway releases a warm, slightly pungent aroma that complements the natural tanginess of the rye flour and the deep, rich sweetness of the molasses. This precise combination is what transforms a simple dough into the immediately recognizable taste of genuine, artisan rye.
Is This Recipe Right for Me? (Addressing the Medium difficulty)
While the ingredient list for this loaf is straightforward, the process requires a degree of focus, landing its difficulty level firmly in the medium range. This is primarily because rye flour behaves fundamentally differently from standard wheat flour.
It lacks the strong, elastic gluten structure that bakers are accustomed to; instead, it contains pentosans, which make the dough extremely sticky and less workable. Therefore, achieving the right texture requires precision in measuring and patience during the two proofing stages.
Beginners looking for Easy Rye Bread Recipes For Beginners might find the stickiness challenging, but mastering this recipe provides invaluable insight into the characteristics of rye baking.
Though it takes approximately four and a half hours from start to finish making it far from a Quick Rye Bread Recipe —most of that time is passive waiting, leaving you free to enjoy the wonderful smells filling your kitchen.
Why Hydration Levels Matter for Chewy Rye Texture
Rye flour is notorious for absorbing liquid slowly, and if you simply eyeball the measurements, you risk ending up with either a rock hard or gummy interior. This Recipe For Rye Bread calls for 350 ml (1 ½ cups) of warm water.
Maintaining this specific hydration level is crucial because it allows the rye starch to gelatinize properly during baking, resulting in the desired dense, slightly moist, and delightfully chewy crumb texture that defines high-quality rye.
The Critical Role of Malt or Molasses in Dark Rye
To achieve the deep colour and complexity of flavour expected in a true continental rye, we rely on molasses. The addition of 30 grams (2 tablespoons) of dark molasses or black treacle not only darkens the final loaf dramatically but also imparts a subtle, earthy bitterness and essential sugars that enhance the yeast’s activity.
This is key to developing that robust, slightly malty background note that contrasts beautifully with the sharp salt and aromatic caraway.
Essential Components for Authentic Rye Bread
Creating this loaf begins with assembling a handful of high-quality Rye Bread Ingredients . The base structure is built from the blend of strong white bread flour and dark rye flour. The liquid component 350 ml of water mixed with 30g of molasses provides the moisture and colour foundation.
We rely on a standard packet of instant dry yeast (7g) for lift and 10g of fine sea salt, which is vital not only for flavour but for controlling the rate of fermentation. Finally, the aromatic element is delivered by the aforementioned 15g of caraway seeds.
Understanding the function of each component ensures success, particularly knowing that the wheat flour is present primarily to provide the necessary gluten for structure, offsetting rye’s inherent lack of elasticity.
Related Recipes Worth Trying
- The Best Creamed Cornbread Casserole Recipe Easy Comforting — Ditch the dry sides This Easy Creamy Corn Casserole features a rich savoury base beneath a fluffy cornbread blanket Perfect for Sunday lunch or Thanksgiving...
- The Best Moist Banana Bread Recipe Easy Foolproof — Tired of dry loaves This easy banana bread recipe guarantees a velvety flavourful slice every time Perfect for using up those spotty bananas
- The Ultimate OvenCrisped Garlic Bread Recipe — Banish soggy supermarket slices This easy Homemade Garlic Bread Recipe delivers a shatteringly crisp crust and buttery interior every time Perfect for pasta...
Preparing Your Workspace and Necessary Tools
Before beginning, organization is paramount. Rye dough, owing to its sticky nature, requires a focused approach. While you can certainly mix and knead this by hand, a stand mixer fitted with a dough hook can handle the initial mixing phase efficiently.
Selecting the Ideal Rye Flour (Pumpernickel vs. Medium Grind)
For this specific recipe, we use Dark or Medium Rye Flour (200g). This choice offers the characteristic rye flavour and deep colour without the extreme density associated with coarsely ground pumpernickel.
Medium rye strikes the perfect balance, ensuring a flavourful loaf that still achieves a satisfying rise and structured crumb, perfect for Rye Sandwich Bread .
The Secret to Activating Caraway Seeds
Unlike many spice components, the caraway seeds do not require prior toasting or soaking. They should be added directly to the dry ingredients the flours and salt and whisked together thoroughly.
This ensures they are evenly distributed throughout the dough, guaranteeing that every slice delivers that signature aromatic crunch.
Understanding Yeast Activity and Water Temperature
The 7g of instant dry yeast needs to be introduced to warm water, ideally between 98– 105° F (37– 40° C). This optimal temperature range, combined with the molasses (which acts as immediate food), encourages the yeast to bloom and become actively foamy within 5– 10 minutes.
This visual cue is your confirmation that the yeast is lively and ready to lift the heavy, dense rye dough.
Must Have Equipment for a Sturdy Loaf
The most essential item for this preparation is a digital kitchen scale. Measuring the 500g of total flour and 350ml of liquid by weight, rather than volume, eliminates common baking errors and is crucial for handling sticky rye dough.
You will also need a 9x5 inch (23x13 cm) loaf pan for shaping and baking, a sturdy mixing bowl, and, critically, a spray bottle dedicated to water, which we will use to generate steam during the bake.
For those attempting a Rye Bread Recipe For Bread Machine , the initial mixing and kneading stages can often be handled by the machine’s dough cycle before transferring to the oven for shaping and baking.
Prepping Your Baking Stone or Sheet Pan
Regardless of whether you use a baking stone or a simple sheet pan, a key preparatory step is setting up for steam. Place an empty, oven safe tray or shallow pan on the lowest rack of your oven before preheating.
This tray will act as the receptacle for the hot water we pour in later, creating the humid environment needed for a professional crust.
Mixing, Kneading, and the Crucial First Proof
The initial steps involve creating the liquid starter: warm water, molasses, and yeast combine in a large bowl. While this is blooming, the dry components flour, rye, salt, and caraway are whisked together.
Once the yeast is foamy, the dry mix is added, and the ingredients are combined either by hand or using a stand mixer on low speed until a shaggy mass forms. The ensuing kneading phase, lasting 8– 10 minutes by machine or slightly longer by hand, is critical.
Remember, rye dough will not become smooth or elastic; it will remain sticky but should pull cleanly away from the sides of the mixing vessel. After kneading, the dough is lightly oiled, covered tightly, and left to undergo its bulk fermentation (the first proof) for 90 minutes to two hours in a warm, draught free location, allowing it to approximately increase by 1.5 times its size.
Achieving the Perfect Bake and Crust Finish
Once the initial fermentation is complete, the focus shifts to shaping, the second proof, and the final bake, where temperature and steam management are paramount.
Combining Dry Ingredients for Uniform Distribution
Proper mixing starts with ensuring the 300g of bread flour, 200g of dark rye flour, 10g of salt, and 15g of caraway seeds are thoroughly combined before meeting the wet ingredients. This step prevents pockets of unmixed flour and ensures the salt controls yeast activity evenly across the whole dough mass.
Monitoring the Initial Fermentation Period (Bulk Rise)
The long bulk rise (1.5 to 2 hours) is where the deep flavour of the rye develops. Watch for the volume increase rather than relying solely on time, as kitchen temperature heavily influences the speed. The slower, cooler the rise, the better the final flavour complexity will be.
Gently Punching Down and Prepping for Shaping
Upon completion of the first proof, turn the dough onto a lightly floured surface. Crucially, the dough should be gently deflated don’t punch it hard to release large gas bubbles while maintaining the delicate structure built during the long fermentation.
The Art of Seaming and Tightening the Loaf (Shaping)
Rye dough needs to be shaped into a tight log before the final proof to ensure it holds its height and shape during baking. Roll the dough tightly, pulling the sides underneath to create a smooth, tight seam along the bottom.
This tension prevents a sprawling, flat loaf and is essential for producing a beautiful, uniform Rye Sandwich Bread . The shaped log is then placed seam side down into the prepared 9x5 inch loaf pan.
Managing the Final Proofing Stage (Score and Bake Preparation)
The second proof typically lasts 45– 60 minutes. The loaf is ready when it crests just above the edge of the pan. A light poke should result in the dough springing back slowly, leaving a slight indent.
Before entering the oven (preheated to 220° C / 425° F), brush the loaf with the optional egg white glaze for shine and score the top 2 3 times with a sharp knife, allowing for controlled expansion (oven spring).
Generating Steam for a Crispy, Professional Crust
Steam is the secret to a professional crust. As soon as the loaf is placed in the hot oven, pour approximately ½ cup of hot water into the empty tray on the bottom rack. Close the door quickly to trap the steam.
After 10 minutes, the steam tray is removed, and the temperature is dropped to 190° C ( 375° F). This initial blast of moist heat keeps the crust soft long enough for maximum expansion before it hardens, guaranteeing a thin, crackly texture.
The baking continues for another 30– 35 minutes until the internal temperature reaches 93° C ( 200° F).
Common Mistakes and Troubleshooting Your Rye Bread Loaf
Fixing Common Density Issues in Homemade Rye Bread
If your finished Rye Bread Recipes Homemade loaf is excessively dense or gummy, several factors might be at play. The most common error is adding too much flour during kneading or shaping to compensate for the dough's inherent stickiness.
Rye requires you to embrace the stick; use oil on your hands instead of flour. Another major culprit is insufficient proofing. Because rye is heavy, it needs plenty of time ensure both the first and second proofs are completed adequately.
Finally, slicing the loaf before it has completely cooled (at least one hour) compresses the structure and makes the crumb dense and wet.
Adjusting the Recipe for High Altitude Baking
At high altitudes, yeast ferments faster and moisture evaporates more quickly. To counteract this, slightly reduce the amount of yeast used (by 10 15%) and consider increasing the liquid by a small amount (1 2 tablespoons) to maintain hydration and prevent the dough from drying out during proofing.
Scaling the Ingredients for a Larger Batch Size
Since this recipe relies on precise ratios, scaling up is straightforward using the provided weights. For two loaves, simply multiply all ingredients from the 350ml of water to the 200g of dark rye flour by two.
Always use a digital scale for this to ensure accuracy, which is non-negotiable for rye bread structure.
Creative Serving Suggestions for Caraway Rye
The sturdy texture and bold flavour of this caraway rye make it an outstanding Rye Sandwich Bread . Embrace the classic Jewish Rye Bread Recipe context by serving thinly sliced pieces with cured pastrami, tangy sauerkraut, Swiss cheese, and Russian dressing for an unforgettable Reuben.
Alternatively, keep it simple and rustic by toasting slices and topping them with high-quality smoked salmon, cream cheese, and salty capers for a luxurious breakfast companion.
Optimal Cooling and Long Term Storage Techniques
Patience truly is a virtue when it comes to rye. Once the loaf exits the oven, turn it immediately onto a wire rack. It must cool completely for at least one hour to allow the internal starches and moisture to redistribute, setting the final, robust crumb structure.
For storage, keep the loaf wrapped tightly in plastic or a linen bag at room temperature for up to four days. For longer preservation, slice the cooled loaf and freeze the slices in an airtight bag; they can be pulled out and toasted individually as needed.
Nutritional Breakdown (Per Slice Estimate)
Using this specific Recipe For Rye Bread and estimating 12 servings, the Rye Bread Nutrition profile offers a satisfying, high fiber option. Each thick slice provides an estimated 180 kcal, making it a substantial base for a meal.
Notably, it contains a good source of protein (6g) and fiber (3g), with minimal fat (1g), offering a nutritious alternative to softer, less whole grain focused commercial breads.
Recipe FAQs
Good heavens, this rye dough is sticky! Did I mess up the kneading?
Absolutely not, old chap! Rye dough is a different beast from standard white flour dough, mostly due to its high level of pentosans rather than strong gluten. It's meant to be a bit of a sticky wicket and will never feel smooth and elastic like a baguette dough.
Resist the urge to add masses of extra flour, as this will only dry out the final loaf. Instead, use a light dusting of oil on your hands and work surface during shaping to manage the stickiness.
I'm desperate for a slice! Can I cut the Rye Bread while it's still warm?
We know the aroma is tempting, but please treat this loaf like a proper roast it needs to rest! Rye flour absorbs and holds moisture differently than wheat, and slicing it while warm causes the steam to compress the crumb, resulting in a gummy, heavy texture.
Allow the bread to cool completely (at least one hour, ideally two) on a wire rack. This patience ensures a robust, perfectly textured crumb worthy of a proper Reuben sandwich.
I’m not keen on caraway. Is it the key to the flavour, or can I skip it entirely?
While caraway is the classic choice that gives this rye loaf its iconic deli crunch and aroma, if you find it too potent, feel free to substitute! A simple swap to fennel seeds offers a softer, sweeter anise note that still pairs well with the molasses.
Alternatively, you could use a small blend of crushed anise and coriander seeds for an equally aromatic, but less dominant, European flavour profile.
This is lovely, but how can I make this Continental Classic Rye Bread even tangier?
To really ramp up that delightful sour note, the traditional method involves using a preferment or sourdough starter (a rye levain), which requires several days’ planning. If you haven't got time for that faff, there are a couple of quick tricks.
Simply swap about 1/3 cup of the water for buttermilk, or add 1 tablespoon of cider vinegar to the initial liquid mix. These minor additions will beautifully mimic that classic, subtle sour flavour found in traditional deli rye.
It’s a big loaf! What's the best way to store homemade Rye Bread?
Since this robust loaf has low fat and no nasty preservatives, it’s best kept well wrapped at room temperature, ideally in a bread bin or a linen bag, where it will stay fresh for 3 4 days. Crucially, avoid the fridge, as that actually speeds up the staling process.
For longer preservation, slice the entire loaf and freeze it in an airtight container or freezer bag. It toasts up beautifully straight from frozen, ready for your morning smoked salmon.
Classic Caraway Rye Bread Recipe