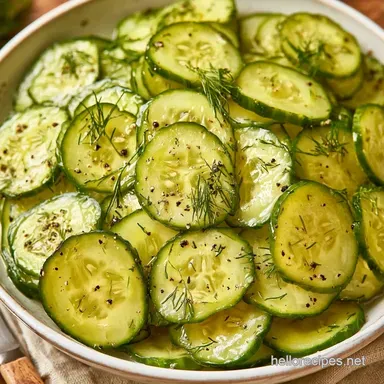
Homemade Dill Pickles with Fresh Dill
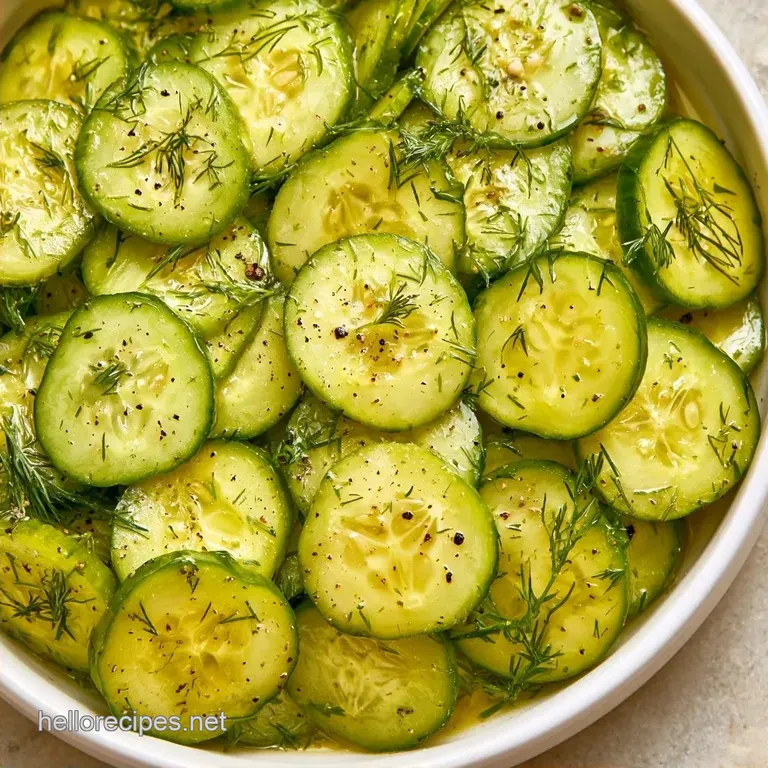
- Time: 15 min active + 48 hr chilling
- Flavor/Texture Hook: Shattering snap and garlic forward tang
- Perfect for: budget-friendly snacking or sandwich toppers
You probably think you need a fancy water bath canner or a chemistry degree to get that deli style crunch. I used to think the same, but the truth is that most "premium" store jars are just overpriced salt water. You can get a better snap at home without spending a dime on specialized gear.
The smell of boiling vinegar and smashed garlic fills the kitchen in about ten minutes. It is a sharp, clean aroma that tells you the brine is ready. These Dill Pickles with Fresh Dill don't require days of fermentation, just some patience in the fridge.
We are going to use a budget friendly approach here. By using basic white vinegar and bulk kosher salt, we get the same result as those artisanal brands. Expect a pickle that cracks loudly when you bite into it.
The Real Way to Make Dill Pickles
- Blossom End Trim: Removing a tiny slice of the bottom stops enzymes from breaking down the pectin. This keeps the cell walls firm.
- Hot Brine: Boiling the vinegar and salt forces the liquid into the cucumber quickly. It locks in the flavor without needing weeks of waiting.
Recipe Specs
Since this is a refrigerator style method, we skip the oven or heavy canning pots. The focus is on speed and cost.
| Method | Brine Temp | Process Time | Result |
|---|---|---|---|
| Stovetop (Boiled) | 100°C | 48 hours | Sharp, crisp snap |
| Cold Steep | 20°C | 7-14 days | Milder, softer bite |
Ingredient Deep Dive
The balance of salt and acid is what prevents the cucumbers from turning into mush.
| Ingredient | What It Does | Best Swap |
|---|---|---|
| Kirby Cucumber | Provides the firm structure | Persian cucumbers (smaller) |
| White Vinegar | Adds acidity and preserves | Apple cider vinegar (milder) |
| Kosher Salt | Draws out water and seasons | Sea salt (avoid table salt) |
| Fresh Dill | Gives the signature herbal hit | Dill seed (stronger/earthier) |
What You'll Need
Stick to these measurements for the best snap. I suggest buying the large jugs of vinegar to save money.
- 3 lbs Kirby/Pickling Cucumbers Why this? Thick skins prevent sogginess
- 1 oz fresh dill Why this? Fresh sprigs have a brighter taste
- 7 cloves fresh garlic, smashed
- 1 tsp mustard seeds
- 1 tsp black peppercorns
- 6 cups water
- 3 cups white distilled vinegar Why this? Clean acidity without altering color
- 1/2 cup kosher salt
- 1/4 cup granulated sugar
Tools for the Job
Basic kitchen gear is all that's required. A simple pot and some jars are sufficient.
- 7 (16 oz) Mason Jars
- Medium stainless steel pot
- Chef's knife
- Measuring cups and spoons
Bringing It Together
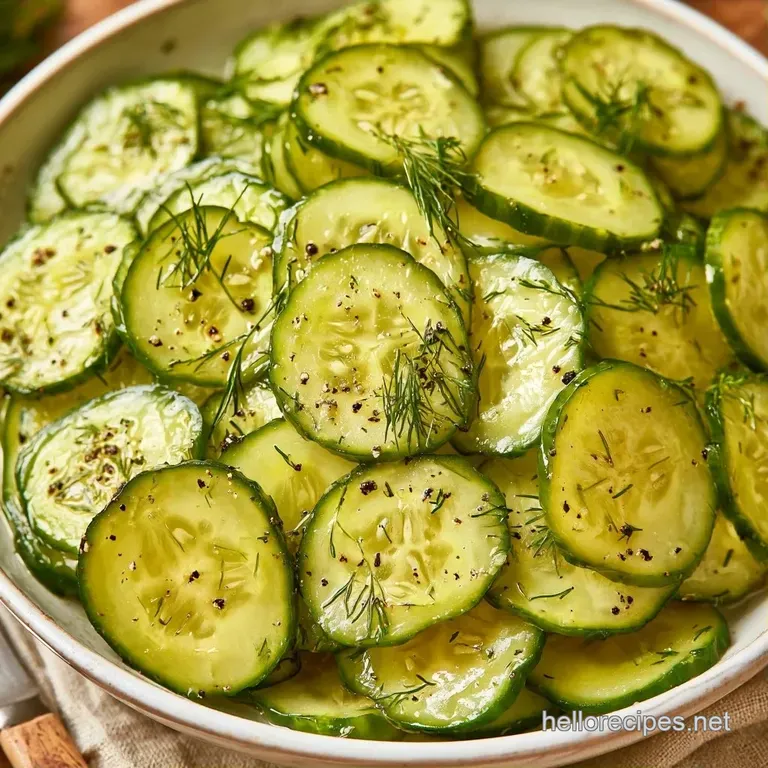
Now, let's handle the preparation. Getting everything ready beforehand is the most critical step.
- Trim 1/8 inch from the blossom end of each cucumber. Note: This prevents the mushy texture.
- Depending on your preference, cut the cucumbers into thick coins or spears.
- Add one smashed garlic clove, a pinch of mustard seeds, peppercorns, and a bunch of fresh dill to the base of each of the 7 jars.
- In a stainless steel pot, combine the water, white distilled vinegar, kosher salt, and granulated sugar.
- Heat the brine until it reaches a full boil.
- Turn down the heat and stir for 2-3 minutes until the salt and sugar vanish completely, then take the pot off the heat.
- Pack the cucumbers tightly into the jars, pressing down firmly so they stay submerged.
- Fill the jars with the hot brine, leaving a small amount of headspace.
- Fasten the lids tightly and store the jars in the fridge for 48 hours.
Fixing Texture Issues
If your Dill Pickles come out soft, it usually comes down to the cucumber variety. I once used English cucumbers because they were on sale, and they turned into sponges. They have too much water and thin skins for this method.
Another issue is the salt. If you use iodized table salt, the brine often looks cloudy. It doesn't affect the taste, but it looks less professional. Stick to kosher or sea salt for a clear liquid.
Preventing Softness
The snap comes from the pectin. If you skip trimming the blossom end, those enzymes eat the pectin.
Managing Brine Clarity
Cloudiness happens when minerals in the salt react with the vinegar. Use filtered water if your tap water is very hard.
| Problem | Root Cause | Solution |
|---|---|---|
| Mushy texture | Used slicing cucumbers | Use Kirby or Persian types |
| Cloudy liquid | Iodized salt used | Switch to Kosher or Sea salt |
| Bland taste | Not enough chilling time | Wait the full 48 hours |
Serving Your Batch
Once the 48 hours are up, these are ready to eat. They have a sharp, vinegary punch that cuts through rich foods. I love serving these alongside a Traditional Potato Salad recipe for a classic summer spread.
For a more modern vibe, slice them thin and add them to a vegan charcuterie board with some hummus and olives. The acidity of the Pickles with Fresh Dill balances out the creamy dips.
The Burger Topper
Slice the spears into thin rounds. Pile them high on a burger with a slice of sharp cheddar.
The Snack Plate
Serve them cold with a side of chilled carrots and celery.
Adjusting the Batch
If you have a massive garden haul, you can easily double this. Just remember that spices don't scale linearly.
Scaling Up (2x) Increase the cucumbers and liquids exactly. However, only increase the garlic and peppercorns to 1.5x. Too much garlic can overpower the Dill Pickles and make them taste metallic.
Scaling Down (½) Use 1.5 lbs of cucumbers. Since you are working with less liquid, the brine will boil faster. Watch it closely so it doesn't evaporate too much. I usually add an extra splash of water when making a small batch with Fresh Dill to keep the ratios right.
| Goal | What to change |
|---|---|
| Extra Spicy | Add 1 sliced habanero per jar |
| Sweeter Taste | Add 2 tbsp more sugar to brine |
| Less Tangy | Swap 1 cup vinegar for water |
Preservation and Scraps
Since these aren't shelf stable, they must be refrigerated. Store them chilled for as long as 3 months. While the crispness will gradually diminish, the taste remains bold.
Avoid tossing the leftover brine, which is essentially a seasoned vinegar. It works great as a marinade for grilled pork or chicken, tenderizing the meat and adding a zesty touch. You can also stir a small amount into potato salad to add more complexity.
Chef's Note: If a white film forms on the surface, it is usually just yeast. While harmless, this indicates the jars weren't sealed perfectly. Simply skim it off and enjoy your pickles.
Different Flavor Twists
After you've mastered the basic Dill Pickles, feel free to experiment. The base brine is quite flexible.
Adding Heat
Stir in a teaspoon of red chili flakes or a few slices of fresh jalapeño. The spiciness pairs well with the acidity of the Pickles with Fresh Dill.
The Sweet Souring Method
Increase the sugar to 1/2 cup. This gives the pickles a "bread and butter" style while keeping the dill flavor. It is a great option for those who find pure vinegar too sharp.
Low Sodium Version
You can cut the salt by 25%, but be cautious. Salt does more than add flavor; it ensures the cucumber remains firm. If you reduce it too much, the Dill Pickles might lose their crunch after a week.
Ultimately, making your own Dill Pickles is a simple way to save money and avoid the preservatives found in commercial jars. Just remember to trim the blossom ends and leave them in the fridge for the full 48 hours. You'll have a jar of crisp, zesty treats that easily beat expensive brands.
Recipe FAQs
Can you use fresh dill to make pickles?
Yes, it is preferred. Fresh sprigs provide a brighter, more aromatic flavor than dried options.
What is the secret to crisp dill pickles?
Trim 1/8 inch from the blossom end. This stops enzymes from breaking down the pectin; if you enjoyed this texture control, the same principle applies to our pickling onions.
Which vinegar is best for dill pickles?
White distilled vinegar is best. It provides a sharp, neutral acidity that keeps the flavor focused on the dill and garlic.
How to make homemade dill pickle juice?
Boil water, white distilled vinegar, kosher salt, and sugar. Stir for 2-3 minutes until fully dissolved to create a concentrated brine.
Is it true that I need a water bath canner for crunchy pickles?
Not true. A hot brine and a 48-hour cold soak create a shattering snap without any special gear.
Crispy Dill Pickles with Fresh Dill