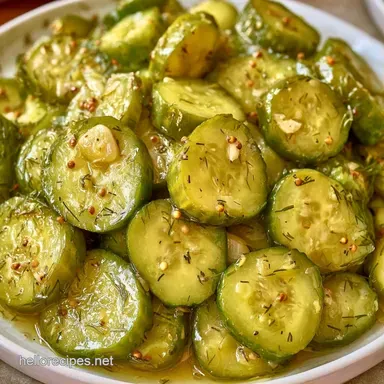
Crunchy Dill Seed Pickles
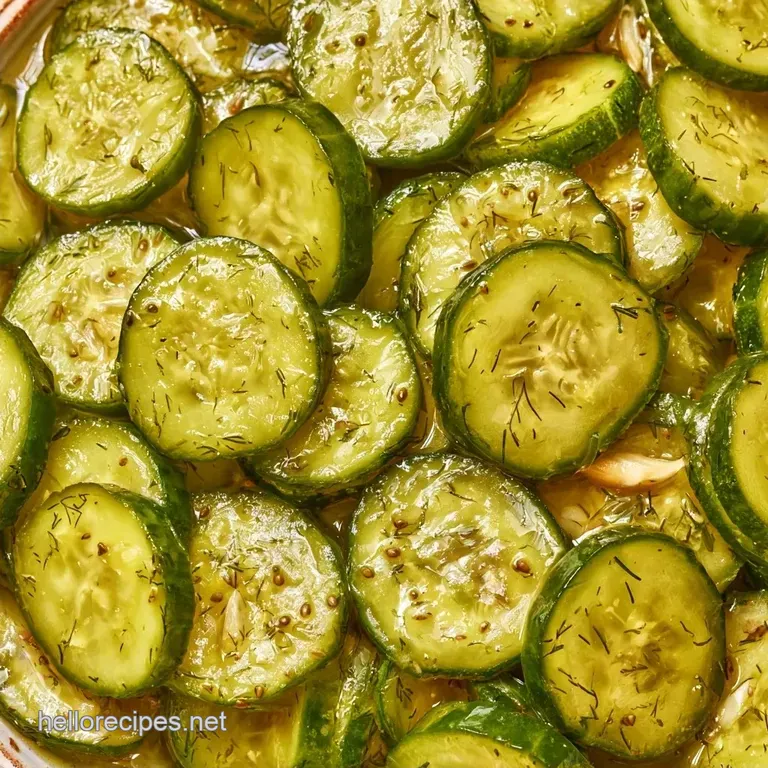
- Time: 30 min active + 6 hours 35 mins chilling
- Flavor/Texture Hook: Briny, garlic heavy, and shattering crunch
- Perfect for: Quick meal prep or a salty snack
Nothing beats the crisp, audible crack of a chilled pickle. I used to believe that achieving that texture required an entire afternoon spent with sterilized jars and a boiling water bath. I figured "authentic" pickling demanded a level of gear and time that simply wasn't feasible on a weeknight.
You don't actually need a full canning station to get a superior crunch. A straightforward refrigerator method produces a professional-grade snap. The secret doesn't lie in the heat, but in the way the cucumber is prepared.
I rely on these Dill Seed Pickles because they avoid the pitfalls of fresh dill, which often wilts or fades. Seeds provide a potent, savory depth that penetrates the cucumber thoroughly. They are quick, salty, and the perfect addition to any sandwich.
How to Make Dill Seed Pickles
- Blossom End Trim
- Slicing off the tips removes enzymes that soften the cucumber, ensuring they stay crisp.
- Concentrated Seeds
- Dill seeds offer a bolder, earthier profile than fresh leaves, which can sometimes taste overly "grassy" in a fast brine.
- Simmered Brine
- Heating the vinegar and salt ensures solids dissolve completely for a uniform flavor in every jar.
| Brine Method | Prep Time | Texture | Best For |
|---|---|---|---|
| Hot Brine | 5 mins | Firm/Snappy | Fast curing |
| Cold Brine | 0 mins | Softer | Long-term ferment |
If you'd like to try a variation, you might enjoy these Homemade Dill Pickles, which use a slightly different approach to the aromatics.
Recipe Specs
The flow here is simple. You spend 30 minutes prepping and packing, 5 minutes on the stove, and then you let the fridge do the heavy lifting.
Since this is a refrigerator recipe, you don't have to worry about pH levels or pressure gauges. You just need a few pint jars and some fresh Kirby cucumbers. I prefer Kirby because they have thinner skins and a denser core than the long English varieties.
Shopping List Breakdown
When picking produce, opt for cucumbers that feel heavy for their size. Avoid those that feel light or hollow, as they will inevitably turn out mushy.
The Produce 1 lb Kirby or Persian cucumbers Why this? Their dense cells prevent them from getting soggy 4 cloves garlic, peeled and smashed Why this? Crushing them unlocks more aromatic flavor 2 small Thai bird's eye chilies, slit
Lengthwise Why this? Provides a bright, crisp heat
The Brine 1 cup distilled white vinegar (5% acidity) Why this? Ideal acidity for safety and a tart finish 1 cup filtered water Why this? Eliminates any chlorine aftertaste 1 tbsp pickling salt Why this? Lacks additives to ensure the brine stays clear 1 tsp granulated sugar Why this? Softens the intensity of the vinegar
The Aromatics 2 tsp dill seeds Why this? Delivers a potent, savory dill punch 1 tsp whole black peppercorns Why this? Adds a subtle woody spice 1 tsp yellow mustard seeds Why this? Gives that signature pickled tang
| Original Ingredient | Substitute | Why It Works |
|---|---|---|
| Pickling Salt | Kosher Salt | Comparable salt levels. Note: May result in a cloudier brine |
| White Vinegar | Apple Cider Vinegar | Milder flavor profile. Note: Will turn the liquid golden brown |
| Dill Seeds | Dried Dill Weed | Related herb. Note: Less intense and more "grassy" |
I typically store a jar of these in my refrigerator door. They make a wonderful addition to a Traditional Potato Salad if you dice them up and stir them in.
Equipment Needed
Standard kitchen gear is all you need. Basic tools will get the job done.
- Two pint-sized Mason jars (wide-mouth versions are easier for packing)
- Small saucepan
- Cutting board and chef's knife
- Measuring cups and spoons
Chef Note: Any glass jar with a tight-fitting lid is a suitable substitute for Mason jars. Just verify that the glass can withstand hot liquids.
Putting it Together
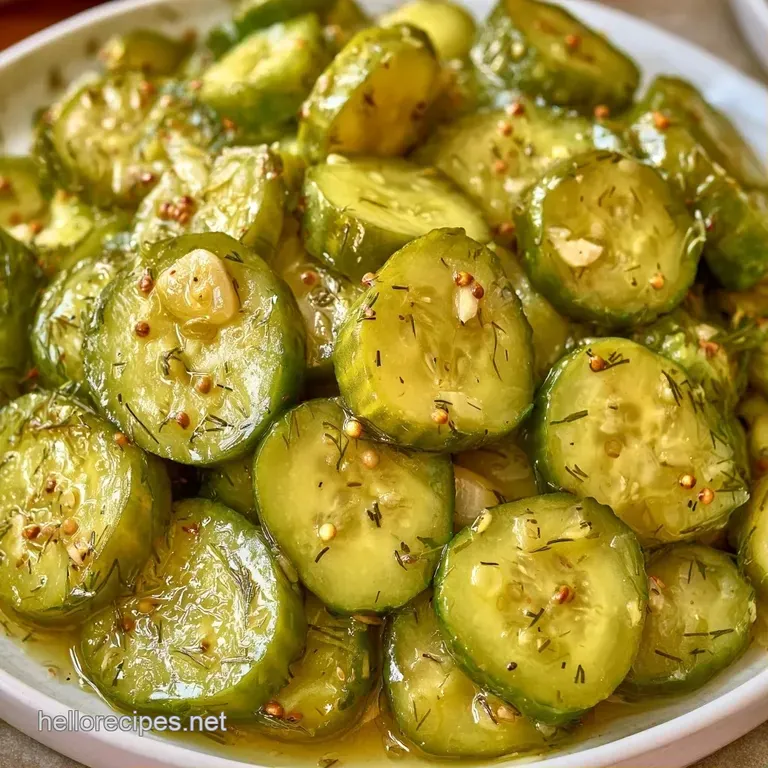
Phase 1: Prepping the Cucumbers
- Thoroughly wash the cucumbers. Slice exactly 1/16th of an inch off the blossom end of each one. Note: This removes enzymes that can soften the rest of the vegetable.
- Use the cucumbers whole, or cut them into coins or spears.
- Distribute the crushed garlic, dill seeds, peppercorns, and mustard seeds equally between two pint jars.
- Pack the cucumbers tightly into the jars, leaving a 1/2 inch gap at the top.
Phase 2: Crafting the Brine
- In a small pot, combine the distilled white vinegar, filtered water, pickling salt, and granulated sugar.
- Stir over medium heat for 5 mins until the seasoning has fully incorporated and the liquid reaches a gentle simmer.
- Take the brine off the heat and let it sit for 2 minutes. Note: This stops the hot liquid from "cooking" the cucumbers too quickly.
Phase 3: Packing and Curing
- Fill the jars with brine until the cucumbers are completely covered.
- Tighten the lids securely.
- Refrigerate for at least 6 hours to cure. Make sure the jars are cold before eating to ensure the best snap.
Solving Common Issues
It's easy to mess up the texture if you rush the process. The most common complaint is a "soft" pickle. This usually happens because the blossom end wasn't trimmed or the brine was poured in while it was still at a rolling boil.
If you see a bit of cloudiness in the brine, don't panic. This usually happens if you used table salt instead of pickling salt. It doesn't affect the taste or the safety of your Dill Seed Pickles, it just looks a bit different.
Fixing Soft Texture
If your pickles come out soft, check your cucumber variety. Standard "slicing" cucumbers have too much water. Always stick to Kirby or Persian.
Handling Floating Veggies
Cucumbers often float to the top. If they aren't covered in brine, they can get soft or develop mold. Press them down with a clean piece of parchment paper or a glass weight.
Managing Cloudy Brine
Cloudiness is usually just a reaction to minerals in the salt or water. It's harmless.
| Problem | Fix |
|---|---|
| Soft/Mushy Texture | Trim blossom end; use Kirby cucumbers |
| Floating Pickles | Use a weight or parchment paper to submerge |
| Overly Sour Taste | Increase sugar by 1/2 tsp next time |
Serving Your Pickles
Since these Dill Seed Pickles are so punchy, they work as a palate cleanser. I like to serve them alongside something rich, like a fatty piece of smoked meat or a sharp cheddar cheese.
For a nice presentation, slice them into thin coins and layer them on a platter with some pickled red onions and olives. If you're using them for burgers, slice them into long spears. The acidity cuts right through the grease of a beef patty.
Goal | What to change
|---|---| | More Heat | Add 2 more Thai chilies | | Sweeter Flavor | Add 1 tsp extra sugar | | Stronger Garlic | Double the garlic cloves |
Keeping Them Fresh
Since these aren't canned, they must be kept chilled. Store your Dill Seed Pickles in the refrigerator to keep them crunchy and fresh for up to 4 weeks.
Avoid leaving the jars on the counter for extended periods. The cold temperature preserves the snap and ensures the vinegar doesn't over-process the cucumbers.
To minimize waste, put the remaining brine to good use. This salty, garlic-infused vinegar is great for marinating chicken breasts for 2 hours before grilling, or for adding a bit of zing to potato salad.
Food safety tip, Home canning is most secure when following research-tested recipes and exact processing times to avoid botulism. If you prefer shelf-stable storage, refer to the USDA Complete Guide to Home Canning for proper water bath methods.
Flavor Twist Ideas
Feel free to customize this recipe to suit your taste. For a "Bread and Butter" variation, increase the sugar to 2 tablespoons and add some sliced onions. This transforms the savory seed profile into something sweet and tangy.
If you prefer more heat, keep the Thai chilies and add a teaspoon of red pepper flakes to the brine. The spice will infuse the cucumbers throughout the 6 hour cure time.
Should you lack dill seeds, try a blend of dried dill weed and a pinch of celery seed. It won't offer the same depth as the seeds, but it remains a tasty, simple dill pickle recipe. Just remember to maintain the same brine to water ratio for proper preservation.
Recipe FAQs
Is there a difference between fresh dill and dill seeds?
Yes, seeds provide a more concentrated, earthy punch. Fresh sprigs can taste too grassy and often wilt quickly in a short-term brine.
How much dill seed is needed per quart?
Use 2 teaspoons of seeds. This amount provides a professional savory depth when divided between two pint jars.
How to make homemade dill pickle juice?
Combine distilled white vinegar, filtered water, pickling salt, and sugar in a saucepan. Simmer the mixture over medium heat until the solids dissolve, then let it sit for two minutes before pouring.
Is it true that the blossom end doesn't affect the texture?
Not true. The blossom end contains enzymes that soften the cucumber, so you must slice off exactly 1/16th of an inch to maintain a snap.
What technique makes these pickles taste professional?
Trim the blossom end and use a simmered brine. This specific combination prevents mushiness and ensures the flavor penetrates the cucumbers evenly.
Which method is best for simple dill pickles?
The refrigerator method is most efficient. Wash and trim the cucumbers, pack them into jars with spices, pour over hot brine, and cure in the cold for six hours.
Which recipe is best for home pickling?
A quick-cure refrigerator brine using Kirby cucumbers is ideal. It avoids complex canning equipment and creates a zesty snap similar to the results in our pickled onions.
How do I make pickle relish from dill pickles?
Finely chop the cured pickles into small pieces. Stir in additional smashed garlic or slit Thai bird's eye chilies if you prefer a bolder flavor profile.
Dill Seed Pickles for 2 Pint Jars