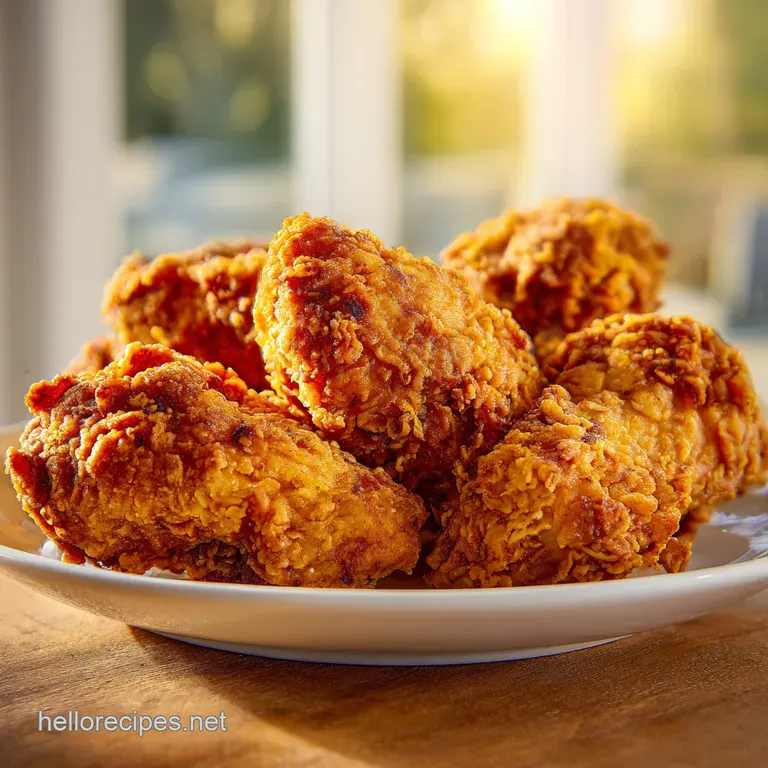
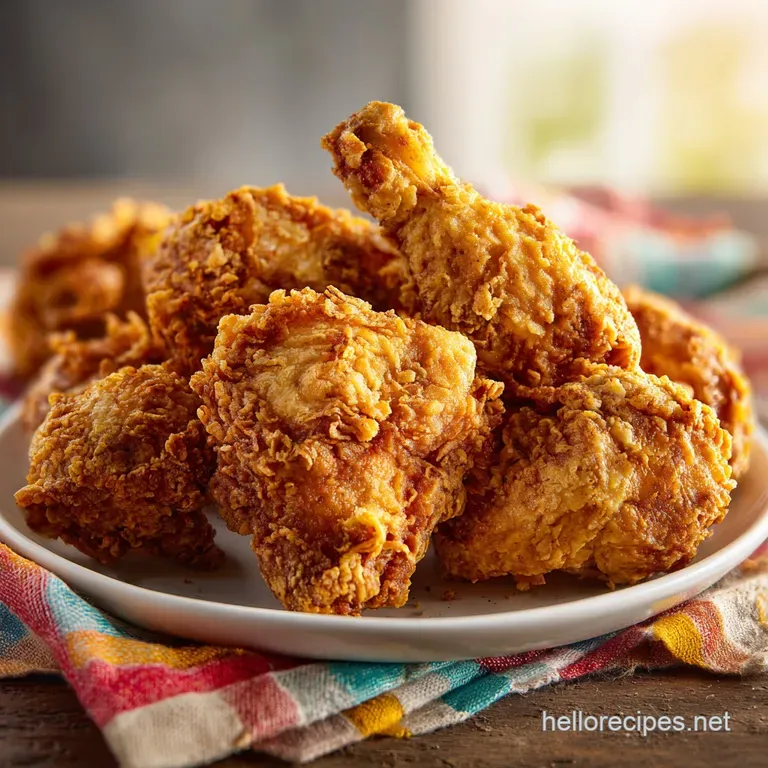
Southern Oven Fried Chicken: Shattering Crust
- Time: Active 80 minutes, Passive 35 minutes, Total 115 minutes
- Flavor/Texture Hook: Shattering outer shell with a silky, moisture rich interior
- Perfect for: Modern home cooks seeking restaurant quality results with sustainable cleanup
- Achieving Shattering Texture In Oven Fried Chicken
- Essential Technical Recipe Specifications
- Building Layers Of Flavor
- Required Professional Kitchen Tools
- Precise Preparation And Cooking Steps
- Fixing Most Frequent Cooking Mistakes
- Adapting For Special Dietary Needs
- Maintaining Texture During Storage
- Debunking Common Kitchen Myths
- Innovative Serving Ideas
- Recipe FAQs
- 📝 Recipe Card
Achieving Shattering Texture In Oven Fried Chicken
Have you ever wondered why some oven baked poultry ends up tasting like soggy breading while others manage to achieve a genuine, ear splitting crunch? The secret isn't just in the temperature setting, but in how we manipulate thermodynamics within the oven cavity.
Most people treat their oven like a heated box, but for this specific dish, we need to transform it into a precision instrument for fat driven heat conduction. It's a small shift in thinking that changes the entire gastronomy of your weeknight dinner.
I remember the first time I realized that butter wasn't just for flavor in this recipe. I had been trying to use cooking sprays and over high heat oils, but the results were always muted and one dimensional.
When I finally switched to a high-quality unsalted butter and paired it with a preheated heavy bottomed pan, the chicken didn't just bake, it practically sang as it hit the fat. That immediate sizzle is the sound of moisture leaving the crust and being replaced by golden, crispy structural integrity.
It was a total breakthrough for my kitchen experiments.
This recipe moves away from the old-fashioned ideas of "healthy" baking and instead focuses on the technology of the double dredge. By creating multiple layers of hydration and dry starch, we build a protective barrier that keeps the meat from drying out while the exterior undergoes a beautiful transformation.
We're using sustainable, bone in cuts because the bone acts as a thermal conductor, ensuring the meat cooks evenly from the inside out while the panko and cornstarch create a shell that stays crisp even after it hits the plate.
Essential Technical Recipe Specifications
Success in modern cooking often comes down to the precision of your variables. In this kitchen, we don't just "guess" when things are ready; we use specific metrics to ensure every batch is consistent. Managing the moisture content of your bird is just as important as the temperature of the air circulating around it.
If you want that deep, resonant crunch, you have to be willing to follow the timing and temperature cues exactly as they are laid out.
When we look at the comparison between different over high heat methods, it becomes clear why this specific oven technique stands out. Unlike an air fryer which relies solely on rapid air movement, our oven method uses a combination of convection and direct contact with hot fat.
This "shallow fry" effect is what gives us that specific golden color that is often missing from other home cooked versions. It's about finding the balance between efficiency and sensory output.
| Cooking Method | Preparation Time | Texture Result | Best Application |
|---|---|---|---|
| Standard Oven | 10 minutes | Soft / Chewy | Large batch meal prep |
| Deep Frying | 40 minutes | Greasy / Crisp | Professional kitchens |
| This Recipe | 80 minutes | Shattering / Light | High end home dining |
Choosing the right method depends on your goal for the evening. While the active time for this recipe is higher due to the brine and double dredge, the payoff in the final texture is incomparable. If you are looking for a faster alternative with slightly less fat, you might find my Air Fryer Chicken recipe to be a suitable compromise, though it lacks the buttery depth we're building here. This specific process is designed for when the crunch is the star of the show.
Building Layers Of Flavor
Protein Denaturation: The lactic acid in the full fat buttermilk breaks down the tough protein fibers in the chicken thighs, ensuring a velvety texture after the 35 minutes of cooking.
Starch Gelatinization: Combining all purpose flour with cornstarch creates a hybrid coating that hardens into a glass like structure when it hits the 220°C (425°F) heat.
Conductive Heat Transfer: Melting the 115 g (1/2 cup) of butter on a preheated pan allows the fat to immediately begin frying the bottom layer of the chicken the moment it touches the surface.
Moisture Barrier Technology: The double dredge technique creates a reinforced wall of starch that traps natural juices inside the meat while allowing the panko to stay dry and crisp on the outside.
| Ingredient Component | Gastronomic Role | Technical Pro Secret |
|---|---|---|
| Cornstarch | Structural Crispness | Inhibits gluten development for a lighter, more brittle crunch |
| Buttermilk | Chemical Tenderizer | The pH level is exactly right to soften fibers without making them mushy |
| Panko Crumbs | Texture Variation | Fine crushing increases surface area for maximum butter absorption |
| Smoked Paprika | Color and Depth | Adds a wood fired aroma without needing an actual smoker or grill |
The interaction between the cornstarch and the buttermilk is where the magic happens. While the flour provides the bulk of the breading, the cornstarch acts as a stabilizer that prevents the coating from becoming doughy.
If you've ever had breading that peels off in one sad, wet sheet, it's likely because there wasn't enough starch to bind the moisture. This recipe solves that by using a specific ratio that ensures the crust stays anchored to the skin throughout the entire 35 minute baking window.
Required Professional Kitchen Tools
To execute this recipe with precision, you need tools that can handle high thermal loads. I always recommend using a heavy duty 12 inch cast iron skillet or a professional grade rimmed baking sheet.
Thin, flimsy pans will warp under the 220°C (425°F) heat, which can cause the melted butter to pool in one corner, leading to uneven browning and potential smoking. A consistent heat surface is the difference between a golden crust and a burnt one.
Chef's Tip: Place your cast iron skillet in the oven while it preheats. This thermal mass ensures that the 115 g (1/2 cup) of butter reaches frying temperature the instant it hits the pan, preventing the chicken from soaking up cold grease.
Beyond the pan, a digital meat thermometer is non negotiable for modern gastronomy. We are looking for an internal temperature of 74°C (165°F) to ensure food safety while maintaining the silky texture of the dark meat.
Overcooking chicken thighs by even five degrees can lead to a loss of those essential juices we worked so hard to preserve during the brining phase. Precision instruments take the guesswork out of the process, allowing you to focus on the sensory cues of the kitchen.
Precise Preparation And Cooking Steps
Submerge the 1 kg (2.2 lbs) of chicken pieces into a mixture of 480 ml (2 cups) buttermilk, 10 g (2 tsp) sea salt, 5 g (1 tsp) smoked paprika, and 2 g (1/2 tsp) cayenne pepper. Note: This brine stage is essential for both flavor penetration and moisture retention.
Refrigerate the marinating chicken for at least 80 minutes to allow the lactic acid to work its magic on the protein structure.
Preheat your oven to 220°C (425°F) and place your heavy 12 inch cast iron skillet or baking sheet inside during the heating cycle.
Combine 125 g (1 cup) flour, 65 g (1/2 cup) cornstarch, 45 g (1/2 cup) finely crushed panko, and the remaining garlic powder, onion powder, black pepper, and spices in a shallow container.
Melt the 115 g (1/2 cup) of unsalted butter and carefully pour it onto the hot pan once the oven has reached its target temperature. Note: Work quickly here to maintain the pan's heat.
Dredge each piece of chicken in the flour mixture, then dip it back into the buttermilk brine, and finish with a second dredge in the flour.
Position the chicken skin side down directly into the hot buttered pan, listening for that immediate, aggressive sizzle.
Bake for 20 minutes without disturbing the pieces, allowing the bottom crust to set and brown against the hot metal.
Flip the chicken carefully using tongs and continue to bake for another 15 minutes until the crust is deep golden and the internal temperature hits 74°C (165°F).
Transfer the finished pieces to a wire cooling rack and let them rest for 5 minutes to allow the internal pressure to stabilize and the crust to fully harden.
| Servings Needed | Chicken Weight | Butter Quantity | Pan Size |
|---|---|---|---|
| 2-3 People | 1.1 lbs (0.5 kg) | 1/4 cup (60g) | 10 inch Skillet |
| 5 People | 2.2 lbs (1 kg) | 1/2 cup (115g) | 12 inch Skillet |
| 8-10 People | 4.4 lbs (2 kg) | 1 cup (230g) | Full Baking Sheet |
Scaling this recipe requires a bit of attention to surface area. If you are doubling the batch, ensure your chicken pieces aren't crowded; overcrowding creates steam, and steam is the enemy of a shattering crust.
For larger groups, I find using two separate baking sheets on different racks works better than trying to cram everything onto one tray. Just remember to rotate the pans halfway through the 35 minute cook time to account for any hot spots in your oven.
Fixing Most Frequent Cooking Mistakes
Why Your Coating Is Falling Off
One of the most frustrating issues in the kitchen is when your beautiful crust decides to detach from the bird. This usually happens because the surface of the chicken was too wet before the first dredge, or there wasn't enough "glue" in the form of buttermilk.
To fix this, ensure you aren't shaking off too much brine before the first flour dip. The double dredge is designed specifically to solve this by creating multiple interlocking layers of starch and moisture.
Understanding Soggy Bottom Crusts
If the top of your chicken is crispy but the bottom is a damp mess, it's a sign that your pan wasn't hot enough when the chicken was added. The butter needs to be shimmering and the pan needs to be preheated for the full duration of the oven's warmup.
If you miss that initial sizzle, the breading will simply absorb the fat rather than frying in it. Next time, give the pan an extra five minutes in the oven before adding the butter and the bird.
Managing Dark Exterior With Raw Middle
High heat at 220°C (425°F) is great for crunch, but it can be unforgiving. If your chicken is getting too dark before the 35 minutes are up, you likely have the pan positioned too close to the top heating element. Move it to the center rack.
If the problem persists, you can loosely tent the chicken with foil for the last 10 minutes, though this may soften the crust slightly. Always rely on your thermometer rather than visual cues alone.
| Problem | Root Cause | Solution |
|---|---|---|
| Greasy Breading | Butter wasn't hot enough | Preheat pan for 15 mins at 220°C (425°F) |
| Pale Crust | Not enough paprika or butter | Ensure every piece is sitting in a pool of fat |
| Tough Meat | Skip the brining stage | Brine for at least 80 minutes to break down fibers |
Common Mistakes Checklist
- ✓ Forgetting to crush the panko: Large crumbs don't adhere as well as finely ground ones.
- ✓ Overcrowding the pan: Leave at least an inch between pieces to allow for air circulation.
- ✓ Using cold chicken: Take the chicken out of the fridge 15 minutes before dredging to take the chill off.
- ✓ Flipping too early: The bottom needs a full 20 minutes to develop a structural crust before you move it.
- ✓ Using low-fat buttermilk: The fat in full fat buttermilk is crucial for a velvety interior.
Adapting For Special Dietary Needs
In the world of modern gastronomy, being able to pivot for different dietary requirements is a vital skill. Making this recipe gluten-free is actually quite simple because cornstarch is already a major player in our texture profile.
If you're looking for an alternative to the 125 g (1 cup) of all purpose flour, a high-quality gluten-free 1 to-1 blend works remarkably well. The panko can be swapped for gluten-free breadcrumbs or even crushed pork rinds if you're leaning toward a lower carb approach.
If you find yourself out of buttermilk, don't worry. You can create a functional alternative by adding a tablespoon of lemon juice or white vinegar to regular milk and letting it sit for 10 minutes.
While it won't have the exact same viscosity as the real deal, the acid will still perform the necessary protein denaturation. If you are experimenting with variations, you might even consider adding a bit of heat to the brine with extra cayenne or a dash of hot sauce to build another layer of flavor.
| Original Ingredient | Substitute | Why It Works |
|---|---|---|
| Buttermilk (2 cups) | Plain Yogurt + Water | Similar acidity levels for tenderizing. Note: Result is slightly thicker. |
| Panko (45g) | Crushed Cornflakes | Provides a similar jagged surface area. Note: Adds a subtle sweetness. |
| Unsalted Butter | Ghee (Clarified Butter) | Higher smoke point and intense nutty flavor. |
When making these swaps, keep an eye on your 35 minute timer. Ingredients like cornflakes can brown faster than panko, so you might need to check the color at the 30 minute mark. If you love a bit of heat, try adding some hot honey to the chicken during the last 5 minutes of baking. For more ideas on how to build bold flavor profiles, checking out my Copycat Raising Canes Sauce can provide a great dipping companion for these tenders.
Maintaining Texture During Storage
Storage is where many "crispy" recipes fail, but because of our double dredge technology, this chicken holds up better than most. If you have leftovers, place them in a single layer in an airtight container.
Avoid stacking the pieces, as the residual moisture from the bottom pieces will soften the crust of the ones on top. They will stay safe in the refrigerator for up to 3 days, though the texture will naturally change as the starches absorb ambient moisture.
For long term preservation, you can freeze the cooked pieces for up to 2 months. To reheat, avoid the microwave at all costs; it will turn your shattering crust into a gummy mess. Instead, place the pieces on a wire rack over a baking sheet and heat them in a 200°C (400°F) oven for about 10–12 minutes.
This allows the air to circulate and re crisp the panko layers without overcooking the meat inside.
Zero waste cooking is another great way to use these leftovers. Any extra panko or flour mixture that didn't touch raw meat can be toasted and used as a crunchy topper for a Broccoli Casserole recipe. If you have leftover chicken, it makes an incredible base for a cold chicken salad the next day. The smoked paprika and garlic notes only deepen after a night in the fridge, making the second day experience just as rewarding as the first.
Debunking Common Kitchen Myths
There is a persistent myth that "sealing" meat at high temperatures locks in the juices. In reality, juiciness is a result of protein structure and water retention, not a magical seal. Our buttermilk brine is what actually keeps the chicken moist by changing the protein's ability to hold onto water during the cook.
The over high heat 220°C (425°F) oven is there purely for the Maillard reaction and the structural integrity of the crust, not to "trap" juice inside.
Another common misconception is that you must use oil for a "fried" result. Butter actually provides a more complex flavor profile and, due to its milk solid content, aids in the browning process far better than plain vegetable oil.
While oils have higher smoke points, the 220°C (425°F) temperature of our oven is perfectly within the range for butter when it's buffered by the moisture from the chicken. Trust the butter; it's the secret to that restaurant quality finish.
Innovative Serving Ideas
When it comes to serving, think about contrast. The shattering crunch of the chicken cries out for something creamy or acidic to balance the palate. A zesty slaw with a vinegar based dressing provides the perfect counterpoint to the buttery breading.
If you want to lean into the innovative gastronomy side of things, try serving these pieces with a side of pickled watermelon rind or a spicy honey drizzle. It elevates the dish from a simple meal to a curated experience.
For a more sustainable meal prep approach, consider serving the chicken over a bed of roasted root vegetables that can cook on a separate tray at the same temperature. The 35 minute cook time for the chicken is often enough to get small diced potatoes or carrots perfectly tender.
This allows you to utilize the full energy output of your oven while creating a complete, textured meal. Whatever you choose, remember that the "rest" period of 5 minutes is essential for the best sensory results.
If you are looking for a classic pairing that never fails, a side of creamy chicken parmesan inspired pasta or a simple green salad with a sharp vinaigrette works wonders. The goal is to keep the sides simple so the technical achievement of your Oven Fried Chicken remains the focal point. Once you've mastered this over high heat technique, you'll find it's a versatile tool in your cooking arsenal that you'll return to again and again.

Recipe FAQs
How do you cook fried chicken in the oven?
Preheat your oven and a cast iron skillet to 220°C (425°F) with melted butter on the pan. After brining and double dredging the chicken in a flour, cornstarch, and panko mix, place it skin side down on the hot surface to bake for 35 minutes before flipping for another 15 20 minutes.
Can a diabetic eat baked chicken?
Yes, though portion control is important due to the flour and cornstarch coating. Focus on serving sizes that align with your individual carbohydrate goals, and consider pairing it with high fiber green vegetables to help balance the meal.
How long does fried chicken go in the oven?
The total baking time is 35 40 minutes at 220°C (425°F). You must bake it for an initial 20 minutes, flip the pieces, and then continue for an additional 15 20 minutes until the internal temperature reaches 74°C (165°F).
How to get chicken in the oven crispy?
Dredge the chicken in a mixture of flour, cornstarch, and finely crushed panko breadcrumbs to create a sturdy exterior. Placing the pieces skin side down on a preheated pan with hot butter helps fry the underside, creating a golden crust similar to the crunch achieved when making crispy air fryer fries.
Is it true I must flip the chicken halfway through?
Yes, flipping is essential for uniform browning. The bottom side requires a full 20 minutes of contact with the hot buttered pan to develop a structural crust before you rotate the pieces to finish the other side.
Why is my chicken breading falling off in the oven?
Breading often detaches if you overcrowd the pan or flip the pieces too early. Ensure there is at least one inch of space between chicken pieces for proper air circulation, and wait the full 20 minutes before moving them to allow the crust to set properly.
How to ensure the chicken stays juicy?
Submerge the chicken in a full fat buttermilk brine for at least one hour before cooking. Once finished, move the chicken to a wire rack and let it rest for 5 minutes to redistribute the juices throughout the meat.
Southern Oven Fried Chicken

Ingredients:
Instructions:
Nutrition Facts:
| Calories | 502 kcal |
|---|---|
| Protein | 35.7 g |
| Fat | 30.9 g |
| Carbs | 18.9 g |
| Fiber | 1.2 g |
| Sugar | 1.1 g |
| Sodium | 485 mg |
