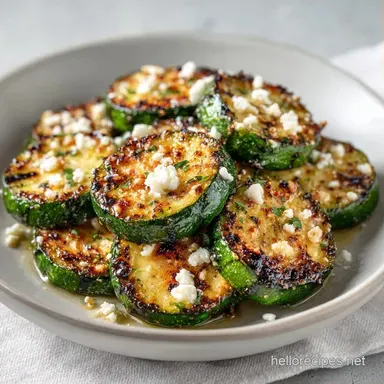
Seared Zucchini Feta: Caramelized and Salty
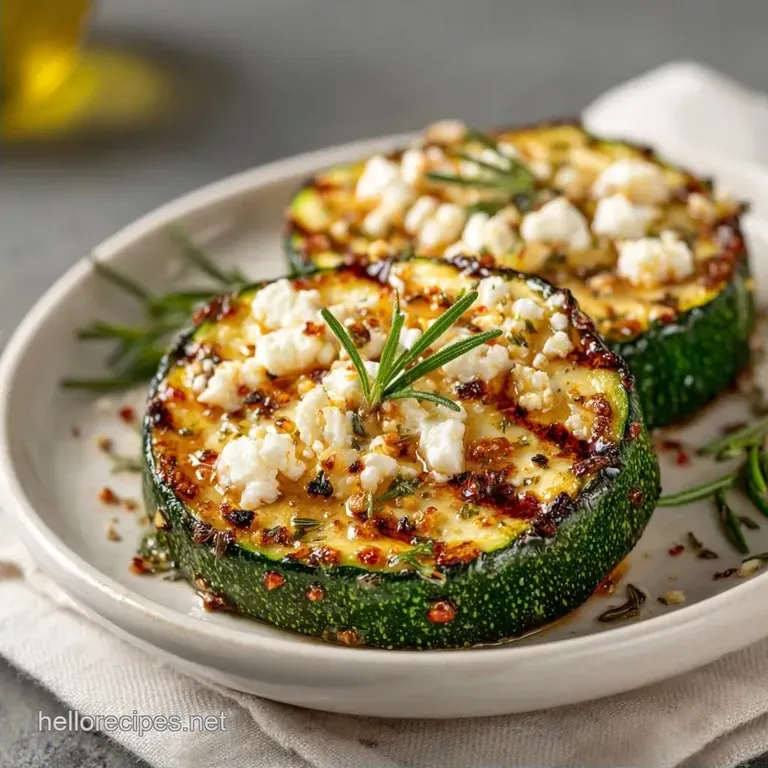
- Time: 10 min prep + 15 min cook
- Flavor/Texture Hook: Caramelized, salty, and zesty
- Perfect for: A fast, healthy weeknight side dish
The smell of zucchini hitting a hot pan with olive oil is one of those scents that immediately feels like a Mediterranean summer. I remember visiting a small village in Greece where the gardens were overflowing with squash and the feta was so salty it practically stung your tongue.
They didn't do anything fancy, just high heat and fresh herbs, but it tasted like the best thing I'd ever eaten.
Most of us treat zucchini like a filler or a steamed side, which is a crime. When you actually sear it, the natural sugars caramelize, giving you a nutty sweetness that balances the sharp tang of the cheese. It's a simple transition from a boring vegetable to something people actually fight over at the table.
This Seared Zucchini Feta recipe is all about that contrast. You get the sizzle of the pan, the velvety soften of the feta, and the bright pop of lemon. It's fast, budget friendly, and doesn't require any weird equipment.
Seared Zucchini Feta
Surface Dryness: Water is the enemy of a brown crust. Drying the slices prevents them from steaming in the pan, which ensures they sear instead of boiling.
Cast Iron Conductivity: Heavy pans hold heat better. This means when the cold zucchini hits the oil, the temperature doesn't plummet, keeping the sear consistent.
Acid Balance: Feta is heavy and salty. The lemon juice added at the end breaks through that richness and wakes up the other flavors.
Residual Heat: Adding feta at the very end uses the pan's remaining heat to soften the cheese. This prevents the feta from melting into a puddle and keeps the distinct crumbles.
| Component | Fresh Ingredients | Shortcut Version | Impact on Result |
|---|---|---|---|
| Lemon | Fresh zest/juice | Bottled lemon juice | Bottled is more acidic/bitter; loses the floral oils |
| Herbs | Fresh dill/parsley | Dried herbs | Dried lacks the "green" pop and looks duller |
| Feta | Block (brined) | Pre crumbled | Pre crumbled is drier and often coated in potato starch |
Ingredient Component Analysis
| Ingredient | Science Role | Pro Secret |
|---|---|---|
| Zucchini | Structural Base | Slice to exactly 1/2 inch to balance crust and tenderness |
| Feta Cheese | Salt & Fat | Use Greek sheep's milk feta for a more authentic "funk" |
| Olive Oil | Heat Medium | Use a high smoke point EVOO to avoid a burnt taste |
| Lemon Juice | pH Modifier | Apply only after heat is off to keep the flavor bright |
Shopping List Breakdown
- 1 lb zucchini, sliced into 1/2 inch rounds Why this? Uniform thickness ensures every slice cooks at the same rate. (Sub: Yellow squash)
- 2 tbsp extra virgin olive oil Why this? Adds a fruity depth that complements the feta. (Sub: Avocado oil for higher heat)
- 1/2 tsp kosher salt Why this? Coarser grains distribute more evenly on the vegetable surface. (Sub: Sea salt)
- 1/4 tsp freshly cracked black pepper Why this? Fresh pepper has volatile oils that pre ground lacks. (Sub: White pepper)
- 4 oz feta cheese, crumbled Why this? Provides the essential salty, creamy contrast. (Sub: Goat cheese for a milder tang)
- 1 tbsp fresh lemon juice Why this? Cuts through the fat of the cheese. (Sub: Lime juice)
- 1 tsp lemon zest Why this? Contains essential oils for a concentrated citrus aroma. (Sub: Extra lemon juice)
- 2 tbsp fresh dill or parsley, chopped Why this? Adds a fresh, earthy finish. (Sub: Fresh mint)
Essential Kitchen Tools
You don't need a fancy setup for this. A 12 inch cast iron skillet is the gold standard because it distributes heat evenly and creates a better crust than non stick. If you don't have one, a stainless steel pan works, but be careful about sticking.
A sharp chef's knife is non negotiable here. You want clean cuts on the zucchini rounds. Jagged edges lead to uneven cooking and some pieces getting mushy while others stay raw.
For the finishing touches, a microplane or a fine grater is best for the lemon zest. You only want the yellow skin, not the bitter white pith underneath.
Step-by-step Instructions
Phase 1: The Prep
- Wash and dry the zucchini thoroughly. Note: Even a little water on the surface will cause the oil to splatter and prevent searing. Slice the zucchini into uniform 1/2 inch rounds.
- In a small bowl, toss the zucchini slices with salt and pepper immediately before cooking. Note: Don't salt them too early or they'll release water, making them soggy.
Phase 2: The over High heat Sear
- Heat the olive oil in a 12 inch cast iron or stainless steel skillet over medium high heat. Wait until it shimmers and begins to smoke slightly.
- Place zucchini rounds in the pan in a single layer, leaving 1/4 inch of space between each slice. Note: Crowding the pan lowers the temperature and steams the vegetables.
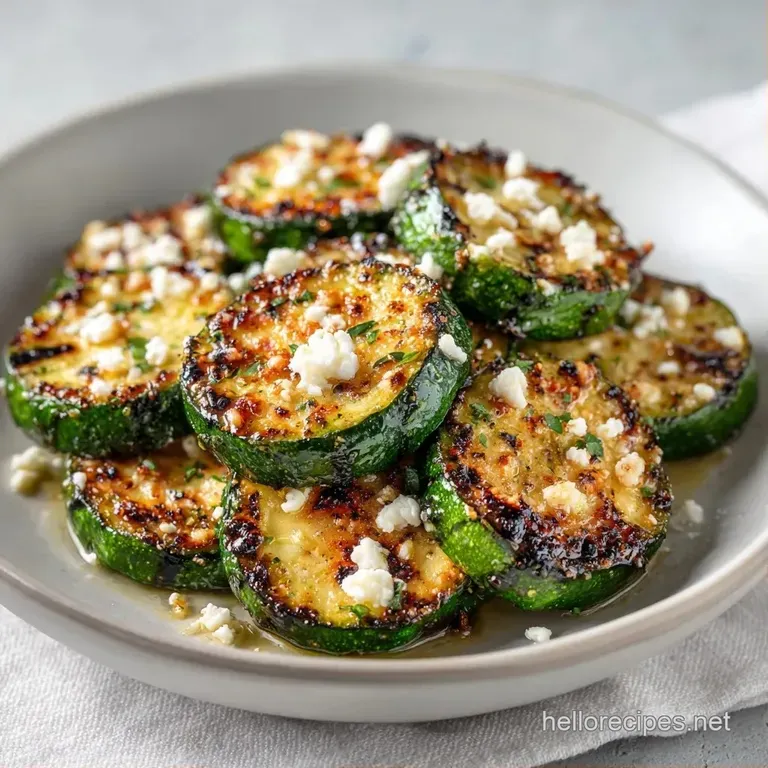
- Sear undisturbed for 3-4 minutes until deep golden brown.
- Flip the slices and sear the other side for another 3 minutes until caramelized and tender.
Phase 3: The Finishing Touch
- Turn the heat down to low and sprinkle crumbled feta evenly over the zucchini. Let it soften for 60 seconds.
- Remove from heat and immediately drizzle with lemon juice and sprinkle with lemon zest and fresh herbs.
How to Fix Common Problems
Why Your Zucchini Turns Mushy
This usually happens because of overcrowding or using too low a temperature. When the pan is too full, the moisture escaping the zucchini has nowhere to go, so it sits in the pan and boils the vegetables. According to the USDA FoodData guidelines on vegetable composition, zucchini has a very high water content, which is why high heat is essential to evaporate that moisture quickly.
For Feta That Disappears
If your cheese melted into a weird sauce instead of staying in crumbles, you likely left the pan on high heat for too long after adding the feta. Feta has a higher melting point than mozzarella, but it will still soften and spread if scorched.
For a Pale Crust
A lack of color means your oil wasn't hot enough or you flipped the zucchini too early. You have to resist the urge to poke at them. Let them sit until they naturally release from the pan.
| Problem | Root Cause | Solution |
|---|---|---|
| Zucchini is watery | Salted too early | Salt only seconds before hitting the pan |
| Feta is burnt | Heat too high at end | Turn heat to low before adding cheese |
| Oil is smoking | Pan is over heated | Remove pan from heat for 30 seconds |
Common Mistakes Checklist:
- ✓ Did you pat the zucchini completely dry?
- ✓ Is there enough space between slices in the pan?
- ✓ Did you wait for the oil to shimmer before adding vegetables?
- ✓ Did you add the lemon juice after removing from heat?
- ✓ Did you avoid stirring the zucchini during the first 3 minutes?
Adjusting the Batch Size
If you're just cooking for one, you can easily halve this. Use a smaller 8 inch skillet so the oil doesn't spread too thin and burn. You can reduce the cooking time by about 20% since there's less mass in the pan.
For a crowd, I recommend doubling the recipe but working in batches. Do not try to fit 2 lbs of zucchini in one pan, or you'll end up with a soggy mess. When doubling, only increase the salt and pepper to about 1.5x too much salt will draw out too much moisture.
If you're doing a massive batch for a party, you can actually pre sear the zucchini, let them cool, and then toss them with the feta and lemon right before serving. This keeps the texture from degrading.
Debunking Zucchini Myths
Some people think searing "locks in" the nutrients. That's not actually true. Heat always changes the nutrient profile, but searing provides a flavor depth that steaming can't touch.
Another common myth is that you need to peel zucchini. Please don't. The skin holds the structure together and contains most of the fiber. Without the skin, the slices will likely fall apart in the pan.
Finally,, some believe that all feta is the same. It's not. Brined feta in blocks is much creamier and tangier than the pre crumbled stuff you find in tubs, which often uses fillers to stop the cheese from sticking together.
Storage Guidelines
This Seared Zucchini Feta is best eaten immediately, but you can store leftovers in an airtight container in the fridge for up to 3 days.
To reheat, don't use a microwave if you can avoid it, as it makes the zucchini rubbery. Instead, toss them back into a hot skillet for 2 minutes just to warm through. Add a fresh squeeze of lemon after reheating to bring back the brightness.
For zero waste, save the zucchini ends and any bruised pieces. Toss them into a freezer bag and use them as a base for a vegetable broth or blend them into a soup. The lemon zest scraps can be dried and added to your homemade seasoning blends.
Serving Suggestions
This dish is an easy zucchini side dish that pairs perfectly with grilled proteins. I love serving it alongside a piece of lemon garlic salmon or some grilled chicken breasts. If you're looking for a more substantial meal, try it as a base for my Grilled Shrimp Orzo Pasta Salad, which shares those same bright, summer flavors.
For a more indulgent dinner, you could serve it next to a Tuscan Shrimp Pasta to create a full Mediterranean spread. The acidity of the zucchini cuts right through the creamy sauce of the pasta.
If you want to turn this into a main, serve the seared rounds over a bed of quinoa or farro. Add some halved cherry tomatoes and a drizzle of balsamic glaze for a bit of sweetness. It's a great way to get your greens in while still feeling like you're eating something special.
Right then, that's the secret to a great Seared Zucchini Feta. Just remember: high heat, dry slices, and don't overcook the cheese. Trust me, once you stop steaming your squash and start searing it, there's no going back. Let's crack on and get cooking!
Recipe FAQs
How do you cook these zucchini rounds on the BBQ?
Brush rounds with olive oil and grill over medium high heat. Cook for 3 4 minutes per side, then top with crumbled feta during the final minute of grilling.
When should I season the zucchini for the best results?
Toss the slices with salt and pepper immediately before cooking. Seasoning too early draws out moisture, which prevents the zucchini from achieving a deep sear.
Can I add these seared rounds to a pasta dish?
Yes, they make an excellent pasta topping. Gently fold the seared rounds and feta into cooked noodles and finish with a fresh squeeze of lemon juice.
How do I reheat leftovers without them becoming rubbery?
Toss them back into a hot skillet for 2 minutes. Avoid using a microwave and add a fresh squeeze of lemon after reheating to restore the brightness.
Is it true that I should salt the zucchini and let it sit for an hour to draw out water?
No, this is a common misconception. Salting too far in advance makes the zucchini soggy and ruins the caramelization process in the pan.
What is the best way to get a deep golden brown sear?
Heat the olive oil until it shimmers and begins to smoke slightly. Place rounds in a single layer with 1/4 inch of space and leave them undisturbed for 3 4 minutes.
Can I use these as a side dish for proteins?
Yes, the salty feta and lemon pair perfectly with grilled meats. If you loved the bright, acidic balance in this recipe, see how the same flavor logic works in our grilled turkey burger.
Seared Zucchini With Feta