My Grandmother's Gyoza Recipe
- Gyoza Fryer Recipe: A Culinary Journey
- The Magic Behind This Recipe
- Health and Nutrition Highlights
- Recipe at a Glance
- Perfect Ingredients Selection
- Crispy Delight: Easy Homemade Gyoza in a Gyoza Fryer
- Master Chef's Advice
- Perfect Presentation
- Storage and Make-Ahead
- Creative Variations
- Complete Nutrition Guide
- Expert FAQ Solutions
- 📝 Recipe Card
Have you ever wondered what transforms a simple dinner into a culinary masterpiece? i mean, we’re talking about homemade gyoza here those little bundles of joy that can brighten up any meal!
This recipe isn’t just any gyoza recipe; it's your ticket to crispy perfection with a filling that dances on your taste buds.
The cherry on top? it takes under an hour and is super easy to whip up. trust me; even if you’re a newbie in the kitchen, you can nail this one.
Gyoza (餃子) has a fascinating history that takes us straight to japan, where these delightful dumplings first came about. they evolved from chinese jiaozi, but japan put its own fun twist on them, adding unique flavors and cooking techniques that have made gyoza a global favorite.
What makes this crispy delight: easy homemade gyoza in a gyoza fryer stand out? well, not only do they offer that scrumptious crispy exterior, but they're also packed with savory goodness that’ll make your heart sing (seriously, is there anything better than crispy gyoza?).
These little gems are not just popular for their taste they're also incredibly versatile. you can play around with different gyoza filling ideas , switch up your gyoza variations , or even try out vegetarian dumplings .
The benefits? well, they’re a fantastic source of protein, and you can easily make them fit into a balanced diet.
Plus, they're a hit at parties, game nights, or even a cozy netflix binge!
Gyoza Fryer Recipe: A Culinary Journey
The origin of gyoza is rooted deeply in japanese culture. historically, these dumplings were considered a special treat. they are often served at celebrations and family gatherings, symbolizing prosperity and good fortune.
In modern kitchens, homemade gyoza have skyrocketed in popularity! with ideas ranging from gyoza with pork to gyoza with vegetables , you always have an excuse to indulge.
The Magic Behind This Recipe
What’s the secret sauce literally and figuratively of gyoza? it’s all about the unique flavor combinations that can bring any filling to life! this recipe uses classic ingredients like ground meat, ginger, garlic, and a splash of soy sauce, and let me tell you the gyoza dipping sauce you’ll pair it with elevates the whole dish.
What’s even better? this gyoza recipe is so easy ; it practically guides you through the process with expert tested methods.
For those pressed for time, i've got some time saving tips that’ll have you zoning in on your quick gyoza meals in no time.
Health and Nutrition Highlights
Let’s chat nutrition for a second. each gyoza packs a punch of key nutrients, making them a guilt free option for any meal.
With protein from the meat and fiber from the veggies, these dumplings deliver balanced nutrition that’ll keep your hunger at bay.
You can easily modify the filling too, to accommodate any dietary considerations you might have. after all, we all deserve a treat that matches with our wellness goals, right?
Recipe at a Glance
- Total Preparation Time : 50 minutes (with about 20 minutes of active prep)
- Skill Level Required : Easy peasy! Anyone can ace this.
- Serving Size : Yields about 4 servings (that’s 16 lovely gyoza)
- Cost Efficiency : You won’t break the bank here homemade gyoza are surprisingly affordable!
Now that you're all hyped up, you're probably wondering about the magical mix of ingredients that goes into these little packages of happiness.
Let’s dive into what you’ll need to create the ultimate gyoza dough recipe and filling that explodes with flavor. trust me; with a gyoza fryer by your side, cooking will feel like a breeze, and your taste buds will thank you later!
Perfect Ingredients Selection
When it comes to making easy gyoza , the key is in selecting the perfect ingredients . it’s like trying to find the right ingredients for a special dish at a potluck you wanna impress but also keep it simple and delicious.
So, let’s dive into what you need!
Premium Core Ingredients
First up, let's talk about those premium core ingredients . we're talking about the gyoza dough recipe and filling. for the dough , you’ll need 2 cups of all-purpose flour and ¾ cup of warm water.
Don’t forget the ½ teaspoon of salt a small amount that really goes a long way. look for a flour that has a silky texture; trust me, it makes all the difference!
When it comes to storage , keep your flour in a cool, dry place. no one likes stale ingredients! for the filling, opt for about 1 cup of ground pork (or chicken, if you prefer).
Ensure that it's fresh, not too smelly, and with a juicy look. cabbage and fresh green onions make everything pop in that gyoza filling they're like the best supporting actors in your meat filled blockbuster.
Signature Seasoning Blend
Now, here’s where the magic happens your signature seasoning blend ! you’ll want to have a few herbs and spices on hand to season things just right.
A tablespoon of soy sauce and a teaspoon of sesame oil are a must. they’ll amp up that umami flavor, making your gyoza filling sing!
For some aromatic additions, fresh ginger and garlic cloves are essential. when you grate that ginger, oh my gosh, the aroma fills your kitchen like a breath of fresh air! mix it up and taste as you go don’t be shy! use your instincts, just like crafting an authentic gyoza that's uniquely yours.
Smart Substitutions
Here’s a little life hack: smart substitutions . don’t have some ingredients? no sweat! you can swap out napa cabbage for spinach or bok choy.
Prefer a vegetarian option? go for vegetarian dumplings with a mix of mushrooms and tofu. or if you're in a pinch for some fresh ginger, paprika could work as a substitute, though it’ll change the flavor combo a bit.
Kitchen Equipment Essentials
Now that you’ve got the ingredients sorted, let’s chat about some kitchen equipment essentials . first things first, a solid gyoza fryer is a game changer.
It’ll give your crispy gyoza that delectable golden crust, but if you don’t have one, a regular skillet works too.
Just cover it with a lid after you fry them to get that steam going!
I can’t emphasize enough how handy tools like a rolling pin and a sharp knife are. nothing beats the feeling of rolling out your own gyoza wrappers.
And trust me, if you're making homemade gyoza wrappers, it'll impress your friends beyond belief.
Pro Ingredient Tips
Listen up for some pro ingredient tips . when selecting meat, look for a higher fat content; it keeps your gyoza tender and juicier.
And always taste your filling before assembling! this is a crucial step that i’ve learned the hard way!
Storage is also key. If you happen to have leftover gyoza, pop them in the freezer. They can go straight into the gyoza fryer without thawing. Super convenient for quick cooking gyoza later!
Alright, now grab your gyoza fryer, find your apron, and get ready to kick off the fun part the instructions ! i’ll share how to whip up those delightful dumplings and bring all your hard work to delicious life.
Let’s dive into the cooking!
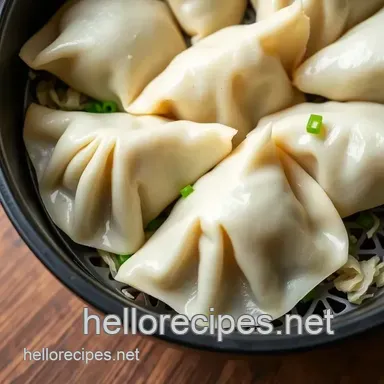
Crispy Delight: Easy Homemade Gyoza in a Gyoza Fryer
Let me tell you, homemade gyoza are a fun and tasty adventure! these little dumplings are like tiny flavor bombs, bringing the deliciousness of japanese potstickers right to your kitchen.
And if you've got yourself a gyoza fryer , oh man, you're in for a treat. seriously, it’s like having a secret weapon for perfect dumplings.
So, let’s roll up those sleeves and dive in!
Essential Preparation Steps
First things first, you gotta get that mise en place down. it means having all your ingredients ready and measured out before you start.
For this recipe, you'll want to prepare your gyoza wrappers , filling ingredients, and frying oil. trust me, it makes everything way smoother!
When it comes to prep techniques, chop those veggies nice and fine. we want them to blend well because nobody likes a chunky gyoza.
As for time management, set a timer for everything! give your dough a good 15-minute rest, and while it’s chilling, you can focus on mixing up that tasty filling.
Now for some organization tips: use a large cutting board or clean counter space. having everything lined up makes it way easier to assemble your homemade dumplings .
Nobody wants a messy kitchen, am i right?
Professional Cooking Method
Alright, here’s how you’ll make these beauties. start by making your dough. combine 2 cups of all-purpose flour with ½ teaspoon of salt and add ¾ cup of warm water .
Knead it for about 5 minutes till it’s smooth, then let it rest (that’s the gluten hanging out!).
Next, it’s filling time! grab your 1 cup of ground pork (or chicken, whatever floats your boat) and mix in your veggies - napa cabbage, green onions, ginger, garlic, soy sauce, sesame oil, and pepper .
You want a filling that’s packed with flavor.
Once you've got your filling ready, roll out your dough into 3 inch circles. Plop a spoonful of filling in the middle. Then fold it over to form those classic gyoza shapes .
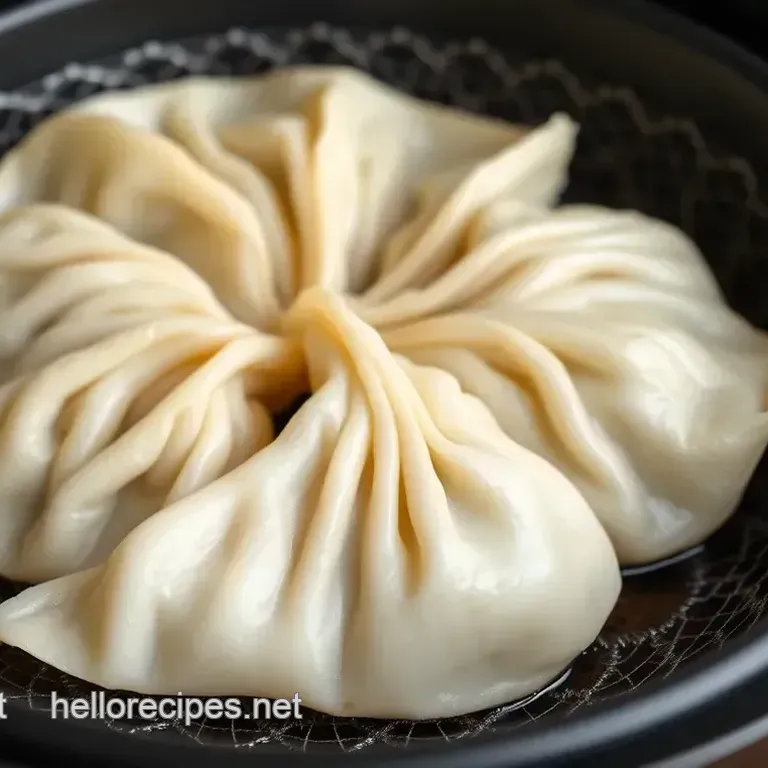
Now to cook. preheat your gyoza fryer (or skillet with a lid) and add a bit of oil. place those cute dumplings in don’t crowd ‘em.
We want them crispy! fry for about 3-4 minutes until golden. then add water, cover, and let them steam for 5-7 minutes .
Expert Techniques
When you’re frying, keep an eye on your temp. what you want is a nice sizzle, not a raging inferno! too much heat and your gyoza will burn before they’re cooked through.
My motto? if you’re unsure, go lower and take your time. patience is key here, folks!
A good indicator that your gyoza are perfect is the crispy bottom. They should sound a little crunchy when biting in, and the insides should be tender and juicy.
Success Strategies
If you mess up, don’t sweat it! maybe your dough is too dry or the filling is too runny. that happens.
Just add a bit of water to your dough if it’s dry, and if your filling feels loose, a little cornstarch can help bind everything together.
For that quality assurance, make sure to taste test your filling before wrapping it up. Adjust with more soy sauce , sesame oil, or even some chili oil if you're feeling brave!
Now that we're ready to master gyoza, you'll want to keep these tips in mind. Start with the basics, and in no time, you'll be whipping up easy gyoza like a pro!
And remember, if you're looking to explore gyoza variations , we’re gonna cover that in the next section. you’ll learn about different fillings and even how to utilize your gyoza fryer for quick meals that wow your friends.
Get ready to impress everyone with your gyoza game!
Master Chef's Advice
When it comes to cooking gyoza, having some master chef's advice can be a game changer. honestly, i’ve learned so much from watching chefs whip up these little dumplings on tv.
They always emphasize the importance of using fresh ingredients. with a gyoza recipe that calls for the right mix of veggies and meats, you can elevate your homemade dumplings to a restaurant level experience.
Professional insights highlight that sticking to traditional fillings, like ground pork or vegetables, helps keep that authentic flavor. i remember trying to mix in some funky ingredients once let's just say it didn't go well! so, when you stick with classic gyoza filling ideas , you can't go wrong.
Expert techniques like proper folding are crucial too. you want those pleats to be just right it's what gives gyoza their charm.
And if you’re a beginner, don’t sweat it! gyoza making techniques can be learned with practice. just remember, practice makes progress.
Finally, a dash of kitchen wisdom : always keep a clean workspace. messy counters lead to messy dumplings; trust me, i've been there.
And with some focus and patience, success is practically guaranteed!
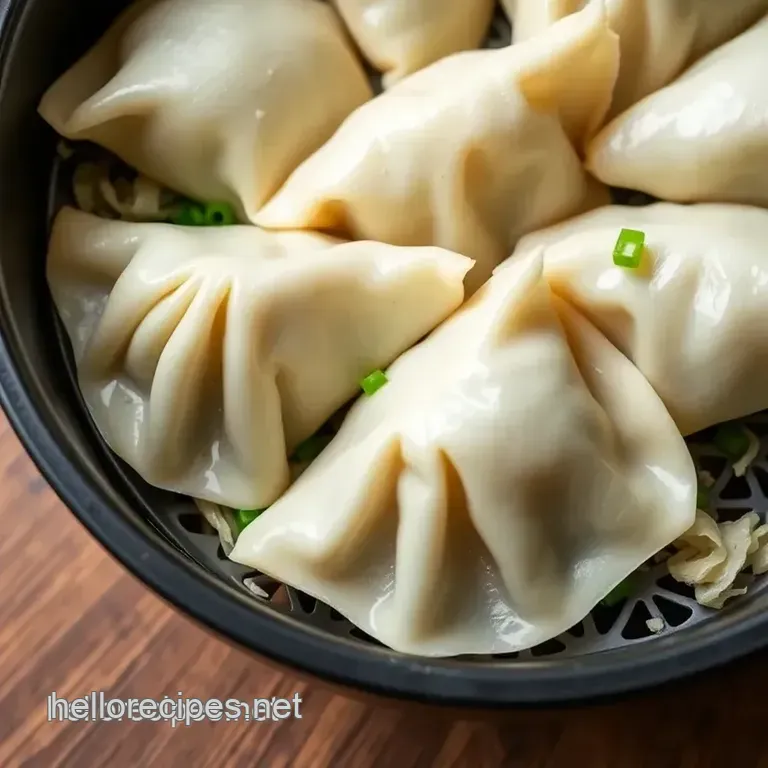
Perfect Presentation
Now let’s chat about perfect presentation because eating with your eyes first is totally a thing. plating those gyoza can really elevate your meal.
Lay them out in a circle or stack them like little treasure piles. you're gonna wow your friends!
For a nice touch, think about creative garnish ideas . a sprinkle of sesame seeds or green onions on top gives it that pop.
I've even used edible flowers for a fancy twist just don't remind me of the time i accidentally used daisies; they weren't edible.
Oops!
When you think about serving suggestions , don’t forget the magic of a good gyoza dipping sauce . a simple blend of soy sauce, rice vinegar, and a bit of chili oil can change the game.
Get the presentation right, and you'll have everyone diving in!
Also, make your meal look even more appealing with color! pair your gyoza with bright, steamed veggies or a colorful salad.
You’ll be amazed at how a splash of color can add visual appeal.
Storage and make-ahead
Let’s get into storage and make-ahead strategies. Did you know gyoza freeze beautifully? I always make a double batch and freeze some for those lazy nights when I want a quick bite.
For storage guidelines , place uncooked gyoza in a single layer on a baking sheet and pop 'em in the freezer.
Once they’re frozen solid, transfer them to a freezer bag. they can sit there for up to three months talk about a quick gyoza meal solution!
Now, if you have leftovers, you’ll want to use the right preservation methods . store them in an airtight container in the fridge for about 2-3 days.
But let’s be honest, they rarely last that long in my house!
For reheating instructions , use your trusty gyoza fryer (or an air fryer if you're feeling edgy). this way, you’ll rediscover that crispy goodness.
And remember to check the freshness tips they should smell inviting, not funky!
Creative Variations
Let’s be wild with creative variations ! Gyoza are super versatile! Swap out the traditional filling to explore different flavors. I made BBQ chicken gyoza once, and wow, people were obsessed!
You can easily adapt flavors to suit your needs try making vegetarian dumplings with mushrooms and tofu. My spoiler alert? They're just as delicious as their meatier counterparts!
Seasonal twists can take you through the year too. in summer, load 'em up with fresh corn and zucchini! and you can't forget about regional variations .
Ever tried japanese potstickers seasoned with spicy miso? game changer.
Complete Nutrition Guide
Now, onto the fun stuff: the complete nutrition guide . many think homemade dumplings are a guilty pleasure, but they can be fairly healthy too! with lean meats, fresh veggies, and no preservatives, you're on the right track.
A detailed breakdown of the nutrition values per serving can really surprise you. they’re not just tasty; they also pack a protein punch and are rich in fiber if you load up on veggies.
The health benefits are plenty! you've got your nutrients from the cabbage and protein from the meat. plus, if you’re watching calories, portion guidance is key.
A serving of four gyoza is satisfying without being over the top.
Expert FAQ Solutions
Do you ever have common concerns about making gyoza? you're not alone! lots of beginner chefs fear the filling will leak or the dough will tear, but don't worry! the experts recommend a good seal.
Pinching those edges takes practice, but it’s fun!
If you have questions, lean on the expert answers from seasoned cooks. They will tell you that practice makes perfect. Don't be afraid to mess up; you’ll learn each time.
And for those “uh-oh” moments, a solid troubleshooting guide can save the day. Flour too dry? Just add a splash of water. Dough too sticky? A sprinkle of flour works wonders.
In closing, gyoza making is a joy filled with flavor and creativity. Remember, whether you're crafting crispy gyoza using a gyoza fryer or dipping them in a homemade sauce, it’s all about having fun! So gather your ingredients, get your friends together, and dive into a gyoza adventure!
You'll be making these delicious dumplings for years to come, trust me on that!
My Grandmother S Gyoza Recipe