Garlic Butter Bread Rolls: Fluffy Buns for the Ultimate Sunday Dinner Sidekick
- Moving Beyond Dense Dinner Rolls: What Makes Our Recipe Unique
- Essential Components for Fluffy Garlic Butter Bread Rolls
- Specialized Baking Tools and Equipment Checklist
- Step and by-Step Guide to Baking Perfect Fluffy Buns
- Troubleshooting and Advanced Baker's Notes
- Handling Leftovers and Creative Garlic Butter Bread Roll Variations
- Recipe FAQs
- 📝 Recipe Card
Moving Beyond Dense Dinner Rolls: What Makes Our Recipe Unique
Listen, if I had a dollar for every time I served up a side roll that was essentially a flavourless, dense hockey puck, I could retire. We’ve all been there. You spend hours making a beautiful roast or a hearty chili, and then you try to pair it with a bread roll that needs a glass of water just to swallow.
That stops today.
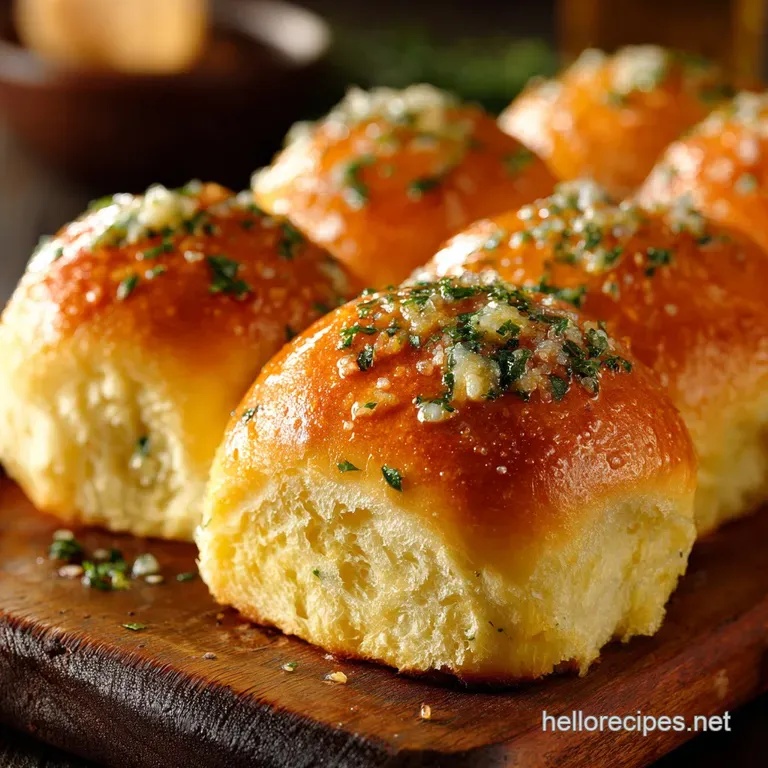
This isn’t just another Garlic Butter Bread Rolls recipe. This is the Garlic Butter Milk Bread Rolls method. The goal here is pillowy, cloud and like softness, achieved through enrichment. We aren't making sourdough.
We're making a tender, forgiving dough that soaks up every drop of that fragrant garlic butter without turning immediately soggy. Trust me on this the structure is everything. We want fluffy garlic butter buns you pull apart, not ones you saw in half.
The Secret to an Ultra and Fluffy Enriched Dough
The key difference between a good roll and a phenomenal roll is what you add besides flour, water, yeast, and salt. That’s the enrichment. We're adding whole milk, butter, and a whole egg.
These ingredients essentially "shorten" the gluten strands, which prevents the dough from developing that super chewy, rustic texture (great for baguettes, terrible for dinner rolls).
Think of the milk. It contains fat and lactose. That fat coats the gluten, making the structure incredibly tender, and the lactose doesn't get eaten by the yeast, resulting in a slightly sweeter flavour and a gorgeous golden brown crust. It keeps the dough softer longer, too. Why wouldn't you do that? It's brilliant.
Why Quality Garlic Butter is Non and Negotiable
Please, for the love of all that is delicious, use fresh garlic. I once tried to shortcut this with the pre and minced stuff in a jar because I was tired. Big mistake. It smelled metallic and lacked that sharp, aromatic punch we're aiming for. It tainted the entire batch.
The second non and negotiable? Real, unsalted butter. We control the salt content ourselves. And we apply the garlic butter twice . First, a melted, gentle coating before the second proof, which keeps the dough moist and aids browning.
Second, a raw, vibrant garlic bath immediately after they come out of the oven. If you bake fresh, raw garlic for 20 minutes, it tends to burn and taste bitter. Splitting the application is the absolute cheat code for the best homemade garlic butter for bread.
Ideal Occasions for Serving Proper Garlic Butter Bread Rolls
These aren’t just for major holidays, though they certainly show up at Thanksgiving and Christmas at my house. These Garlic Butter Dinner Rolls are really the ultimate Sunday Dinner Sidekick. They are perfect for anything saucy or liquidy that needs mopping up.
| Meal Scenario | Why These Rolls Work |
|---|---|
| Sunday Pot Roast | Absorb the rich beef gravy. |
| Creamy Tomato Soup | Dipping vehicle supreme. |
| Spaghetti Night | Scoop up leftover marinara. |
They also make spectacular leftovers for little sliders, but we can talk about that later.
Essential Components for Fluffy Garlic Butter Bread Rolls
When you’re making Homemade Garlic Butter For Bread , you need to focus on structure and flavour saturation. The high and protein bread flour is crucial because it develops enough strength to hold its shape through two rigorous rises, but the fat content from the milk and butter keeps it from ever becoming tough.
I’m insistent on using fresh parsley here too. Sure, dried works fine in a pinch, but the fresh herbs give a clean, green lift that cuts through the richness of the butter and stops the flavour from becoming too heavy. You want light, fragrant, and decadent all at once.
Specialized Baking Tools and Equipment Checklist
You don't need a stand mixer to make these though if you have one, use the dough hook, it makes life easier but there are two pieces of equipment you absolutely cannot skip if you want consistency.
The single most important tool in this entire operation is a digital thermometer. If you are still relying on dipping your finger in the milk and guessing if it's "lukewarm," you are setting yourself up for yeast failure. Get the temperature right, and your rolls will rise every time.
You’ll also need a solid 9x13 inch metal baking pan. You want the rolls to be snug against one another, so they push up instead of spreading out flat. This is how you achieve that coveted pull and apart structure.
Getting the Yeast Right: Temperature Checks and Proofing Basics
Are you still scared of yeast? Stop it. It’s a living thing, and like all living things, it just needs the right conditions.
The yeast needs to be active. You mix the warm milk (105-115°F is the sweet spot), the sugar (its food), and the yeast. Give it 5 to 10 minutes. If it foams up like the head on a cheap beer, your yeast is happy and ready to party.
If it looks flat and sad, either your milk was too hot and you killed it, or your yeast is old, and you need a new packet. Don’t waste your time mixing dough with dead yeast!
Flour Type Matters: Choosing the Best Protein Percentage
You'll notice I specify bread flour . If you only have all purpose (AP) flour, you can use it, but your rolls will be slightly less tall and a little more delicate. Bread flour has a protein content of around 12% to 14%. When you knead it, that higher protein creates stronger gluten bonds.
Those stronger bonds trap the carbon dioxide gas produced by the yeast during the rise. Better trapping means bigger, fluffier air pockets in your final fluffy garlic butter buns . Go for the good stuff here.
The Ultimate Garlic Infusion: Tips for Mincing and Melting
We need two stages of garlic butter here, remember?
- Stage 1 (Pre and Bake Coat): You melt 4 tablespoons of butter gently and stir in half the minced garlic. This is just enough to kiss the rolls with flavor and keep them moist during the second proof.
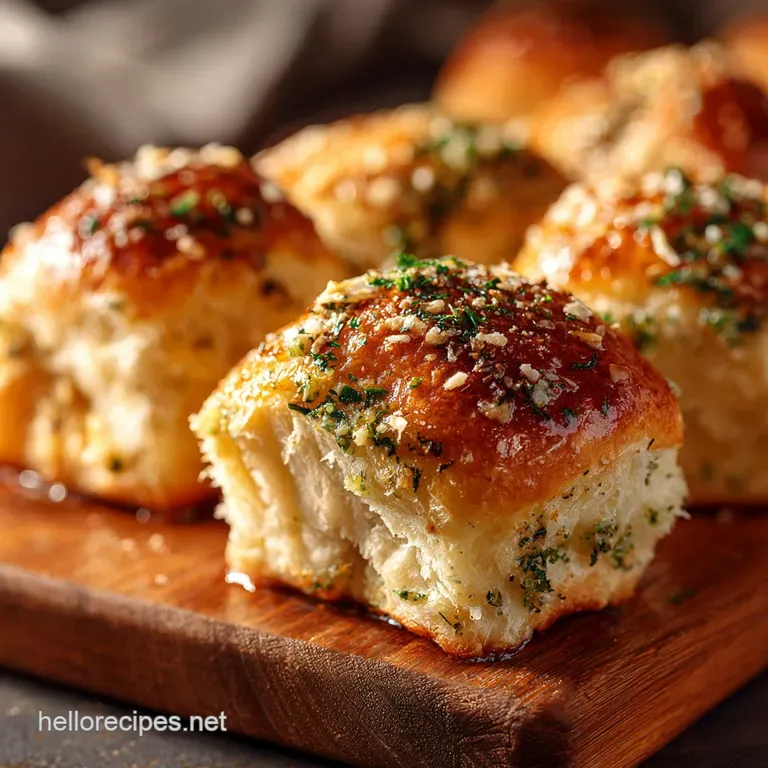
- Stage 2 (Post and Bake Glaze): This is where the magic happens. We melt the remaining 2 tablespoons of butter and stir in the rest of the raw garlic and parsley. When you brush this incredibly vibrant, fragrant mixture onto the hot rolls, the residual heat slightly cooks the garlic just enough to release its perfume without burning it. Perfection.
Preparing Your Pan: Square or Round for Optimal Shape
You want a standard 9x13 inch rectangular pan, or, if you’re feeling fancy, a 10 or 12 inch cast iron skillet. The shape doesn't matter as much as the snugness . When you arrange the 12 balls of dough, they should be touching, but not squished.
They should have room to almost double in size, but they need to be close enough that as they rise, they press against each other. This pressure is what ensures they bake into beautiful, soft and sided Garlic Butter Bread Rolls that you can pull apart without a knife.
Related Recipes Worth Trying
- Thanksgiving Recipes Collection: Perfect Brown Butter Stuffing — Thanksgiving Recipes Collection features this Brown Butter Stuffing, the unsung hero of your Full Thanksgiving Dinner. Get the perfect moist inside,...
- Pecan Pie Bars Recipe Easy Ultimate Sticky Shortbread Dessert — Pecan Pie Bars are the perfect solution for holiday baking Skip the fussy crust with our Ultimate Buttery Shortbread Pecan Pie Bars Get all the traditional...
- Flourless Chocolate Peanut Butter Muffins Fudgy GlutenFree — Flourless Chocolate Peanut Butter Muffins are a gamechanger for gluten-free breakfast These naturally grain free muffins have a fudgy rich chocolate flavor...
Step and by-Step Guide to Baking Perfect Fluffy Buns
Let’s crack on and make some dough. This process is meditative, not stressful, as long as you pay attention to your rising times.
Phase One: Activating the Yeast and Preparing the Dough Mass
This starts with getting your wet ingredients happy. After your milk is warmed and your yeast is frothing (that's the foaming party I mentioned), you stir in the melted butter and the beaten egg. Make sure the melted butter isn't hot enough to cook the egg. Then, we gradually add the flour and salt.
Don't dump the flour in all at once; incorporate it slowly until you have a sticky, shaggy mess that pulls away from the sides of your bowl.
Achieving the Windowpane: Kneading Techniques and Timing
Kneading is the workout portion of the recipe. If you’re doing this by hand, you need a good 8 to 10 minutes of solid, rhythmic pushing and folding. If you use a mixer, about 6 minutes on medium and low speed. How do you know when you’re done?
The "windowpane test." Pinch a small piece of dough (about the size of a golf ball) and gently stretch it between your fingers. If you can stretch it thin enough to see light through it without it tearing like a tiny, translucent pane of glass you’re done.
If it rips immediately, keep kneading for another minute or two. This elasticity means the gluten structure is fully developed.
First Rise and Shaping: The Critical 60 Minute Proof
The first rise (or bulk fermentation) builds flavor and structure. Place the dough in an oiled bowl, cover it, and find the warmest spot in your house. I usually put mine near a sunny window or just inside a cold oven with the light on (the light generates just enough heat).
It should double in size, taking anywhere from 60 to 90 minutes depending on your kitchen temperature. Once doubled, punch it down gently to release the gas. Divide it, shape your tight little balls, coat them in the initial garlic butter, and place them in the pan.
Baking the Rolls: Oven Temperature and Golden Brown Finish
The second rise is vital. It takes about 30 to 45 minutes, and they should look puffy. While they finish rising, preheat your oven to 375°F (190°C). Bake them until they are a deep, appetizing golden brown. Don't be shy about color. A pale roll is an undercooked roll.
To be truly certain, check the internal temperature 200°F means you have success. As soon as they emerge, brush them liberally with the fresh, fragrant Stage 2 garlic butter. Don't skimp.
Troubleshooting and Advanced Baker's Notes
If you are new to yeast baking, sometimes things go wrong. Most issues boil down to temperature or timing. If your rolls are dense, you likely either didn't knead them enough (poor gluten development) or you rushed the proofing (not enough gas production). Bread requires patience, more than anything else.
Don't rush the process, even if the total time seems long. The clock doesn't matter; the dough doubling matters.
Handling Leftovers and Creative Garlic Butter Bread Roll Variations
Leftovers are rare, but they happen! These rolls, if stored properly in an airtight container once fully cooled, stay soft for about three days. Reheat them gently in a 300°F oven wrapped in foil for about 10 minutes to bring back that warmth and softness.
What to Do If Your Dough Won't Rise (Cold Kitchen Fixes)
If you live in a perpetually cold climate, the 60 minute proof might turn into a 2 hour proof. Here are quick fixes to get things moving:
- Hot Water Bath: Place the bowl of dough on a cooling rack set over a baking dish filled with very hot, steaming water. Cover the whole setup with a clean towel.
- Oven Light Trick: As mentioned, the oven with just the light on often provides the perfect 75-80°F temperature required.
- Microwave Hack: Heat a mug of water until boiling in the microwave, then place the covered dough bowl inside the microwave next to the hot mug. The ambient moisture and heat will speed things up significantly.
Freezing Fully Baked Rolls vs. Freezing Raw Dough
While you can freeze raw dough after the first rise, I honestly find the results less consistent. The yeast tends to suffer in the freezer, resulting in a sluggish final rise.
My advice? Bake the Making Garlic Bread Rolls fully, cool them completely, and then freeze them tightly wrapped in foil and plastic. When you want to serve them, thaw them overnight on the counter and reheat in a foil packet in a warm oven until soft and fragrant again. Much safer bet.
Herb Substitutions: Adding Rosemary or Parsley to the Glaze
The classic choice is always parsley, but these rolls handle strong herbs beautifully.
For a richer flavour, swap the parsley for 1 tablespoon of finely chopped fresh rosemary. This is fantastic alongside lamb or beef. If you want a slight freshness with an Italian twist, a little finely chopped basil added to the glaze just before serving is stellar, especially when paired with the optional grated Parmesan cheese finish.
Nutritional Overview and Serving Suggestions
Yes, these are enriched rolls, so they are not diet food. They are pure comfort. But remember, the high-quality of the ingredients (whole milk, real butter) means you are putting proper fuel into your body, and frankly, life is too short for bad bread.
Pair these fluffy garlic butter buns with a big, messy bowl of my slow cooked Italian wedding soup. You’ll understand why that extra 10 minutes of kneading was totally worth it when you watch that perfectly baked bun melt into the broth. Enjoy!

Recipe FAQs
My rolls came out dense, not fluffy like a proper cushion. What went wrong?
That’s usually a proofing problem, mate. Either your milk was too hot and killed the yeast (a digital thermometer is crucial!), or you rushed the rising time. You must let the dough double in size in a warm, draught free spot during the first rise to ensure that pillow like texture.
Can I use pre-minced garlic for these Garlic Butter Bread Rolls, or does it have to be fresh?
Stick firmly to fresh garlic for these rolls. Pre-minced garlic tends to have a muted, slightly bitter flavour when baked, whereas freshly grated or minced cloves provide that vibrant, punchy aroma necessary for the magnificent finishing glaze.
I’m prepping for a Sunday roast; can I make the dough the day before?
Absolutely, you can cold proof them. After the first rise, shape the rolls, arrange them snugly in the pan, cover tightly with cling film, and refrigerate overnight; just make sure to let them warm up and finish their second proof on the counter for a full two hours before baking.
I need a dairy-free or vegan version; is the resulting texture still as good?
The texture holds up remarkably well if you use high-quality vegan butter and oat or soy milk; just ensure you swap the egg for a flax egg (ground flaxseed and water) to maintain the essential structure and richness of the enriched dough.
What is the best way to reheat leftovers without drying them out?
Don't fall for the microwave trap, unless you enjoy a jaw workout! The proper method is to wrap the leftover rolls tightly in kitchen foil and reheat them in a low oven (around 300°F / 150°C) for 10-15 minutes until they are piping hot and soft again.
Fluffy Garlic Butter Bread Rolls Recipe
Ingredients:
Instructions:
Nutrition Facts:
| Calories | 160 kcal |
|---|---|
| Protein | 4.0 g |
| Fat | 5.0 g |
| Carbs | 23.0 g |
