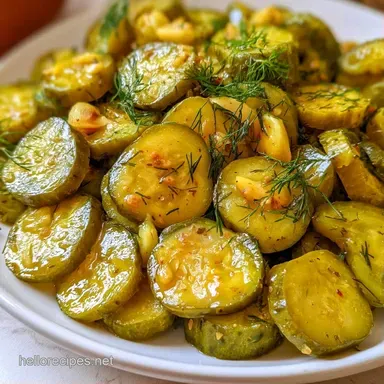
Crispy Refrigerator Dill Pickles
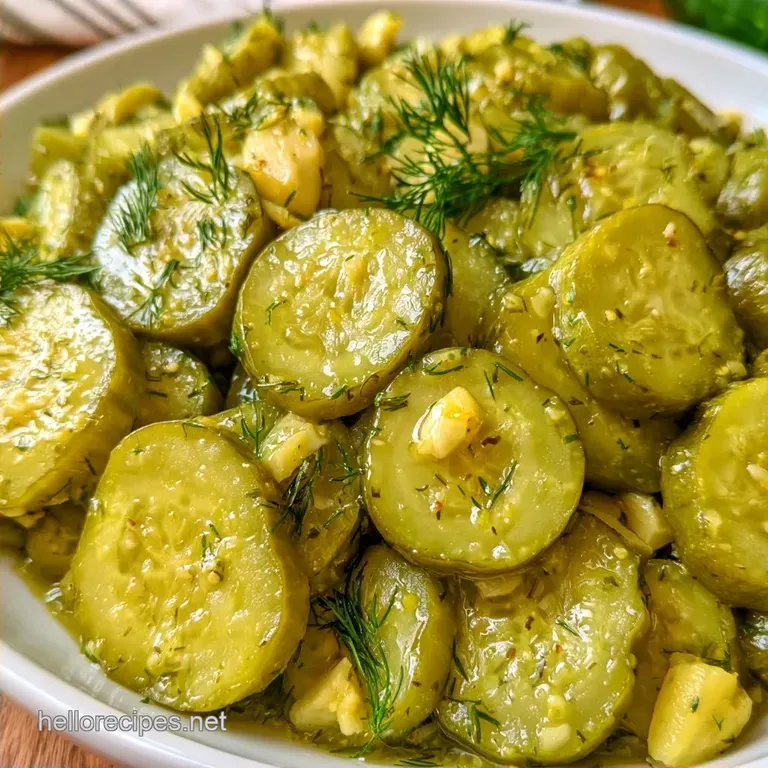
- Time: 10 min active + 24 hours chilling
- Flavor/Texture Hook: Shattering crunch with a sharp garlic bite
- Perfect for: Fast meal prep or burger nights
The sharp, vinegary sting hits your nose first, followed by that heavy punch of fresh garlic. There is nothing quite like the sound of a cold pickle snapping between your teeth. It's that specific, loud crunch that makes a sandwich feel complete.
I once tried to make these using English cucumbers because they were on sale. I followed a basic recipe, but three days later, I had jars of mushy, grey sponges. The problem wasn't the brine, it was the cucumber. English cucumbers have too much water and thin skins, which just collapse under the salt.
These Dill Pickles use a specific method to avoid that soggy mess. We use Kirby cucumbers and a quick thermal shock with the brine to keep the cell walls strong. You get a result that stays crisp for weeks in the fridge.
Easy Crispy Dill Pickles
The Kirby Advantage: Pickling cucumbers have denser cell walls and thicker skins than slicing varieties. This structure handles the salt and vinegar without turning into mush.
The Hot Brine: Pouring the brine while it's hot creates a quick seal on the cucumber skin. This helps the flavors penetrate quickly while keeping the inside firm. These snap better than most store-bought versions, making them a great addition to a Traditional Potato Salad recipe.
Salt Ratio: We use coarse sea salt to draw out just enough water. This concentrates the cucumber flavor and creates room for the vinegar to move in.
Quick Recipe Specs
This is a low intervention recipe. You spend a few minutes prepping and then let the fridge do the heavy lifting.
- Prep time: 10 minutes
- Cook time: 5 minutes
- Total time: 24 hours 45 mins
- Yield: 8 servings
What You Will Need
For these Dill Pickles, the quality of your produce is everything. Avoid any cucumbers that feel soft or have "shoulders" that are too rounded.
The garlic provides the pungent base, while the fresh dill gives it that classic garden taste. I use the stems of the dill too, as they hold a lot of the essential oils. The mustard seeds and peppercorns add a subtle heat and depth that keeps the vinegar from tasting one dimensional.
Substitution Table
| Original Ingredient | Substitute | Why It Works |
|---|---|---|
| Kirby Cucumbers (900g) | Gherkins (900g) | Similar skin density. Note: Results in smaller, punchier pickles |
| White Distilled Vinegar (240ml) | Apple Cider Vinegar (240ml) | Similar acidity. Note: Adds a slightly sweeter, fruitier tone |
| Fresh Dill (4 sprigs) | Dried Dill (2 tbsp) | Same flavor profile. Note: Less vibrant color and aroma |
| Coarse Sea Salt (30ml) | Kosher Salt (30ml) | Same salinity. Note: Ensure it is non iodized to avoid cloudy brine |
Simple Tool List
You don't need a professional setup here. Just a few basics from your cupboard will do.
- Two clean glass quart jars with tight lids
- A small saucepan for the brine
- A sharp knife and cutting board
- Measuring cups and spoons
Step by step Process
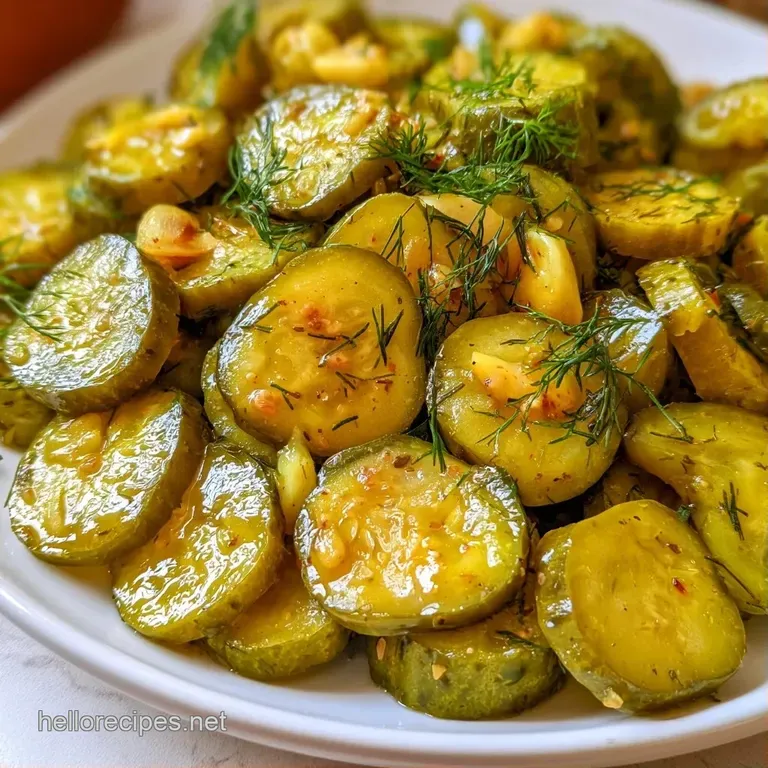
Let's get these moving. The key is to pack the jars tight so the cucumbers don't float.
- Pack the smashed garlic cloves and fresh dill sprigs at the bottom of each clean glass jar.
- Slice the Kirby cucumbers into 6mm rounds.
- Layer the sliced cucumbers on top of the garlic and dill, pressing down firmly to maximize space until the jars are filled to the shoulder.
- Combine the 240ml water, 240ml vinegar, 30ml sea salt, 15ml sugar, 15ml mustard seeds, and 5ml peppercorns in a saucepan.
- Bring the mixture to a simmer over medium heat, stirring occasionally until the salt and sugar have completely dissolved, then remove from heat immediately.
- Carefully pour the hot brine over the cucumbers, ensuring every slice is completely submerged, leaving about 12mm of headspace at the top.
- Seal the lids tightly and let the jars sit at room temperature for 30 minutes to allow the brine to penetrate the skin.
- Transfer the jars to the refrigerator and let these Dill Pickles cure for at least 24 hours.
Right then, while those are chilling, let's look at how this compares to the old school canning method.
Method Comparison
| Feature | Fast Fridge Method | Classic Canning Method |
|---|---|---|
| Processing Time | 24 hours | 1-2 weeks |
| Equipment | Simple jars | Water bath canner |
| Texture | High snap | Softer, cooked feel |
Fixing Common Issues
Even straightforward recipes can run into trouble. Here are some tips for troubleshooting the most frequent glitches with your Dill Pickles.
Soft Texture
This is usually the result of using hothouse or English cucumbers. Because these varieties are bred for salads, they contain excessive moisture. If your pickles lack crunch, double check your cucumber choice next time.
Additionally, ensure the brine isn't boiled for too long, as excessive heat can "cook" the cucumbers before they even enter the jar.
Cloudy Brine
A hazy appearance typically stems from unfiltered water or iodized table salt. The iodine reacts with the vinegar, creating a cloud. While this doesn't impact the taste or safety of the Dill Pickles, it can look unappealing. To keep the liquid crystal clear, use non-iodized sea salt and filtered water.
Too Much Salt
If they taste like salt bombs after 24 hours, don't throw them out. Simply discard a small amount of the brine and replace it with a splash of extra vinegar or filtered water. This dilutes the salinity without compromising the overall flavor profile.
Ways to Serve These
These are versatile. I usually keep a jar in the door of the fridge for a quick snack, but they shine when paired with rich foods.
They are a staple for a deli style platter. I love these on a burger with a dollop of In N Out Spread recipe to cut through the fat of the meat. You can also chop them up fine and stir them into a tuna salad or a chicken salad for an acidic pop.
Decision Shortcut
- Extra heat? → add 1 tsp extra red pepper flakes
- Sweeter finish? → increase sugar to 2 tbsp
- More punch? → add 2 more smashed garlic cloves
Storage and Zero Waste
Keep your Dill Pickles in the fridge at all times. Because we aren't using a water bath canner to seal them, they aren't shelf stable.
They stay crisp and tangy for about 4 to 6 weeks in the refrigerator. Just make sure you use a clean fork every time you grab some to avoid introducing bacteria into the jar.
Don't throw away the leftover brine once the cucumbers are gone. It's basically seasoned vinegar. You can use it as a marinade for grilled chicken or drizzle it over steamed kale. Some people even use a splash of it in a Bloody Mary for a salty, savory kick.
Different Flavor Ideas
After you've mastered the basic method, feel free to customize your additions. While the brine ratio should remain constant, you can vary the aromatics.
Spicy Garlic Twist
For a punchier version of these Dill Pickles, use twice the red pepper flakes and include a sliced jalapeño in each jar. This heat develops over the 24-hour cure, creating a slow burn that complements a cold beer.
Old Fashioned Sweet Dill
For a milder taste, increase the granulated sugar to 3 tablespoons. This balances the acidity with sweetness, echoing a bread and butter style while keeping the fresh dill profile.
Low Sodium Swap
To lower the salt content, drop the sea salt to 1 tablespoon. Keep in mind that this may slightly decrease the crunch and shorten the refrigerated shelf life. I suggest eating these within 2 weeks when using less salt.
Zero Sugar Version
You can skip the sugar entirely since it's mainly for balance. The pickles will taste more acidic and "bright," making this a great option for keto or low-sugar diets.
And that's it. You've now got a foolproof way to achieve that deli style snap without spending hours in the kitchen. Just remember: use Kirby cucumbers, pour in the brine while hot, and let them chill for a full day. Your sandwiches will be much better for it.
Recipe FAQs
What is the secret to crisp dill pickles?
Use Kirby cucumbers and pack them tightly into the jars. This prevents them from floating and ensures every slice stays submerged in the brine.
Do refrigerator pickles stay fresh for long?
They remain crisp and tangy for about 4 to 6 weeks. Always use a clean fork when serving to avoid introducing bacteria into the jar.
Which vinegar works best for this recipe?
White distilled vinegar is the ideal choice. It provides a clean, sharp acidity that doesn't alter the natural color of the cucumbers.
How to make simple dill pickles?
Pack garlic and dill in jars, then fill with sliced cucumbers. Pour over a simmered brine of water, vinegar, salt, and sugar, then cure in the fridge for 24 hours.
Can I make the brine separately for pickle juice?
Simmer filtered water, white distilled vinegar, sea salt, sugar, mustard seeds, and peppercorns until dissolved. If you enjoyed making homemade pickle juice here, the same brine logic works for other pickled vegetables.
Is it true that you need a water bath canner for these?
Surprisingly, no. Since these are refrigerator pickles, they are not shelf stable and only require cold storage to stay safe.
Dill Pickles in 15 Minutes