Crispy Fried Chicken: Shatter Crisp Crust
- Time: Active 30 minutes, Passive 4 hours 20 mins, Total 4 hours 50 mins
- Flavor/Texture Hook: Shatter crisp mahogany crust with a zesty, tender interior.
- Perfect for: High impact weekend gatherings or the ultimate family treat.
- The Sensory Joy of Shatter Crisp Fried Chicken
- What Actually Makes the Coating Stay So Crispy
- Essential Metrics for the Perfect Golden Crunch
- The Science of Flavor Building With Essential Ingredients
- Precision Tools for Innovative Stovetop Gastronomy
- Layering Flavor Through a Controlled Dredging Process
- Mastering Texture Recovery and Troubleshooting
- Sustainable Swaps and Innovative Flavor Twists
- Maintaining Structural Integrity During Storage
- Synergistic Side Dishes for a Complete Experience
- Kitchen Myths and Realities
- CRITICAL: Very High in Sodium
- Recipe FAQs
- 📝 Recipe Card
The Sensory Joy of Shatter Crisp Fried Chicken
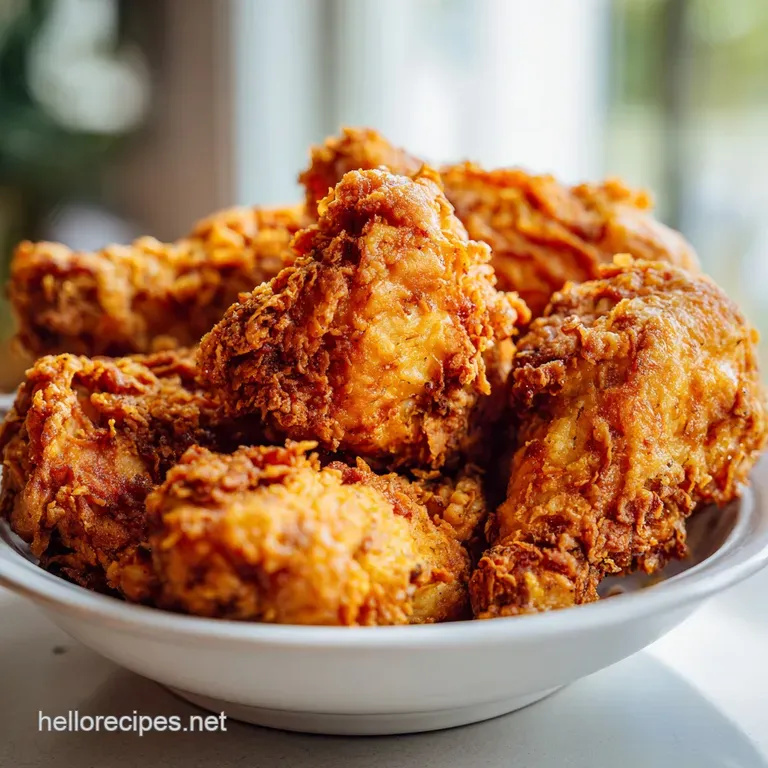
There is a specific sound that defines a successful kitchen afternoon, and it isn't the timer going off or the clink of silverware. It is that distinctive, high pitched "shatter" when you first bite into a piece of perfectly executed Crispy Fried Chicken. I remember the first time I actually got this right.
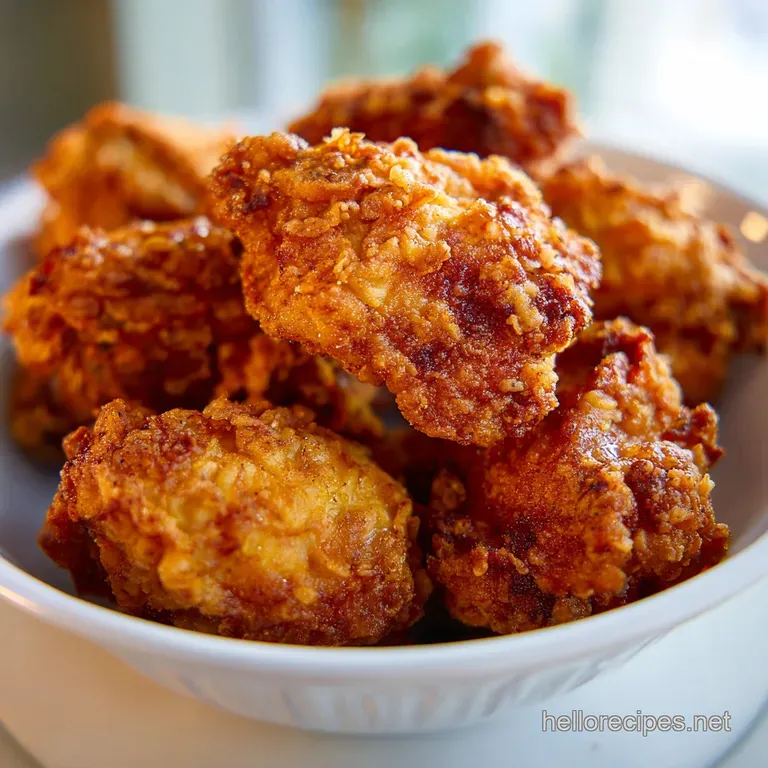
I was standing over a bubbling Dutch oven on a humid Sunday, my windows fogged with the scent of toasted flour and savory spices. The air was thick with anticipation. When I finally pulled that first drumstick out, it looked like a piece of topographical art all ridges, crags, and golden peaks.
The aroma alone was enough to stop conversation. It wasn't just "fried"; it was a complex layering of smoked paprika, the slight tang of fermented buttermilk, and the clean, nutty scent of hot peanut oil.
We often think of this dish as a simple staple, but there is a genuine gastronomy involved in getting that crust to stay attached while the meat remains glistening and moist. It’s about more than just tossing meat in flour; it’s about managing moisture and heat with the precision of a lab tech but the soul of a hungry home cook.
That afternoon, I realized that the secret wasn't a hidden ingredient or a brand name seasoning. It was the physics of the "shaggy" bits those little clumps of dough that form when you flick liquid into your flour. Those bits are the architectural anchors of crunch.
They create a massive amount of surface area, and in the world of frying, more surface area equals more texture. This recipe is the culmination of those observations, designed to give you that same sensory explosion every single time you light the stove.
What Actually Makes the Coating Stay So Crispy
The secret to a coating that shatters instead of bends lies in the innovative balance of proteins and starches. Most home cooks rely solely on all purpose flour, which contains gluten.
While gluten provides structure, too much of it can result in a coating that is tough or "bready." By integrating cornstarch, we effectively dilute the protein content. Cornstarch is a pure starch with no gluten forming potential; when it hits the hot oil, it fries up into a thin, brittle lattice that provides that coveted snap.
Lactic Acid Tenderization: The buttermilk acts as a biological tenderizer, where the mild acid breaks down tough protein fibers without turning the meat into mush.
The Hydration Barrier: Resting the breaded chicken for 15 minutes allows the flour to fully hydrate, creating a structural bond between the skin and the dredge that prevents the crust from slipping off.
Starch Gelatinization: As the chicken hits the 325°F oil, the starches in the flour and cornstarch absorb moisture from the chicken’s surface, expand, and then rapidly dehydrate into a rigid, crispy shell.
Thermal Momentum: Using a heavy bottomed vessel like a Dutch oven ensures the oil temperature doesn't plummet when the cold chicken is added, maintaining the constant sizzle required to prevent oil absorption.
| Method | Time | Texture | Best For |
|---|---|---|---|
| Stovetop | 20 minutes | Maximum shatter crisp ridges | Authentic results |
| Oven | 35-40 minutes | Even browning, less "crunch" | Lower active effort |
| Air Fryer | 18-22 minutes | Leaner, very crispy | Smaller batches |
Choosing your method depends on the texture you desire. While the stovetop method outlined here provides the most innovative crust development, you can check out my Air Fryer Chicken if you are looking for a more streamlined, everyday approach. The stovetop remains the gold standard for that mahogany finish, but technology has made alternative methods surprisingly viable for the modern cook.
Essential Metrics for the Perfect Golden Crunch
When we talk about precision in the kitchen, we aren't just being fussy. Frying is a game of thermodynamics. If your oil is too cold, the chicken acts like a sponge, soaking up fat and becoming heavy. If it’s too hot, the exterior burns before the interior reaches safety.
This is why we use specific numeric checkpoints. We are aiming for a quart of peanut oil maintained at 325°F. This specific temperature allows the water inside the chicken to turn to steam, pushing outward and creating a "steam barrier" that prevents oil from entering the meat.
| Ingredient | Science Role | Pro Secret |
|---|---|---|
| Buttermilk | Acidic tenderizer | Keeps meat juicy via osmosis |
| Cornstarch | Texture modifier | Interrupts gluten for a brittle snap |
| Peanut Oil | over High heat carrier | Clean flavor with high smoke point |
The interaction between these components is what builds the flavor layers. The buttermilk provides the base notes of tang, the spices in the dredge provide the aromatic middle notes, and the peanut oil provides the finish.
We are essentially engineering a multi sensory experience that starts with the eyes and ends with a satisfying crunch.
The Science of Flavor Building With Essential Ingredients
Creating a truly innovative Crispy Fried Chicken requires looking at your ingredients as functional components. We start with 3 lbs chicken pieces. I prefer a mix of thighs and drumsticks because the higher fat content in dark meat is more forgiving under the high heat of frying.
If you use breasts, be sure to monitor the internal temperature closely to avoid drying them out.
- 2 cups full fat buttermilk: Why this? The fat and acid combination creates a creamy, tenderizing soak.
- 1 tbsp vinegar based hot sauce: Why this? Adds a subtle piquancy that cuts through the richness of the oil.
- 3 cups all purpose flour: Why this? The structural base of our dredging architecture.
- 1/2 cup cornstarch: Why this? Ensures the crust remains light and shatters upon impact.
- 1 tbsp smoked paprika: Why this? Provides that deep mahogany color and a hint of earthiness.
- 1 tsp cayenne pepper: Why this? Delivers a controlled heat that lingers on the palate.
- 1 quart peanut oil: Why this? Its stability at high temperatures makes it the ultimate frying medium.
Don't overlook the importance of the garlic and onion powders. While fresh aromatics burn in the fryer, these powdered versions integrate into the flour, ensuring every millimeter of the crust is seasoned. This is what I mean by flavor building every step adds a new dimension of taste that wasn't there before.
Precision Tools for Innovative Stovetop Gastronomy
To execute this recipe with professional results, your equipment needs to be as reliable as your ingredients. I recommend a heavy bottomed Dutch oven, such as a Lodge 6 quart. The thick walls hold onto thermal energy, which is crucial when you drop cold chicken into the hot oil.
A thin pot will lose heat instantly, leading to a soggy crust.
Chef's Tip: Use a "flick" of water to test your oil if you don't have a thermometer. If the water sizzles and dances immediately, you're close. But for real precision, an instant read thermometer is non negotiable.
You will also need a wire cooling rack set over a baking sheet. Never, ever drain your chicken on paper towels. Paper towels trap steam against the bottom of the chicken, which will turn your hard earned crispy crust into a limp, soggy mess in minutes.
A wire rack allows air to circulate around the entire piece, keeping it "shatter crisp" on all sides while it rests.
Layering Flavor Through a Controlled Dredging Process
- Marinate the chicken. Whisk together 2 cups buttermilk, 1 tablespoon kosher salt, 1 tablespoon smoked paprika, and 1 tablespoon hot sauce. Submerge the chicken completely and refrigerate for at least 4 hours. Note: This allows the salt and acid to penetrate deep into the muscle fibers.
- Prepare the dry mix. In a shallow dish, combine 3 cups flour, 1/2 cup cornstarch, garlic powder, onion powder, cayenne, black pepper, and 2 teaspoons salt.
- Create the shaggy clumps. Drizzle 2-3 tablespoons of the buttermilk brine into the flour. Use a fork to toss it until small, pebble like clumps form. Note: These clumps create the "crags" that catch the oil and become extra crispy.
- Dredge the chicken. Remove a piece from the brine and press it firmly into the flour mixture. Ensure every crevice is covered in the shaggy bits.
- Hydrate the coating. Place the chicken on a wire rack and let it rest for 15 minutes. Until the flour looks slightly damp and "set".
- Heat the oil. Pour 1 quart of peanut oil into your Dutch oven and bring it to 325°F. Until a pinch of flour sizzles instantly.
- Fry in batches. Carefully lower the chicken into the oil. Do not overcrowd. Cook for 15-20 minutes, turning occasionally. Until the crust is mahogany brown and internal temp is 165°F.
- Drain and rest. Move the chicken to a clean wire rack. Let it rest for 5 minutes. Until the juices redistribute and the crust fully hardens.
Mastering Texture Recovery and Troubleshooting
Even with the best intentions, things can go sideways in the kitchen. The most common issue I see is the "slipping crust." This happens when the surface of the chicken is too wet before dredging, or when the flour doesn't have time to bond to the skin.
If you find your crust is sliding off like an oversized coat, you likely skipped the 15 minute resting phase. This step is essential for creating a protein starch bond that survives the turbulence of the hot oil.
Why Your Crust is Falling Off
The bond between the meat and the breading is a physical one. If there is a layer of steam trapped between the skin and the flour, the crust will lift. This is often caused by the chicken being too cold or the oil not being hot enough to set the crust instantly.
| Problem | Root Cause | Solution |
|---|---|---|
| Soggy Crust | Oil temp too low | Maintain 325°F; fry in smaller batches |
| Burnt Skin | Oil temp too high | Use a thermometer; adjust flame immediately |
| Raw at Bone | Piece too large | Finish in a 350°F oven for 5-10 mins |
Common Mistakes Checklist:
- ✓ Skipping the buttermilk soak (results in dry, unseasoned meat)
- ✓ Crowding the pot (drops oil temp and causes sogginess)
- ✓ Using paper towels for draining (traps steam and ruins texture)
- ✓ Forgetting to "flick" the brine into the flour (misses out on those crunchy crags)
Another frequent hurdle is the "Dark Outside, Raw Inside" dilemma. This usually happens when the oil is pushing 350°F or higher. The exterior sugars and starches caramelize and burn before the heat can conduct through to the bone. If this happens, don't panic.
Pull the chicken out once it's the right color and pop it into a 350°F oven for a few minutes until it hits that 165°F internal safety mark.
Sustainable Swaps and Innovative Flavor Twists
In the spirit of sustainable gastronomy, I always encourage using the whole bird. If you buy a whole chicken and break it down yourself, save the backbone and wingtips for a rich stock. This reduces waste and gives you a head start on your next meal.
If you want to push the flavor profile further, you can try the "Hot Honey" twist. After frying, drizzle the chicken with a mixture of honey and a teaspoon of the cayenne from the dredge. It creates a beautiful sweet heat contrast that is very popular in modern Southern cooking. For those who enjoy a more traditional spicy kick, my Spicy Buffalo Flavor guide offers a great alternative for those who prefer a vinegar forward heat.
| Original Ingredient | Substitute | Why It Works |
|---|---|---|
| Peanut Oil | Lard or Tallow | Traditional fats with high smoke points and rich flavor |
| Buttermilk | Yogurt + Milk | Similar acidity and thickness for tenderizing |
| Cornstarch | Rice Flour | Provides a similar brittle texture and is gluten-free friendly |
Maintaining Structural Integrity During Storage
If you have leftovers (a rare occurrence!), the goal is to preserve that "shatter crisp" quality. Store the chicken in an airtight container in the fridge for up to 3 days. However, the refrigerator is a high moisture environment, which is the enemy of crispiness.
To reheat, avoid the microwave at all costs; it will turn your chicken into a rubbery disappointment. Instead, use an oven or an air fryer at 350°F for about 5-8 minutes. This re dehydrates the crust and renders any residual fat, bringing that crunch back to life.
You can also freeze the fried chicken for up to 2 months. Thaw it overnight in the fridge before using the oven reheating method.
For a zero waste tip, if the crust just won't get crispy again, strip the meat off the bone and use it for a cold chicken salad or a decadent chicken pot pie. The smoky paprika and garlic flavors will carry over beautifully into a creamy sauce.
Synergistic Side Dishes for a Complete Experience
A dish as rich and textural as Crispy Fried Chicken needs a side that offers a "flavor contrast." Something acidic or crunchy fresh is ideal. A tangy vinegar based slaw is the classic choice because the acetic acid helps cleanse the palate between bites of rich, fatty chicken.
You might also consider serving this with warm biscuits and a side of hot honey. The fluffiness of the biscuit provides a soft counterpoint to the "shatter" of the chicken skin. If you’re looking for something a bit more substantial, a creamy mac and cheese provides a velvety texture that plays well against the craggy dredge.
Whatever you choose, make sure it has enough personality to stand up to the bold, savory profile of the chicken.
Kitchen Myths and Realities
One of the biggest myths in frying is that you need to "seal in the juices" by searing the meat. In reality, moisture loss is a function of internal temperature, not surface treatment. The crust isn't a seal; it’s a flavor and texture delivery system.
Another common misconception is that cold oil makes chicken greasy. While true that low temp oil is bad, the grease actually comes from the oil being trapped in the "pores" of the breading as the chicken cools down if it isn't drained properly on a rack.
Finally, don't believe the myth that you can't reuse your frying oil. If you used peanut oil and didn't let it smoke or burn, you can filter it through a coffee filter and store it in a cool, dark place for 2-3 more uses.
This is a more sustainable way to manage your kitchen resources and actually improves the flavor of the next batch, as the oil becomes "seasoned" over time. Just be sure to discard it once it becomes dark or develops a "fishy" aroma.

CRITICAL: Very High in Sodium
1140 mg 1140 mg of sodium per serving (50% 50% of daily value)
To improve your heart health, aim to consume no more than 2,300mg of sodium per day as recommended by the American Heart Association.
Tips to Reduce Sodium
-
Eliminate Added Salt-25%
Completely remove the 1 tbsp kosher salt and the 2 tsp salt from the recipe. The other seasonings and spices will provide flavor.
-
Check Hot Sauce Sodium-10%
Vinegar based hot sauces can vary in sodium. Opt for a low-sodium or no-salt added hot sauce, or reduce the amount used by half.
-
Boost with Herbs and Spices
Increase the flavor with fresh herbs like parsley, cilantro, or rosemary, and consider adding a pinch more black pepper, garlic powder, or onion powder.
Recipe FAQs
What is the secret to crispy fried chicken?
The secret is the liquid flick technique. Drizzling a few tablespoons of your buttermilk brine into the flour mixture creates small, shaggy clumps that fry into extra crunchy ridges on the chicken surface.
How to cook chicken for diabetic patients?
Maintain the internal temperature at 165°F while using a light coating. Since this recipe uses a precise flour and cornstarch blend, serving moderate portion sizes helps manage carbohydrate intake compared to heavier breadings.
What makes chicken crispier flour or cornstarch?
Cornstarch is the key to a lighter, more brittle texture. While all-purpose flour provides the structure, the 1/2 cup of cornstarch in this recipe inhibits gluten development, resulting in a shatter crisp crust rather than a bready one.
What is the secret to crispy deep frying?
Maintain a consistent oil temperature of 325°F. Using a thermometer prevents the crust from absorbing too much oil, which happens if the temperature drops, or burning if it gets too hot. If you enjoyed mastering heat control here, notice how temperature precision defines the finish in our other crispy poultry recipes.
Is it true I must wash the chicken before marinating?
No, this is a common misconception. Washing raw chicken splashes harmful bacteria around your kitchen; simply pat the chicken dry before placing it into the buttermilk brine for the required 4-hour minimum.
How to ensure the breading stays on during frying?
Let the breaded pieces rest on a wire rack for 15 minutes before frying. This hydration period allows the flour and spices to bond properly with the chicken, preventing the crust from sliding off in the hot oil.
How to prevent the chicken from becoming greasy?
Drain the fried pieces on a clean wire rack instead of paper towels. Placing chicken on towels traps steam underneath, which softens your hard earned crust; a rack allows air to circulate on all sides.
Crispy Fried Chicken Guide

Ingredients:
Instructions:
Nutrition Facts:
| Calories | 618 kcal |
|---|---|
| Protein | 43.5 g |
| Fat | 31.4 g |
| Carbs | 37.2 g |
| Fiber | 1.8 g |
| Sugar | 2.1 g |
| Sodium | 1140 mg |
