Bright Crisp the Foolproof Guide to Blanching Green Beans
- Recipe Introduction
- Why Bother Blanching?
- The Secret Ingredient: Time!
- The Ice Bath Is Your Friend!
- Where do these blanched green bean salad fit in?
- Ingredients & Equipment
- Bright & Crisp: Blanching Green Beans Like a Pro
- Recipe Notes for the Perfectly Blanched Green Beans Recipe
- Frequently Asked Questions
- 📝 Recipe Card
Recipe Introduction
Quick Hook
Fancy some fresh green bean recipes that don't turn to mush? Ever wondered how to get that perfect snap and vibrant green colour? You need to learn about blanching green beans ! Honestly, it's the key to unlocking green bean greatness.
Brief Overview
Blanching is a classic technique, nicked straight from the French playbook. It's dead easy, only takes about 10- 15 minutes , and this recipe makes about 4 servings .
Think of it as a quick dip in hot and cold tubs for your veggies!
Main Benefits
Blanching green beans doesn't just make them taste better. It also helps to retain their nutrients. It is great for a light lunch! Plus, perfectly blanched green beans are a game changer for salads, stir fries, or as a side.
Why Bother Blanching?
It sounds fancy, doesn't it? But honestly, green bean blanching techniques are proper simple. I can remember the first time I ever did this, I nearly ended up with the mushiest, saddest green beans known to humankind - all because I skipped the ice bath! Don't skip it! .
But it's one of the essential benefits of blanching green beans . You know?
The Secret Ingredient: Time!
The trick is understanding how long to blanch green beans . We are aiming for a bright green and slightly tender, usually takes around 3- 5 minutes .
Too long and they're mush, too short and they're still raw. Honestly, keep an eye on them, it's all about feel.
The Ice Bath Is Your Friend!
After the boiling water, they go straight into an ice bath. This stops the cooking process dead in its tracks.
It also locks in that beautiful green colour and keeps the beans crisp. And that's how you get the perfect perfectly blanched green beans recipe .
So easy.
Where do these blanched green bean salad fit in?
I really love to serve these with a big bowl of air fried green beans . Cooking fresh green beans is very easy. Try to follow my blanching vegetables guide !
Ingredients & Equipment
Right, let's dive into what you'll need for cracking this blanching green beans recipe. Honestly, it's dead simple. I promise! I've had my fair share of green bean disasters soggy, lifeless things.
But follow this, and you'll be grand.
Main Ingredients
- 1 pound (450g) fresh green beans , trimmed. Look for firm, bright green beans. Avoid any that are yellowing or feel limp. Fresh is best, you know? It's important to keep them fresh to make great Fresh Green Bean Recipes .
- 4 quarts (4 liters) water . Tap water is fine, no need to get fancy!
- 2 tablespoons kosher salt (or sea salt). Don't skimp on the salt; it seasons the beans properly.
- Ice water bath: Large bowl filled with ice and water. This is non-negotiable for perfectly blanched green beans!
I remember once trying to rush the ice bath part. Big mistake! Ended up with overcooked, sad beans. Learn from my errors!
Seasoning Notes
This is where you can get a bit creative. A simple salt is often all you need. But, essential spice combinations such as garlic and thyme added to the water are amazing.
Or a squeeze of lemon after!
For flavor enhancers, a drizzle of good olive oil after draining them does wonders. Think about using soy sauce for an Asian inspired twist.
For a blanched green bean salad , try adding some toasted almonds. Cooking Fresh Green Beans can be really fun, honestly.
Equipment Needed
- Large pot. Big enough to hold all the water and beans without overcrowding.
- Slotted spoon or spider strainer. Essential for scooping the beans out quickly.
- Large bowl. For that all-important ice bath!
Don't have a slotted spoon? A regular spoon will do in a pinch. Just takes a bit longer. Many people have been enjoying using air fried Green Beans , and it is such an easy way of making them, but blanching is important.
Right, then! Let's talk about blanching green beans . Honestly, it's a skill everyone should have in their kitchen arsenal. It's dead easy and elevates your fresh green bean recipes so much.
No more sad, floppy green beans, ever!
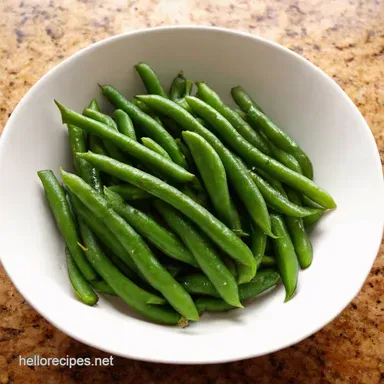
Bright & Crisp: Blanching Green Beans Like a Pro
Ever wondered how restaurants get those vibrant green beans? The secret’s out: blanching! Blanching is more than just dipping veg in hot water.
It's a way to bring out the best in your veg. The benefits of blanching green beans are amazing. It locks in that bright color and crisp texture.
Plus, it preserves nutrients!
Prep Steps: Get Your Ducks in a Row
First things first, mise en place , yeah? Get your 1 pound (450g) fresh green beans , all trimmed and ready to go.
You'll need about 4 quarts (4 liters) water , 2 tablespoons kosher salt , and a big ol' bowl of ice water.
Seriously, don't skip the ice bath! Safety first, mind you. No one wants a scalded finger, so be careful when you're chucking the beans into the boiling water.
For a time saver, trim those beans while your water is heating up.
Step-by-step: The Blanching Boogie
Right, let's get this show on the road!
- Ice Bath Time: Get that ice bath sorted first. Big bowl, loads of ice, water. Sorted.
- Boil, Boil, Toil & Trouble: Get your water to a rolling boil in a large pot. Chuck in the 2 tablespoons of salt .
- Bean There, Done That: Carefully add the trimmed green beans to the boiling water.
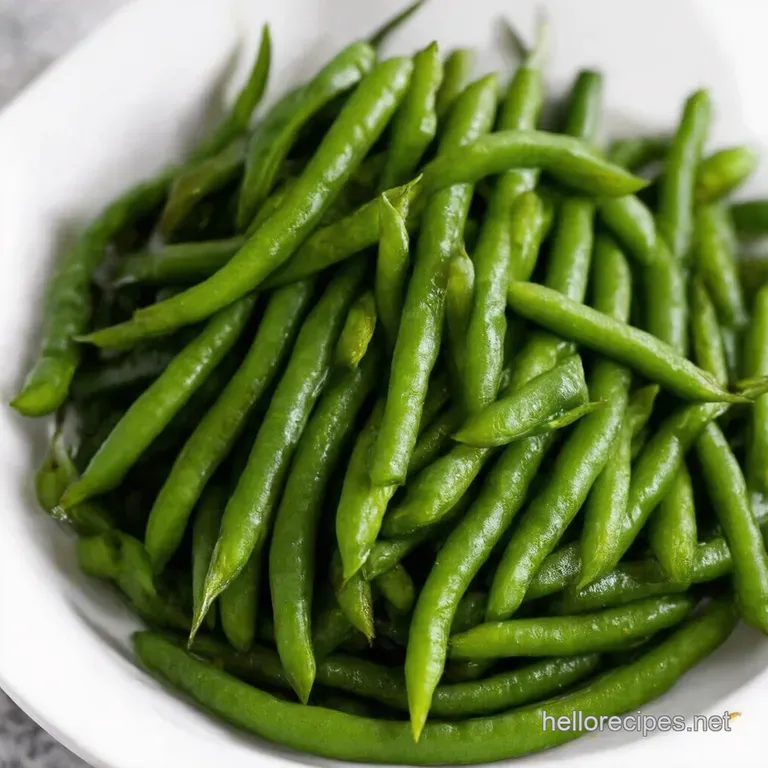
- Timing is Everything: Cook for 3- 5 minutes . Look for that bright green color and a slightly tender crisp texture. Not mushy, mind! That's your visual cue for doneness .
- Ice, Ice, Baby! : Immediately transfer the blanching green beans to your ice bath using a slotted spoon.
- Cool Down: Let those little beauties cool completely for about 2- 3 minutes .
- Drain & Dry: Drain 'em properly and pat them dry with paper towels. Soggy beans? No, thanks!
Pro Tips: Level Up Your Blanching Game
Here’s where we get fancy. Don't overcrowd the pot! Do it in batches. This keeps the water temperature consistent. Salty water is your friend.
It seasons the beans from the inside out. Honestly, how long to blanch green beans depends on your preference. But remember, timing is absolutely key to a perfectly blanched green beans recipe .
A common mistake? Overcooking. Keep a close eye, and you'll be grand! I love using these beans to make a blanched green bean salad with vinaigrette.
It’s lush!
So there you have it your foolproof guide to blanching green beans. Now get out there and make some air fried green beans too!
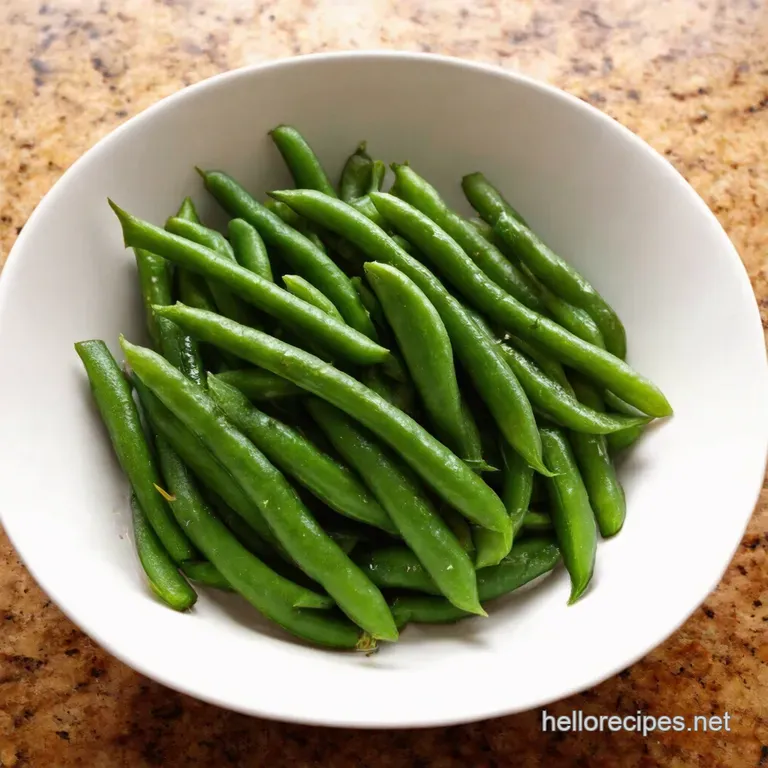
Recipe Notes for the Perfectly Blanched Green Beans Recipe
Right then, let's dive into some bits and bobs to make sure your blanching green beans experience is a right success! Honestly, it's easier than brewing a cuppa once you get the hang of it.
We want them crisp, green, and utterly scrumptious. No one wants soggy beans, do they? And honestly, one of the benefits of blanching green beans is how it keeps their vibrant colour and nutrients.
Serving Suggestions: Jazzing Up Your Greens
Fancy some presentation ideas? Pile those vibrant perfectly blanched green beans recipe high on a plate. A little drizzle of olive oil and a sprinkle of sea salt works wonders.
Or, how about arranging them artfully next to a juicy steak?
For sides, try roasted garlic potatoes or a light vinaigrette salad. A crisp Sauvignon Blanc is pretty smashing with these too. And you can enjoy a lovely blanched green bean salad .
Storage Tips: Keeping 'em Fresh
Got leftovers? No worries! Pop those cooking fresh green beans into an airtight container and they'll keep in the fridge for up to 3 days. Honestly, refrigeration guidelines are pretty basic here.
Freezing works too! Just spread the blanched and cooled beans on a baking sheet, freeze them solid, then transfer to a freezer bag.
That way, they won't stick together. They'll happily sit there for up to 3 months. For reheating instructions , just steam them or give them a quick sauté.
Variations: Tweaking the Recipe to Your Taste
Feeling adventurous? For a dietary swap, you could air fried green beans afterwards for a low-carb option. They go lovely with this.
Or toss with toasted almonds for some extra crunch and healthy fats.
Seasonally, swap the lemon zest in summer for a grating of nutmeg in winter. You can even add a bit of brown butter in this recipe! It’s all about making it your own, innit?
Nutrition Basics: Goodness in a Pod
Let's keep the simplified nutrition information easy peasy. One serving's about 35 calories. Mostly good carbs, a bit of protein, and virtually no fat.
Key health benefits ? Green beans are packed with vitamins A and C. Perfect for a healthy glow!
Now, aren't you glad you discovered the secrets of the perfectly blanched green beans recipe ? The process of green bean blanching techniques is so simple.
I'm sure you can do it, mate. So go on, give it a go! You won't regret it. And hey, if I can do it, so can you! Let me know how it goes, alright? Happy blanching! You can even check out a blanching vegetables guide if you're feeling nervous!
It also discusses how long to blanch green beans , so you'll know exactly what blanching green beans time to keep an eye on.
I promise you'll have the fresh green bean recipes ready in no time!
Frequently Asked Questions
Why bother blanching green beans anyway? Is it really necessary?
Blanching green beans is a game changer! It partially cooks them, resulting in a brighter green color and a more tender crisp texture that's much more appealing than raw or overcooked beans.
Plus, blanching helps to preserve their nutrients and sets the stage for adding them to salads, stir fries, or freezing for later use. It's a bit like giving your green beans a spa day before they become the star of the show!
How long should I cook the green beans when blanching them? I don't want them to be mushy!
The ideal blanching time for green beans is usually 3-5 minutes. You're aiming for a bright green color and a slightly tender crisp texture think "al dente," like when you're cooking pasta. The best way to check is to taste one; it should be cooked but still have a bit of a snap.
Remember, the ice bath stops the cooking process, so it's better to err on the side of slightly undercooked.
What's the deal with the ice bath? Can I skip it when blanching green beans?
Absolutely do not skip the ice bath! It's the secret weapon for perfectly blanched green beans. The ice-cold water immediately halts the cooking process, preventing the beans from becoming overcooked and mushy. It also helps to set that vibrant green color we all love.
Think of it as the "stop" button on the cooking process, ensuring your beans stay bright, crisp, and delicious.
Can I season the green beans while I'm blanching them?
Definitely! Salting the water when blanching green beans is a great way to season them from the inside out, much like you would with pasta water. You can also add other flavourings to the water, like a clove of crushed garlic or a sprig of fresh thyme or rosemary.
These aromatics will infuse the beans with a subtle but delicious flavour. It is a bit like giving your green beans a relaxing herbal bath!
How should I store leftover blanched green beans?
Once your blanched green beans are cooled, drained, and dried thoroughly, you can store them in an airtight container in the refrigerator for up to 3-5 days. Make sure they are dry to prevent them from becoming soggy.
You can also freeze them for longer storage spread them out on a baking sheet to freeze individually before transferring them to a freezer bag. They'll keep for several months!
I want to use my blanched green beans in a salad later. Any tips to keep them at their best?
Blanching green beans ahead of time for a salad is a clever move! To ensure they stay crisp, make sure they are completely dry after blanching and cooling. Store them in the fridge in an airtight container lined with paper towels to absorb any excess moisture.
For added flavour, consider tossing them with a light vinaigrette just before serving to keep them from drying out. This will keep them looking like they have just been blanched.
Bright Crisp The Foolproof Guide To Blanching Gr