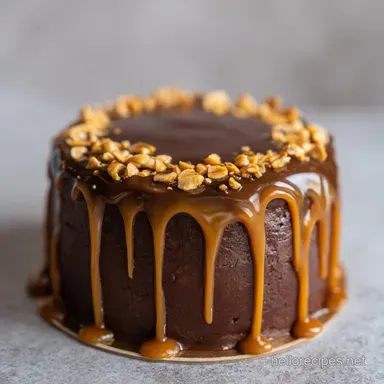
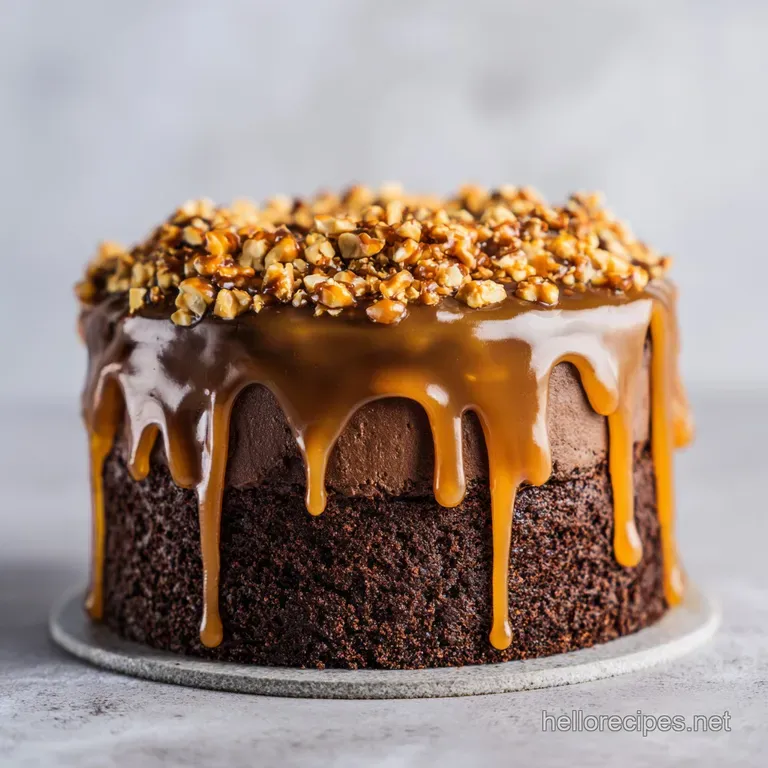
The Ultimate Snickers Cake: Rich and Creamy
- Time:15 minutes active + 30 minutes bake + 2 hours chilling = Total 2 hours 45 mins
- Flavor/Texture Hook: Velvety peanut butter cream topped with shatter crisp roasted peanuts
- Perfect for: Birthday parties, potlucks, or when you need a serious sugar hit
- The Snickers Cake
- Why This Texture Works
- Component Analysis
- Essential Ingredients & Smart Swaps
- Tools for the Job
- Step by Step Assembly
- Troubleshooting Your Bake
- Creative Ways to Twist it
- Adjusting the Batch Size
- Truths About Poke Cakes
- Keeping it Fresh
- Making it Look Great
- Recipe FAQs
- 📝 Recipe Card
The smell of warm, melted chocolate filling a kitchen is enough to bring anyone running from the other room. But let's be real, most people have tried a poke cake and ended up with a dessert that felt like a wet sponge.
I remember making one for a family reunion where the caramel just sat on top, leaving the bottom of the cake dry and the top a sticky, sugary mess. It was a disaster that looked great in photos but felt wrong on the fork.
The trick isn't just about poking holes, it's about the timing and the temperature of the soak. When the cake is just the right amount of warm, it acts like a vacuum, pulling that salted caramel and condensed milk deep into the crumb. This is how you get that consistent, fudgy texture throughout the whole slice.
If you're looking for a way to impress people without spending six hours in the kitchen, the snickers cake is your best bet. It's essentially a giant, edible candy bar in cake form. We're talking about a rich chocolate base, a gooey center, and a peanut butter frosting that feels like a cloud.
It's a bit indulgent, sure, but that's exactly why we love it.
The Snickers Cake
Right then, let's get into the actual build. The beauty of the snickers cake is that it uses a few shortcuts to get a result that tastes completely homemade. By using a quality chocolate mix and layering in fresh elements like roasted peanuts and real cream cheese, we avoid that artificial "store-bought" aftertaste.
I've found that the real magic happens in the topping. Most recipes just call for peanut butter and powdered sugar, but adding cream cheese gives it a slight tang. That acidity is crucial because it cuts through the heavy sweetness of the condensed milk and chocolate.
Without it, the snickers cake can feel a bit one dimensional.
But what about the texture? We want a contrast between the soft cake and the crunch of the candy. That's why we don't just mix the Snickers bars into the batter. We press them into the frosting at the very end. This keeps the nougat and caramel in the candy bars intact, so you get a distinct "snap" with every bite.
Why This Texture Works
The Vacuum Effect: Poking holes in a warm cake allows the crumb to contract and pull the liquid soak deep into the center.
Fat Stabilization: Combining cream cheese with peanut butter prevents the frosting from becoming too runny at room temperature.
Moisture Balance: The condensed milk provides a tacky, chewy consistency that mimics the nougat found in actual candy bars.
Contrast Layering: Using chilled heavy cream creates a light, airy contrast to the dense, soaked chocolate base.
| Method | Time | Texture | Best For |
|---|---|---|---|
| Fresh Scratch Bake | 3 hours | Airy & Delicate | Gourmet dinner parties |
| Box Mix Shortcut | 2 hours 45 mins | Dense & Fudgy | Crowd pleasing parties |
| No Bake Version | 4 hours | Truffle like | Summer heat (no oven) |
If you're curious about how different bases affect the soak, you can check out the flour guides at King Arthur Baking to see how protein content changes cake density. In this case, the denser the cake, the better it holds up to the heavy caramel infusion.
Component Analysis
| Ingredient | Science Role | Pro Secret |
|---|---|---|
| Condensed Milk | Binding agent | Use a small saucepan to warm it slightly for easier pouring |
| Cream Cheese | Flavor stabilizer | Must be truly softened to avoid lumps in the frosting |
| Heavy Cream | Aeration | Keep it ice cold until the second it hits the mixer |
| Salted Caramel | Moisture/Salt | Warm it up to ensure it penetrates the cake holes |
I once tried to use a low-fat version of the cream cheese here, and let me tell you, it was a mistake. The frosting didn't hold its shape and started to weep liquid into the cake. Honestly, don't even bother with low-fat cheese for the snickers cake.
The fat is what gives you that velvety mouthfeel and keeps the structure stable.
Essential Ingredients & Smart Swaps
For the base: - 1 box (15.25 oz / 432g) chocolate cake mix Why this? Consistent crumb for soaking - 1 cup (240ml) water - 1/2 cup (115g) vegetable oil - 3 large eggs
For the caramel soak: - 1 can (14 oz / 397g) sweetened condensed milk - 1/2 cup (120ml) salted caramel sauce, warmed Why this? Adds the signature Snickers saltiness - 1 tsp (5ml) vanilla extract
For the peanut butter frosting: - 1 package (8 oz / 225g) softened cream cheese Why this? Adds tang and stability - 1/2 cup (125g) creamy peanut butter - 1/4 cup (50g) powdered sugar - 2 cups (480ml) heavy whipping cream, chilled
For the toppings: - 5 oz (140g) Snickers bars, chopped into bite sized pieces - 1/4 cup (30g) roasted salted peanuts, crushed - 1/4 cup (60ml) chocolate syrup
| Original Ingredient | Substitute | Why It Works |
|---|---|---|
| Vegetable Oil | Melted Butter | Richer flavor. Note: Makes the crumb slightly denser |
| Creamy Peanut Butter | Almond Butter | Similar fat profile. Note: Changes the iconic Snickers taste |
| Heavy Cream | Coconut Cream | Similar fat content. Note: Adds a tropical note, best for plant based twists |
| Salted Caramel | Maple Syrup | Sweetness. Note: Lacks the buttery depth of caramel |
If you love this kind of decadent layering, you might also enjoy my Mini Salted Caramel Cheesecakes which use a similar salt and sugar balance. Trust me, the salted element is what keeps the snickers cake from being cloyingly sweet.
Tools for the Job
You don't need a professional kitchen for this, but a few things make it way easier. A 9x13 inch baking pan is non negotiable here. If you use a round pan, the soak doesn't distribute as evenly and you end up with a "puddle" in the middle.
I highly recommend a hand mixer or a stand mixer like a KitchenAid for the frosting. Trying to whip two cups of heavy cream by hand is a workout I don't wish on anyone. You want those stiff peaks to form quickly so the air stays trapped in the cream.
Finally, grab a wooden spoon or a fork for the poking process. I've seen people use chopsticks, which work, but the handle of a wooden spoon is the perfect diameter to create holes that actually let the caramel seep in.
Step by step Assembly

Phase 1: Baking the Foundation
- Preheat your oven to 350°F (175°C) and grease a 9x13 inch baking pan. Note: Grease the sides well to avoid sticking.
- Combine the chocolate cake mix, water, vegetable oil, and eggs. Beat until the batter is smooth.
- Pour batter into the pan and bake for 30 minutes until a toothpick inserted in the center comes out clean. You'll smell a deep, cocoa aroma filling the room right around the 25 minute mark.
Phase 2: The Infusion Process
- While the cake is still warm, use the handle of a wooden spoon or a fork to poke holes across the entire surface, about 1 inch apart. Note: Don't go all the way to the bottom, just about halfway through.
- Whisk together the sweetened condensed milk, warm salted caramel sauce, and vanilla extract.
- Pour the mixture evenly over the cake, ensuring it fills the holes, and let the cake cool completely. The cake should look glossy and saturated, not like there is a pool of liquid on top.
Phase 3: Layering the Flavors
- Beat the softened cream cheese, creamy peanut butter, and powdered sugar until velvety.
- In a separate bowl, whip the heavy whipping cream until stiff peaks form, then gently fold it into the peanut butter mixture. Note: Use a spatula here to keep the air in the cream.
- Spread the frosting in a thick, even layer over the cooled cake.
- Press the chopped Snickers pieces and crushed roasted salted peanuts into the cream, then finish with a drizzle of chocolate syrup.
- Chill the cake for 2 hours to allow the layers to set before serving. The frosting should feel firm to the touch before you slice it.
For the best results with the whipped cream, I always follow the stabilization tips on Serious Eats, which explain how temperature affects the fat globules. If your cream is even slightly warm, it won't hold those stiff peaks, and the snickers cake topping will collapse.
Troubleshooting Your Bake
| Issue | Solution |
|---|---|
| Why Your Cake Is Too Dry | If the cake doesn't absorb the soak, it's usually because you waited too long to poke the holes. Once the cake cools, the crumb "sets" and the pores close up, meaning the caramel just sits on the surf |
| Frosting Grainy | This happens when the cream cheese isn't fully softened or if you add the powdered sugar too quickly. Beat the cream cheese on its own first until it's completely smooth before adding any other ingred |
| Stop the Topping From Melting | If the cake isn't 100% cool before frosting, the peanut butter mixture will start to slide. Even a slightly warm cake can turn your frosting into a glaze. |
Mistakes Checklist:
- ✓ Did you grease the pan edges?
- ✓ Is the cream cheese truly room temperature?
- ✓ Did you poke holes while the cake was warm?
- ✓ Is the heavy cream ice cold?
- ✓ Did you let it chill for the full 2 hours?
Creative Ways to Twist it
If you want to move away from the standard version, you can play with the chocolate base. For a deeper, more adult flavor, I love using a dark chocolate mix or adding a tablespoon of instant espresso powder to the batter. This makes the snickers cake taste less like a candy bar and more like a gourmet dessert.
For those who love an extra punch of salt, try replacing the roasted peanuts with smoked almonds. It adds a savory, woody note that pairs brilliantly with the sweetness of the condensed milk. If you're feeling really adventurous, you could try a version with a Coca Cola cake base, similar to my Classic Coca Cola Cake for an extra hit of carbonated richness.
Decision Shortcut:
- If you want it less sweet → Use dark chocolate cake mix and double the salt in the caramel.
- If you want more crunch → Add a layer of crushed pretzels between the soak and the frosting.
- If you want it lighter → Swap the cream cheese for a mascarpone blend.
Adjusting the Batch Size
Scaling a poke cake is a bit different than a standard sponge because of the soak. If you're cutting the recipe in half, use an 8x8 inch square pan. Reduce the baking time by about 20%, but keep a close eye on it. For the eggs, beat one egg in a bowl and use exactly half of it.
When doubling the recipe for a massive party, don't just double everything linearly. I find that doubling the salt or vanilla can be overwhelming, so I only increase those by about 1.5x. Also, work in batches when whipping the cream.
Overcrowding a mixer bowl often leads to uneven aeration, and you'll end up with a dense frosting rather than a fluffy one.
If you're baking two cakes at once, lower the oven temp by 25°F (to 325°F / 160°C) and extend the time by 5-10 minutes. This ensures both cakes bake evenly without the edges burning before the center is set.
Truths About Poke Cakes
One big myth is that using a box mix is "cheating." In the world of the snickers cake, the box mix is actually a tool. Scratch cakes are often too airy and delicate, which means they can collapse under the weight of the condensed milk and caramel.
The slightly denser structure of a mix is exactly what we need for a stable soak.
Another misconception is that you can't freeze this kind of cake. Some people think the cream cheese frosting will break or the cake will become mushy. In reality, the high fat content in the peanut butter and cream cheese acts as a preservative for the texture, making it one of the best cakes for freezing.
Keeping it Fresh
Storage Guidelines: Keep the snickers cake in an airtight container in the fridge for up to 5 days. Because of the dairy in the frosting and the moisture in the soak, it absolutely cannot stay on the counter. In fact, the flavors actually meld better after 24 hours in the fridge.
Freezing Instructions: You can freeze the snickers cake for up to 3 months. Slice it into individual squares first and wrap each piece in plastic wrap, then place them all in a freezer bag. When you're ready to eat, let a slice thaw in the fridge overnight.
Don't microwave it, or the frosting will melt into a puddle.
Zero Waste Tips: If you have leftover caramel sauce or condensed milk, don't toss it! Stir it into your morning oatmeal or drizzle it over sliced bananas. If you have leftover frosting, it makes a great dip for apple slices or graham crackers.
Making it Look Great
When serving the snickers cake, the way you cut it matters. Use a hot knife dip it in boiling water and wipe it dry between every single slice. This prevents the frosting from dragging down into the cake and keeps those clean, distinct layers visible.
For a professional look, instead of just chopping the Snickers bars randomly, create a border of whole mini Snickers around the edge. Then, fill the center with the chopped pieces and a zig zag drizzle of chocolate syrup. It gives the cake a structured, intentional look that's perfect for a birthday.
If you're serving this at a party, a white platter works best. The deep browns of the chocolate and the golden hue of the peanut butter frosting pop against a white background, making the dessert look more vibrant and inviting. Pair it with a glass of cold milk or a bitter black coffee to balance the richness.
Recipe FAQs
Do I really need to chill the cake for 2 hours?
Yes, this is essential. Chilling allows the caramel soak and the peanut butter frosting to set properly, ensuring you get clean slices.
Why is my cake too dry even after adding the soak?
You likely waited too long to poke the holes. Once the cake cools, the crumb sets and the pores close, preventing the caramel mixture from absorbing into the center.
How to prevent the frosting from becoming grainy?
Beat the softened cream cheese on its own first. Ensure it is completely smooth before adding the peanut butter and powdered sugar to avoid lumps.
Is it true I can frost the cake while it is still warm?
No, this is a common misconception. The frosting will melt and slide off if the cake is not 100% cool before assembly.
Can I make the cake even moister?
Focus on the timing of your soak. If you enjoyed this level of moisture, you can apply similar saturation techniques when making a moist coconut cake.
How to ensure the caramel mixture penetrates the cake?
Poke holes about 1 inch apart using a wooden spoon handle. Do this while the cake is still warm so the liquid fills the holes effectively.
How long should I bake the cake at 350°F?
Bake for 30 minutes. Insert a toothpick into the center to verify it comes out clean before removing the pan from the oven.
The Snickers Cake