Gluten Free Flour Tortillas: Properly Pliable

- The Quest for Truly Pliable Tortillas: Why GF Recipes Often Fail
- Essential Components for the Ultimate Gluten Free Flour Tortillas
- Step-by-Step Guide: Mixing, Kneading, and Cooking the Perfect Rounds
- The Science of Softness: Achieving Maximum Stretch and Flavor
- Troubleshooting & Chef Julian’s Advanced Rolling Techniques
- Preparation and Storage: Keeping Your Tortillas Fresh
- Creative Ways to Utilize Homemade Gluten-Free Tortillas
- Recipe FAQs
- 📝 Recipe Card
The Quest for Truly Pliable Tortillas: Why GF Recipes Often Fail
The smell of freshly cooked tortillas is honestly one of my favorite things. It’s warm, slightly nutty, and a million miles better than that plasticky aroma you get ripping open a store-bought pack.
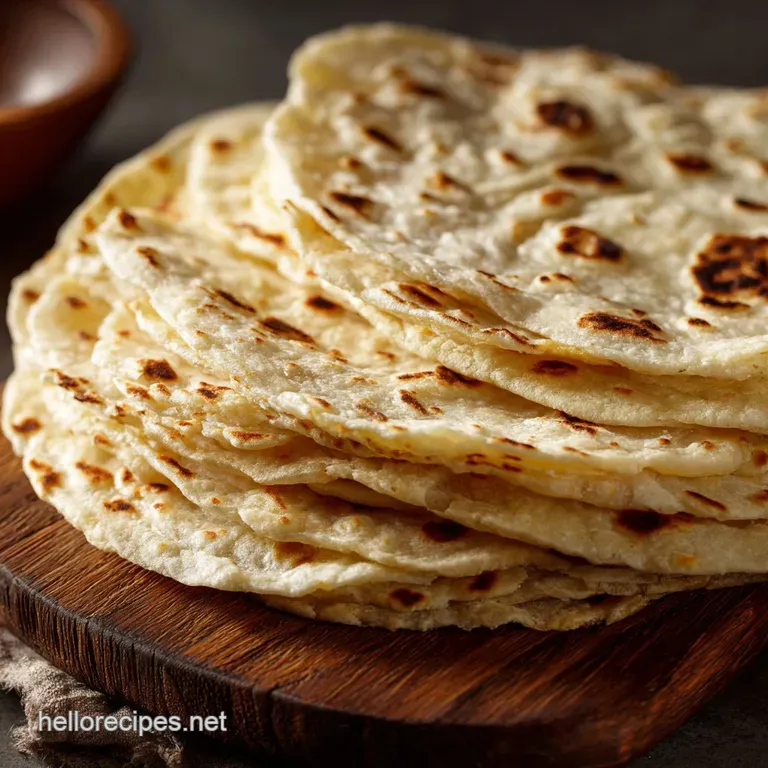
When you make these homemade gluten-free Flour Tortillas , they come off the griddle steaming, soft, and ready to roll without a single tear.
I know, I know, every gluten-free baker has horror stories about dry, brittle wraps that snap the second you try to fill them with anything substantial. But these aren’t those tortillas. This is the Best gluten-free Flour Tortillas recipe because it prioritizes flexibility and stretch.
Making them at home is also shockingly easy and way cheaper than the specialty stuff you find in the refrigerated section.
I spent years fiddling with every combo of weird flours until I nailed this perfect ratio of starches and fat. If you’re ready to ditch the crumbling sadness and finally make proper, Pliable gluten-free Tortillas worthy of a real burrito (or a huge stack of tacos), let's crack on.
The Common Pitfalls of gluten-free Dough
Traditional tortillas rely on wheat gluten for elasticity and structure. Without it, standard recipes turn into hard crackers. We often try to compensate with too much binder (hello, gummy texture!) or not enough fat (hello, dry mouthfeel!).
The biggest mistake people make is treating GF flour like regular flour. You simply cannot just mix it with cold water and expect results. That approach leads to dough that feels like playdough but cracks immediately upon rolling.
What Makes These Tortillas Different (The Pliability Secret)
We are essentially pre-cooking the starches. By using very hot water, we force the rice and tapioca starches to gelatinize before the tortilla even hits the griddle. This creates a dough that behaves almost like a mild mochi or specialized dough, giving it that vital chew and flexibility.
The high proportion of fat shortening or lard is best also shortens the texture, making the Soft gluten-free Tortillas easier to roll super thin. This combination of heat, fat, and starch is the key to achieving gluten-free Tortillas No Cracking .
Quick Recipe Overview and Prep Time
This recipe is relatively quick, but the resting period is mandatory for success. Do not skip the 30 minutes!
| Stage | Time Estimate |
|---|---|
| Active Prep Time (Mixing and ball formation) | 15 minutes |
| Hydration Rest Time | 30 minutes |
| Cook Time | 15– 20 minutes |
Essential Components for the Ultimate gluten-free Flour Tortillas
Detailed Ingredient Breakdown (Starches and Fats)
Using a reliable GF all-purpose blend is smart, but those blends rarely contain enough starch or gum to mimic gluten for something as elastic as a tortilla. We supplement to get the job done right.
- GF All-Purpose Blend: Use a blend based primarily on rice flour, not bean or chickpea flour (those give a weird taste).
- Tapioca Starch: This is the magic ingredient for stretch . It provides the crucial pliability we need for gluten-free Wraps Recipe .
- Xanthan Gum: The essential binder. If your mix already has it, cut the added amount in half or your tortillas will feel slimy.
- Vegetable Shortening: This specific fat provides tenderness without adding too much moisture, which butter sometimes does. Use it cold.
Recommended Equipment for Rolling and Cooking
You need a good rolling pin, naturally, but the real MVP here is the plastic wrap. Trying to roll this dough on a floured counter leads to sticking and uneven thickness.
Chef's Note: For the best results, invest in a simple cast iron griddle or comal. It holds heat evenly, which is critical for that quick, over high heat cooking required to make the tortillas puff without drying them out.
Handling Ingredient Substitutions (Dairy/Fat/Flour Alternatives)
If you need to make these gluten-free dairy-free Tortillas , they are easily adaptable. Since we start with shortening, they are naturally dairy-free already, unless you choose to sub with butter.
| Component | Standard Ingredient | Viable Substitute | Notes on Use |
|---|---|---|---|
| Fat | Vegetable Shortening | Cold Lard or Cold Butter | Use the same quantity. Do not substitute liquid oil. |
| Starch | Tapioca Starch | Cassava Flour or Arrowroot Powder | Tapioca is slightly superior for chewiness, but these work perfectly well. |
| Water | Very Hot Water | Very Hot Plant Milk | If attempting a richer dough (not recommended), use very hot liquid regardless. |
Ingredient Quality Checklist: What to Avoid
Avoid pre-heated or room temperature water. If your water isn't nearly boiling, the starches won't activate properly, leading to crumbly dough. Avoid adding extra flour during the initial mixing.
The dough will feel sticky before the rest; resisting the urge to add flour is how we keep the final product soft.
step-by-step Guide: Mixing, Kneading, and Cooking the Perfect Rounds
The Science of Softness: Achieving Maximum Stretch and Flavor
Phase 1: Hydrating the Mix and Forming the Dough
Get all your dry ingredients (flour, tapioca, gum, salt) into a bowl first. Whisk them up well. Next, cut in the cold shortening using your fingertips until it’s fully incorporated; it should look like coarse crumbs. Now, pour in the very hot water.
Use a wooden spoon to mix immediately; you don't want to burn your hands!
Phase 2: Dividing the Dough Balls and Resting Period
Once the dough is cool enough, turn it out and knead it gently for about four minutes. You are just aiming for a smooth, cohesive ball; don't over knead it. Divide the dough into 10 to 12 equal portions. Cover these little dough balls with a clean kitchen towel and let them rest for 30 minutes.
This rest is where the magic happens and ensures you get truly Pliable gluten-free Tortillas .
Phase 3: The Art of Rolling Thin Without Tearing
This technique is essential. Take one ball and place it between two pieces of lightly greased plastic wrap or parchment paper. Roll from the center outwards, rotating the paper frequently. You need these thin about 1.5mm to ensure they cook properly without becoming tough.
I once tried to roll a large batch without parchment and ended up sticking half of them to the counter, which was a disaster similar to when I tried making [gluten-free Chocolate Chip Cookies: Proper Thick Chewy Brown Butter Recipe] without chilling the dough first. Learn from my mistake!
Phase 4: Griddle Temperature and Cooking Technique
Heat your griddle to medium high. You want it hot enough to cook quickly, but not so hot that it scorches the flour immediately. Place the thin round directly onto the dry, hot surface. Cook for 30 45 seconds. You’ll see bubbles appear. Flip it.
Cook the second side for another 30 45 seconds. It should puff up slightly. Do not walk away. Remove it immediately and stack it inside a clean, folded kitchen towel. The steam is everything.
Troubleshooting & Chef Julian’s Advanced Rolling Techniques
Why Your Dough is Crumbly (And How to Fix It)
If your dough feels dry and falls apart when you try to roll it, you did one of two things: used water that wasn't hot enough, or didn't knead/rest long enough. The fix? Warm up a teaspoon of water and slowly work it into the dough until it comes together again. Be patient!
Achieving the Characteristic 'Puff' During Cooking
The puff happens when steam is trapped between the two cooked surfaces of the tortilla. It signifies you’ve nailed the heat and the rolling thickness. If they aren’t puffing, your heat might be too low, or you rolled them too thick.
Try increasing the griddle temperature and rolling the next one slightly thinner.
Preventing Uneven Thickness and Misshapen Tortillas
I always start rolling in the middle, then move outwards, rotating the dough 90 degrees after every few rolls. This ensures the edges don’t end up thicker than the center. If you want perfectly circular tortillas, use a 6 inch plate or cookie cutter to cut the rounds after rolling, before cooking.
Preparation and Storage: Keeping Your Tortillas Fresh
Short Term Storage: Keeping Leftovers Soft
Once cooled, transfer the stack of tortillas to a zip-top bag, squeezing out all the air, or seal them in an airtight container. They will stay perfectly soft and pliable in the refrigerator for 4 to 5 days. Remember, always store them wrapped to prevent drying out.
Best Practices for Freezing Tortilla Dough and Cooked Rounds
You can freeze either the raw dough balls or the cooked tortillas. If freezing the dough balls, wrap each one tightly in cling film and then place them all in a freezer bag. Thaw overnight in the fridge.
For cooked tortillas, let them cool completely, then stack them with small squares of parchment paper between each one. This prevents sticking. Place the stack in a heavy duty freezer bag. They keep well for up to three months.
Reheating Instructions for Maximum Pliability
Never microwave them straight from the fridge; they will get tough. The best way to reheat is quickly on a dry cast iron skillet over medium heat, about 15 seconds per side. Alternatively, wrap the whole stack in damp paper towels and microwave briefly (30 seconds) until warm and flexible again.
Creative Ways to Utilize Homemade gluten-free Tortillas
These wraps are strong enough for proper stuffing! Try them with leftover slices of the incredible [gluten-free Fried Chicken: The Crispiest, Juiciest Recipe Yet]. The crispiness and the soft wrap are just dynamite together.
- Mini Pizza Bases: Brush with oil, bake until slightly crisp, and top with sauce and cheese.
- Crisp Chips: Cut leftovers into triangles and bake at 350°F (175°C) until hard. Instant gluten-free Tortillas No Cracking chips!
- Burrito Wraps: Roll them larger (use slightly more dough per ball) and enjoy a proper, fully sealed gluten-free Flour Tortillas Burrito Size wrap that won't fall apart on you.

Recipe FAQs
Why are my gluten-free tortillas cracking or becoming brittle after cooking?
Brittleness usually stems from insufficient hydration or overcooking. Ensure your dough rests adequately (30+ minutes) to allow the starches to fully absorb the liquid, increasing pliability.
If they are cracking immediately after cooking, reduce the time on the griddle; they should remain soft and slightly pale, not crispy.
Can I use a general all-purpose gluten-free flour blend for this recipe?
While convenient, most standard GF blends lack the necessary high starch ratio required for truly pliable tortillas. For the best, most flexible results, it is crucial to use the specific combination of starches (like tapioca or potato) and binding gums outlined in the recipe, as this balance prevents the dough from crumbling.
My dough feels overly sticky and difficult to work with. Should I add more flour?
If the dough feels overly sticky immediately after mixing, resist the urge to add excess flour until it has rested. gluten-free dough hydrates slowly; allow it to rest for the full specified time (usually 30 60 minutes), and if it is still unmanageable afterward, add only a teaspoon of rice flour at a time until workable.
What is the best way to store cooked gluten-free tortillas, and can I freeze them?
Store cooled, cooked tortillas tightly wrapped in foil or sealed plastic bags at room temperature for up to three days. To freeze, stack them with small parchment paper discs in between, place them in a heavy duty freezer bag, and reheat directly from frozen on a dry, hot skillet.
The recipe calls for lard or butter. Can I make these tortillas completely vegan/dairy-free?
Yes, the recipe can easily be made vegan by substituting the animal fat with a neutral vegetable oil (like sunflower or avocado) or solid vegetable shortening. Shortening is often preferred as it yields the closest texture to traditional lard tortillas due to its similar melting point and composition.
How do I achieve perfectly round, thin tortillas without owning a specialized tortilla press?
If using a rolling pin, place the dough ball between two sheets of lightly floured parchment paper or plastic wrap. Rotate the dough frequently about a quarter turn after every second roll to ensure uniform thinning and a consistent circular shape.
Why are my tortillas coming out pale instead of having those desired brown blister spots?
Proper blistering requires a consistently high cooking temperature. Ensure your comal or skillet is fully preheated for at least five minutes before placing the first tortilla down. Insufficient heat will dry the tortilla out slowly before it can develop those desirable browned spots, leading to a tougher texture.
Pliable gluten-free Tortillas
Ingredients:
Instructions:
Nutrition Facts:
| Calories | 125 calories |
|---|---|
| Fat | 5 grams |
| Fiber | 1 grams |
