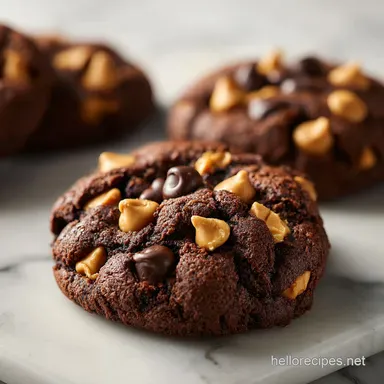
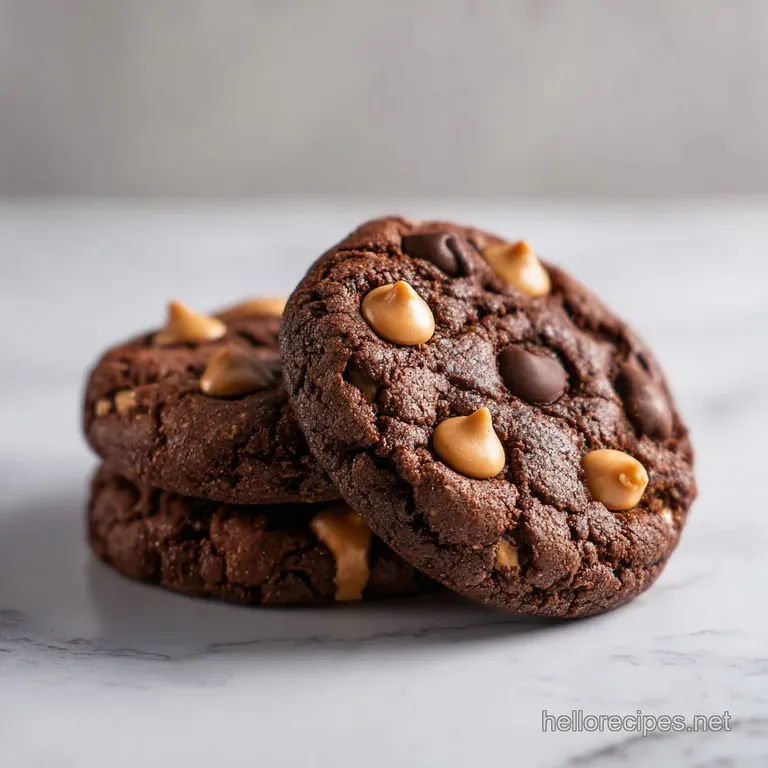
Double Chocolate Peanut Butter Chip Cookies: Chewy
- Time: 20 min active + 30 min chilling = Total 62 min
- Flavor/Texture Hook: Deep, dark cocoa with a fudgy, melt in-your mouth core
- Perfect for: Last minute bake sales or a cozy night in
- Nailing Your Peanut Butter Chip Chocolate Cookies
- Quick Look At The Details
- Ingredients And Why They Matter
- The Essential Kitchen Kit
- Step By Step Baking
- Fixing Common Cookie Issues
- Twists And Swap Options
- Adjusting Your Batch Size
- Dispelling Common Beliefs
- Keeping Your Cookies Fresh
- Making Them Look Pro
- Recipe FAQs
- 📝 Recipe Card
Nailing Your Peanut Butter Chip Chocolate Cookies
The second those cookies hit the oven, my kitchen transforms. It starts with a faint, roasted nut scent, but within five minutes, it's a heavy, velvety wave of toasted peanut butter and dark cocoa. I remember the first time I tried this; I was in such a rush that I skipped the refrigerator step.
I ended up with these sad, flat peanut butter pancakes that merged into one giant sheet on my baking tray. It was a disaster, but it taught me that patience is an actual ingredient in baking.
Now, I don't budge on the rules. When you pull these out, the edges should have a slight, papery crispness, but the middle needs to look almost underdone. That's the secret. As they cool on the pan, that center settles into a dense, fudgy texture that feels more like a truffle than a standard cookie.
If you're looking for something that hits that salty sweet craving, these are it. We're talking about a deep, dark base that lets the peanut butter chips actually stand out instead of getting lost in the sugar. Trust me, once you try the chilled dough method, you'll never go back to the "scoop and bake" rush.
Quick Look At The Details
Getting the texture right depends on a few non negotiables. Most people treat cookies like a "throw it all in" project, but the timing of the fats and sugars changes everything.
- The Chill Factor
- Cold dough prevents the butter from melting too fast, which keeps the cookies thick.
- Sugar Synergy
- Brown sugar adds moisture and a molasses note, while white sugar gives those crisp edges.
- Cocoa Depth
- Dutch processed cocoa is less acidic, creating a smoother, more chocolatey profile.
- Egg Temperature
- A room temp egg incorporates better, meaning your batter won't split or curdle.
| Method | Time | Texture | Best For |
|---|---|---|---|
| Room Temp Dough | 20 min | Flat & Crispy | Quick cravings |
| Chilled Dough | 62 min | Thick & Fudgy | Bakery style results |
| Frozen Dough | 24 hrs | Extra Chewy | Meal prep batches |
This recipe relies on a specific balance of fats. If you've ever wondered why some cookies feel like bread and others feel like fudge, it's all about how the flour hydrates. You can read more about how flour behaves in King Arthur Baking's guides, which explains why sifting is more than just a suggestion.
Ingredients And Why They Matter
I've spent way too much time testing different peanut butters for this. Please, avoid the "natural" kind that separates into oil and paste unless you're willing to stir it for ten minutes. The processed, creamy kind provides the structural stability these cookies need.
Component Analysis
| Ingredient | Science Role | Pro Secret |
|---|---|---|
| Dutch Cocoa | Color & Base | Sift it to avoid bitter clumps |
| Brown Sugar | Moisture/Chew | Pack it tightly for more fudge |
| Peanut Butter | Fat/Stability | Use creamy for a velvety crumb |
| Baking Soda | Lift | Reacts with cocoa for a slight rise |
The Shopping List
- 1.5 cups all purpose flour Why this? Provides the main structure and hold (Substitute: 1:1 GF Blend)
- 0.5 cup Dutch processed cocoa powder Why this? Darker color and mellow taste (Substitute: Natural cocoa, but add 1/4 tsp more soda)
- 1 tsp baking soda Why this? Creates the necessary lift (Substitute: Baking powder, but use 3 tsp)
- 0.5 tsp salt Why this? Balances the heavy sugars (Substitute: Sea salt flakes)
- 0.5 cup unsalted butter, softened Why this? Richness and spread (Substitute: Coconut oil, solid)
- 0.5 cup creamy peanut butter Why this? The signature flavor profile (Substitute: Almond butter)
- 0.75 cup packed brown sugar Why this? Adds chew and depth (Substitute: Coconut sugar)
- 0.25 cup granulated sugar Why this? Helps the edges crisp up (Substitute: Monk fruit sweetener)
- 1 large egg, room temperature Why this? Binds everything together (Substitute: Flax egg)
- 2 tsp vanilla extract Why this? Enhances the chocolate notes (Substitute: Maple syrup)
- 1.5 cups peanut butter chips Why this? Pockets of melted peanut butter (Substitute: Chopped peanut butter fudge)
| Original Ingredient | Substitute | Why It Works |
|---|---|---|
| All Purpose Flour | Almond Flour | Nutty flavor. Note: Makes a denser, grainier cookie |
| Unsalted Butter | Vegan Butter | Same fat ratio. Note: May melt slightly faster |
| Large Egg | 1/4 cup Applesauce | Binds dough. Note: Result is softer and more cake like |
If you love the idea of a dough you can eat without baking, you should definitely try my ultimate edible cookie dough for a snack that doesn't require the oven.
The Essential Kitchen Kit
You don't need a professional bakery setup, but a few tools make this way easier. I always use a stand mixer such as KitchenAid because creaming the butter and peanut butter by hand is a workout I don't need on a Saturday.
- Electric Mixer: Essential for getting that pale, fluffy texture.
- Sifter or Fine Mesh Strainer: Cocoa powder is notorious for clumps.
- Parchment Paper: Don't risk the cookies sticking to the pan.
- Cookie Scoop: Ensures every cookie is the same size, so they bake evenly.
- Wire Rack: Prevents the bottoms from steaming and getting soggy.
Step by step Baking
Right then, let's get into it. Pay attention to the sensory cues - the color of the batter and the smell of the oven are your best guides.
Phase 1: The Creaming Method
- Beat the softened butter, peanut butter, brown sugar, and granulated sugar on medium high for 2-3 minutes. Continue until the mixture looks pale and fluffy. Note: This incorporates air for a better lift.
- Mix in the egg and vanilla extract. Beat until the batter looks glossy and smooth. Note: If it looks curdled, your egg was too cold.
Phase 2: Folding the Base
- Sift together the flour, cocoa powder, baking soda, and salt in a separate bowl. Note: This prevents those "bitter cocoa pockets" in the final cookie.
- Gradually stir the dry ingredients into the wet mixture on low speed. Stop as soon as no streaks of flour remain. Note: Overmixing leads to tough, bready cookies.
- Fold in the peanut butter chips by hand using a spatula. Note: This keeps the chips whole and distributed evenly.
Phase 3: The Chill and Bake
- Scoop rounded tablespoons of dough onto a parchment lined baking sheet.
- Chill the scooped dough in the refrigerator for 30 minutes. Wait until the dough feels firm to the touch. Note: This is the most important step for thickness.
- Bake at 350°F (175°C) for 10-12 minutes. Pull them out when the edges are set but the centers still look slightly soft. Note: They will firm up on the hot pan.
Fixing Common Cookie Issues

Even with a plan, cookies can be moody. Usually, it comes down to temperature or measurement.
If Your Cookies Spread Too Much
This usually happens if the butter was too melted or the dough didn't chill long enough. The fat liquefies too quickly in the oven, causing the dough to slide outward before the flour sets.
If the Texture is Cakey Instead of Chewy
Too much flour is the usual culprit here. If you scoop your flour with the measuring cup, you're likely packing it down and adding 20% more than the recipe calls for.
If the Bottoms Burn
Your baking sheet might be too thin, or your oven rack is too low. Try lining your pan with two sheets of parchment for a bit of a buffer.
| Problem | Root Cause | Solution |
|---|---|---|
| Flat cookies | Butter too warm | Chill dough for 60 mins instead of 30 |
| Dry/Crumbly | Overbaked | Remove 2 mins earlier; centers should look raw |
| Bitter taste | Clumped cocoa | Sift cocoa and flour together twice |
Common Mistakes Checklist:
- ✓ Did you sift the cocoa powder?
- ✓ Is the butter softened, not melted?
- ✓ Did you chill the cookies after scooping?
- ✓ Did you stop mixing the moment the flour disappeared?
- ✓ Did you leave them to cool on the pan for 5 mins?
Twists And Swap Options
Once you've mastered the base, you can start playing with the flavors. I love adding a pinch of espresso powder to the dry ingredients - it doesn't make them taste like coffee, it just makes the chocolate taste "more chocolatey."
For a Double Chocolate Intensity Swap half of the peanut butter chips for dark chocolate chunks. This creates a more balanced sweetness and a deeper color.
For Peanut Butter Chocolate Chip Cookies Vegan Use a high-quality vegan butter stick and a flax egg (1 tbsp ground flax + 3 tbsp water). The texture stays remarkably similar, though they may spread slightly more.
For Peanut Butter Chocolate Chip Cookies gluten free Use a 1:1 gluten-free flour blend that contains xanthan gum. If yours doesn't, add 1/4 tsp of xanthan gum to keep the cookies from becoming too brittle.
For "Loaded" Bakery Style Cookies Press a few extra peanut butter chips and a pinch of flaky sea salt onto the top of the cookies immediately after they come out of the oven.
If you're in the mood for something that doesn't require the oven at all, my no bake haystacks are a great alternative for peanut butter lovers.
Adjusting Your Batch Size
Changing the volume of a baking recipe isn't always a simple math problem, especially with eggs.
Scaling Down (Half Batch) Use 3/4 cup flour and 1/4 cup cocoa. For the egg, crack one into a bowl, whisk it, and use exactly 2 tablespoons. Reduce the bake time by about 2 minutes since smaller batches can sometimes heat up faster in the oven.
Scaling Up (Double Batch) Work in batches. Don't try to cram 40 cookies on one tray, or you'll create a steam zone that prevents the edges from crisping. When doubling, I only increase the salt and baking soda to 1.5x instead of 2x to keep the flavor balanced.
| Batch Size | Butter | Sugar (Brown) | Flour | Bake Time |
|---|---|---|---|---|
| Half | 4 tbsp | 6 tbsp | 0.75c | 9-11 mins |
| Single | 0.5 cup | 0.75 cup | 1.5c | 10-12 mins |
| Double | 1 cup | 1.5 cups | 3 cups | 11-13 mins |
Dispelling Common Beliefs
There are a few things people always tell me about cookies that just aren't true.
The "Room Temp Egg" Myth Some say it doesn't matter, but it does. A cold egg will instantly seize the softened butter, creating tiny clumps of fat. This ruins the emulsion and affects how the cookie spreads.
The "Over Bake for Safety" Myth Baking cookies until they look "done" in the oven actually means they are overbaked. Because of carryover heat, they continue to cook on the pan. If they look finished in the oven, they'll be hard as rocks by morning.
Keeping Your Cookies Fresh
These cookies stay soft for a surprisingly long time if you store them right.
Storage Guidelines Keep them in an airtight container at room temperature for up to 5 days. For the best results, put a small piece of white bread in the container; the cookies will absorb the moisture from the bread and stay velvety.
Freezing and Reheating You can freeze the baked cookies for up to 3 months. Just wrap them tightly in foil. To reheat, pop them in a 300°F (150°C) oven for 3-5 minutes. They'll taste exactly like they just came out of the oven.
Zero Waste Tips Don't toss the leftover cocoa powder if you have a tiny bit left in the tin. Shake some into your morning smoothie or mix it with a bit of honey for a quick chocolate dip for apple slices. If you have extra peanut butter, use it as a base for a savory Thai style sauce for noodles.
Making Them Look Pro
The difference between a "home cookie" and a "bakery cookie" is usually just a few seconds of styling.
If your cookies come out with slightly uneven edges, take a large circular glass or a round cookie cutter. Immediately after taking the cookies out of the oven, place the cutter over the cookie and gently scoot it in a circular motion to "round" the edges.
For a high end look, drizzle melted dark chocolate over the cooled cookies in thin lines. The contrast of the dark drizzle against the cocoa base looks stunning. Serve them on a wooden board with a glass of cold milk or a strong espresso to cut through the richness of the peanut butter.
Recipe FAQs
Can I skip chilling the dough?
No, avoid skipping this step. Chilling prevents the butter from melting too quickly, ensuring the cookies don't flatten into puddles during baking.
How to prevent the cookies from spreading too much?
Chill the scooped dough for 30 minutes. This firms up the fats before they enter the 350°F oven, helping the cookies maintain their thickness.
Is it true I must use natural peanut butter for this recipe?
No, this is a common misconception. Creamy peanut butter is actually preferred because the stabilizers provide better structural support for the dough.
How to store the cookies to keep them soft?
Store them in an airtight container. Keep them at room temperature for up to five days to preserve the chewy center.
Can I use a different type of chip?
Yes, other chips work well. Similar to the flavor pairings in our healthy oatmeal cookies, you can substitute peanut butter chips with white or dark chocolate chips.
Why are my cookies cakey instead of chewy?
You likely overmixed the dough. Stir the dry ingredients on low speed only until no streaks of flour remain to avoid developing too much gluten.
How to get the batter to look glossy?
Mix the egg and vanilla extract thoroughly. Beat the mixture until it looks glossy to ensure the fats and liquids are properly emulsified.
Peanut Butter Chip Chocolate Cookies