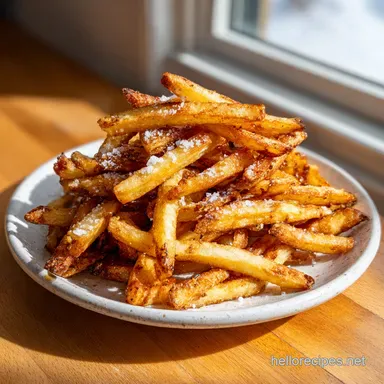
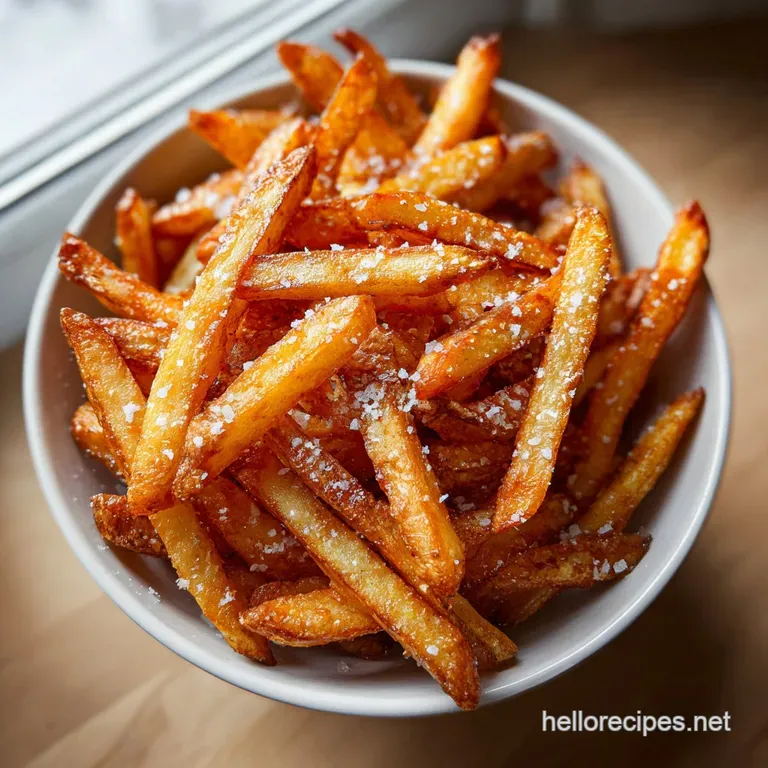
French Fries: Crispy and Seasoned
- Time:15 minutes active + 1 hour 40 mins soaking/resting = Total 1 hour 55 mins
- Flavor/Texture Hook: Glass like exterior crunch with a velvety, cloud like center
- Perfect for: Weekend comfort food or a crowd-pleasing side dish
Shatter Crisp Homemade French Fries
That loud, aggressive hiss when a cold potato hits hot oil is honestly one of my favorite sounds in the kitchen. But for the longest time, my home attempts were a disaster. I used to just slice them, throw them in the oil once, and wonder why they turned into limp, greasy sticks the second they hit the plate.
I call it the "Soggy Slump," and it is the absolute worst feeling when you've spent an hour prepping.
The fix wasn't some fancy equipment, but a total shift in how I treated the potato. I realized that if you don't strip away the surface starch and use a two stage heat process, you're just making oil soaked potatoes, not fries.
This approach creates a stark contrast - a rigid, golden shell that protects a center as soft as mashed potatoes.
We're going for a vibrant, plant based treat here that feels indulgent but is all about technique. Trust me on this, the waiting periods are the hardest part, but they're exactly what makes the difference between a "meh" fry and one that actually holds its shape. Let's crack on.
The Texture Secret
To get that specific crunch, we have to manipulate the potato's structure. It's not about just "cooking" them, but about managing moisture and sugar.
Starch Stripping: Agitating the potatoes in water removes the loose surface starch, which prevents them from clumping or burning too quickly.
Sugar Extraction: The cold soak draws out excess sugars, ensuring they turn golden and not a burnt, bitter brown.
The Internal Poach: The first low temp fry cooks the starch inside, turning it into a soft, velvety core.
The Outer Flash: The second high temp fry evaporates remaining surface moisture instantly, creating a rigid, crispy crust.
Choosing Your Cooking Path
Before you start, you need to decide how you're feeling. While I swear by the stovetop for that classic feel, other ways work depending on your mood.
| Method | Time | Texture | Best For |
|---|---|---|---|
| Stovetop | 1 hour 55 mins | Glass like crunch | Pure indulgence |
| Air Fryer | 45 minutes | Lightly crisp | Healthier weeknight |
| Oven | 1 hour | Hearty and roasted | Large crowds |
Since you're looking for the real deal, we'll stick to the stovetop, but if you're in a rush, you can always try some homemade fries air fryer style for a faster result.
The Potato Component Analysis
Not every potato is built for this. If you use a waxy potato, you'll end up with something gummy. We need high starch solids for that fluffy interior.
| Ingredient | Science Role | Pro Secret |
|---|---|---|
| Russet Potato | Starch Base | Use the largest ones for easier, uniform slicing |
| Peanut Oil | Heat Medium | High smoke point prevents the oil from tasting burnt |
| Salt (Soak) | Osmosis | Helps draw out moisture and seasons the core |
| Smoked Paprika | Flavor Layer | Adds a subtle "grilled" depth to the final toss |
The Essential Ingredient List
Right then, gather these up. I've listed the substitutes if you're missing something, but stick to the main list for the intended result.
- 2 lbs Russet potatoes Why this? Highest starch content for maximum fluff (Substitute: Yukon Gold - Note: Creamier but less crunchy)
- 2 qt cold water Why this? To wash away excess surface starch (Substitute: Filtered water)
- 1 tbsp salt Why this? Pre seasons the potato interior (Substitute: Kosher salt)
- 1 qt peanut oil Why this? Neutral flavor and high heat stability (Substitute: Canola oil - Note: Slightly different flavor profile)
- 1 tsp fine sea salt Why this? Adheres better to the oil film (Substitute: Table salt)
- 1 tsp garlic powder Why this? Savory punch without burning bits (Substitute: Onion powder)
- 1 tsp smoked paprika Why this? Vibrant color and woody aroma (Substitute: Sweet paprika - Note: Less depth)
- 1/2 tsp black pepper Why this? Subtle heat to cut through the fat (Substitute: White pepper)
- 1/4 tsp onion powder Why this? Rounds out the savory profile (Substitute: Garlic powder)
Tools for the Job

You don't need a professional kitchen, but a few specific bits of gear make this way safer and easier.
First, a heavy bottomed pot or a Dutch oven is a must. You want something that holds heat steadily so the oil temperature doesn't plumment when you drop the potatoes in. A thin pan will lead to uneven cooking and greasy fries.
You'll also need a spider strainer or a slotted spoon. Trying to fish out fries with a fork is a recipe for burns and broken potatoes. Finally, a wire cooling rack is non negotiable. If you put hot, blanched fries on a paper towel, they'll steam themselves from the bottom and lose that precious crispness.
The Frying Process
Let's get into the actual work. Remember, precision with the temperature is what separates the pros from the amateurs.
Phase 1: Prep & Starch Removal
Peel the potatoes and slice them into uniform 1/4 inch (6mm) strips. If some are thicker than others, they'll cook at different rates, and you'll have some burnt and some raw. Submerge the fries in cold water, agitate them vigorously with your hands, and drain. Repeat this 3 times until the water runs crystal clear.
Once the water is clear, soak the fries in salted cold water for 30 minutes. This is where the surface sugars get washed away. After the soak, pat the fries completely dry with a lint free towel. Trust me, any water left on the potato will cause the oil to splatter and prevent a crisp crust.
Phase 2: The First Blanch
Heat your peanut oil to 325°F (163°C). Carefully lower the potatoes in batches - don't overcrowd the pot or the temperature will drop too much. Fry them for 5-6 minutes until they are pale and soft, but not yet browned.
Remove them with your spider strainer and spread them out on a wire rack. Let them cool completely for at least 30 minutes. This resting period is critical; it allows the internal moisture to redistribute.
Phase 3: The Final Flash Fry
Increase your oil temperature to 375°F (190°C). This is the over high heat stage. Flash fry the blanched potatoes a second time. This usually only takes a few minutes until they are golden brown and shatter crisp.
The second fry is what creates that rigid shell. Because the inside is already cooked from the first blanch, you're only focusing on the exterior.
Phase 4: The Seasoning Toss
Remove the fries from the oil and immediately toss them in a bowl with the fine sea salt, garlic powder, smoked paprika, black pepper, and onion powder while they are still hot. The residual oil acts as a glue, making the seasoning stick perfectly to every curve of the fry.
Fixing Texture Problems
Even with a plan, things can go sideways. Most issues come down to moisture or temperature.
Why Your Fries Stay Soggy
This usually happens because the potatoes weren't dried enough before the first fry, or they were crowded in the pot. When you add too many potatoes at once, the oil temp drops, and the potatoes start boiling in oil rather than frying.
Why They Are Burnt But Raw
This is a classic sign of oil that is too hot during the first stage. The outside browns instantly, but the heat never reaches the center. Stick to that 325°F (163°C) first pass.
| Problem | Root Cause | Solution |
|---|---|---|
| Limp texture | Not dried properly | Use a lint free towel to bone dry them |
| Greasy feel | Oil temp too low | Use a thermometer to verify 375°F for 2nd fry |
| Bland taste | Seasoned too late | Toss spices while fries are dripping hot |
Common Mistakes Checklist:
- ✓ Pat potatoes completely dry (stops steaming and splattering)
- ✓ Use a wire rack for cooling (prevents bottom soggy fries)
- ✓ Keep batches small (maintains oil temperature)
- ✓ Use a thermometer (guessing temp leads to grease)
- ✓ Slice uniformly (ensures even cooking)
Adapting for Diets
If you're not doing the full deep fry, you can still get a great result with a few tweaks.
For a lighter version, you can move these to an air fryer. After the soak and dry, toss them in 1 tablespoon of oil and air fry at 380°F for 15-20 minutes, shaking every 5 minutes. It won't be the same "shatter" as the deep fry, but it's a solid alternative.
For those avoiding nightshades, this recipe obviously won't work, but you can apply the double fry technique to carrots or parsnips. Just be aware that root vegetables with higher sugar content (like carrots) will brown much faster, so you might need to drop the second fry temperature by 25°F.
Storage and Waste Tips
I hate wasting food, and potatoes offer some great scraps. Don't toss those peels! Toss the potato peels in a bit of oil and salt and roast them at 400°F for 10 minutes. They make brilliant, salty snacks.
For the fries themselves, they are best eaten immediately. However, if you have leftovers, store them in a paper bag in the fridge for up to 3 days. To reheat, avoid the microwave at all costs - it will turn them into mush.
Use an oven or air fryer at 400°F for 5 minutes to bring back the crunch.
You can also freeze them after the first blanch. Once they've cooled on the rack, freeze them in a single layer on a baking sheet, then move them to a bag. You can flash fry them straight from the freezer to 375°F.
Perfect Serving Pairings
These fries are rich and salty, so they need something to cut through that weight. A vibrant, tangy dipping sauce is a must - think a spicy vegan aioli or a zesty chimichurri.
If you're looking for a full meal, these pair brilliantly with a rich, savory soup. I always serve them alongside my French Onion Soup recipe for a total comfort food overload. The acidity of the caramelized onions balances the fried richness of the potatoes perfectly.
For a more multicultural twist, try dusting them with furikake and serving them with a side of kewpie mayo and sriracha. It turns a simple side into a fusion snack that feels a bit more special.
Recipe FAQs
What's the secret to crispy french fries?
The double fry method and soaking. Soaking removes surface sugars, while frying first at 325°F and then at 375°F creates a fluffy interior and a glass like crunch.
Are french fries good for diabetics?
Generally no. The high starch content in Russet potatoes can cause significant blood sugar spikes.
What is the seasoning for seasoned fries?
A blend of fine sea salt, garlic powder, smoked paprika, black pepper, and onion powder. Toss these on immediately after the second fry while the oil is still hot so the spices adhere.
What does soak french fries in before frying to make it crispy?
Salted cold water. Submerging the strips for 30 minutes removes excess surface sugar, which prevents the fries from browning too quickly before they are cooked through.
How to reheat leftover fries without them getting mushy?
Heat in an oven or air fryer at 400°F for 5 minutes. Avoid the microwave entirely, as it destroys the texture and turns them into mush.
Is it true that I should fry potatoes only once for the best results?
No, this is a common misconception. A single fry often results in a greasy interior; the two-stage process is essential for a golden, crunchy shell.
What should I serve with homemade french fries?
A lean protein or a fresh sandwich. They pair perfectly with a pesto chicken sandwich for a complete meal.
Homemade Crispy French Fries