The Proper Bake Classic Doublecrust Apple Pie with Allbutter Pastry
- Unlocking the Secret to Britain's Beloved Baked Dessert: The Ultimate Apple Pie Blueprint
- Why This Classic Recipe Beats Any Quick Fix
- Gathering Your Foundation: Essential Components for Superior Apple Pie
- Crafting the Flaky Shell: Mastering the Double-Crust Technique
- Elevating Your Experience: Next-Level Serving Suggestions and Storage
- Recipe FAQs
- 📝 Recipe Card
Unlocking the Secret to Britain's Beloved Baked Dessert: The Ultimate Apple Pie Blueprint
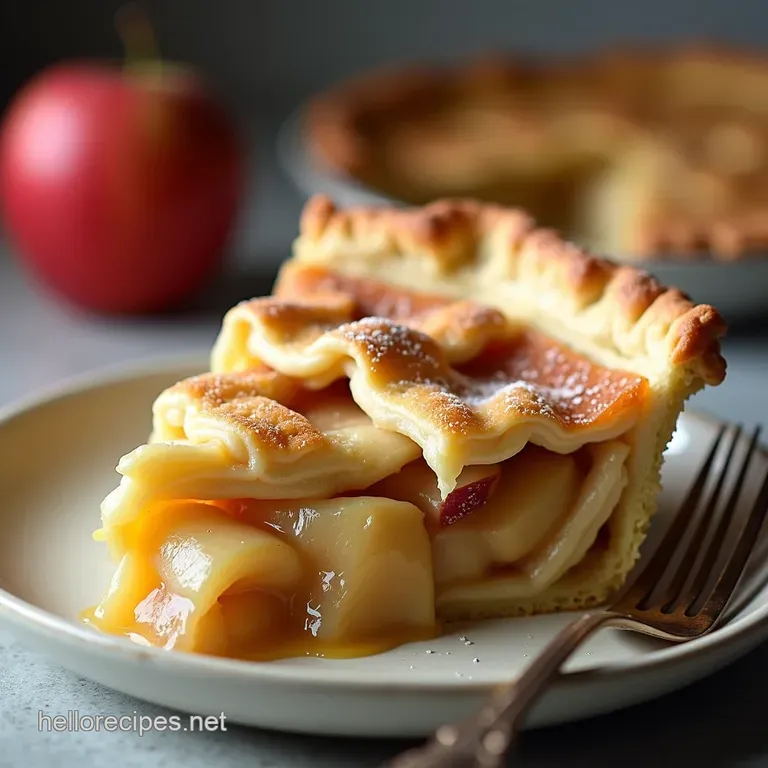
There are few aromas more evocative of home, comfort, and nostalgia than that of a baking Warm Spiced Apple Pie . This timeless dessert transcends cultural boundaries, yet nailing that perfect textural contrast the shatteringly crisp crust meeting the soft, fragrant filling can feel like culinary alchemy.
Forget the rushed, pre-made options; today, we are diving deep into the architecture of the Classic Apple Pie , creating a centerpiece worthy of any gathering.
We are not just following steps; we are understanding the why behind achieving that coveted Buttery Apple Pie Crust and the deep, resonant flavour of the Apple Pie Filling Recipe . Prepare your rolling pins; we are making a masterpiece from scratch.
Why This Classic Recipe Beats Any Quick Fix
The journey to the Best Apple Pie Recipe is paved with patience, primarily concerning temperature management. While shortcuts exist, they invariably compromise the structural integrity and flavour depth that defines truly great baking.
This blueprint focuses on components that elevate the humble apple into a truly unforgettable experience.
The Allure of the Truly Flaky, Shattering Crust
The backbone of any superior pie is its casing. We aim for a Flaky Pastry Apple Pie where the layers separate cleanly under the fork, offering a delicate resistance before melting away.
This is achieved exclusively through the careful incorporation of ice-cold butter into the flour, creating distinct pockets that steam during baking, forcing those layers apart. A perfect crust should look golden, feel crisp, and taste richly of butter a far cry from dense, overworked doughs.
Balancing Tartness: Our Philosophy on Apple Selection
A common pitfall in Homemade Apple Pie is using apples that break down completely during baking, resulting in mush. The key to a successful Tart Apple Pie Filling lies in variety.
We require apples that hold their shape under heat while providing a bright, acidic counterpoint to the sweetness. Using a blend of firm tart apples (like Granny Smith) with slightly sweeter, fleshier varieties ensures both textural integrity and complex flavour in every bite.
The Comfort Food Factor: More Than Just a Dessert
More than just a collection of ingredients, this dessert is an event. From the satisfying rhythmic thud of the rolling pin to the moment the oven fills with that unmistakable scent of cinnamon and cooked sugar, making this Apple Pie is a meditative process.
It’s the taste of tradition brought beautifully into the modern kitchen, providing genuine, heartwarming satisfaction that no store-bought equivalent can ever replicate.
Related Recipes Worth Trying
- Hearty Chicken Leek Pot Pie Best Meals to Take to a Friend — A proper comfort casserole This Chicken Leek Pot Pie with flaky cheddar biscuits is one of the best makeahead meals to take to a friend in need So easy to...
- The Heritage Apple Pie Flaky AllButter Crust Recipe — Master the ultimate homemade apple pie with this stepbystep recipe featuring a shatteringly flaky crust and perfectly spiced filling Its pure comfort
- The Best Apple Pie Recipe Flaky Crust From Scratch — Tired of soggy bottoms Master the art of the Homemade Apple Pie with this detailed flaky crust recipe Deeply spiced filling awaits
Gathering Your Foundation: Essential Components for Superior Apple Pie
To achieve the desired 8 generous slices of this quintessential Apple Pie , we must treat both the pastry and the filling with equal reverence. Our ingredients are foundational; coldness is paramount for the crust, and balance is key for the interior.
Precision Measurements for Perfect Pastry Texture
For the Buttery Apple Pie Crust , precision in dry measurement is crucial. We require 2 ½ cups of standard All-Purpose Flour, balanced with 1 tablespoon of granulated sugar and 1 teaspoon of fine sea salt to enhance the butter’s flavour.
The fat component relies entirely on 1 cup (or two full sticks) of unsalted butter, cut into small, half inch cubes and kept frigid until the moment it meets the flour. Finally, ice water no warmer than near freezing is added sparingly to bind the mixture.
The Star Filling: Choosing and Preparing Your Apples
Our filling requires about 6 cups of sliced apple, ideally sourced from 6 to 7 medium fruits. We combine ¾ cup of white sugar with ¼ cup of packed light brown sugar for depth. To bind the juices and prevent a runny mess, we incorporate 3 tablespoons of all-purpose flour.
The signature aroma comes from 1 ½ teaspoons of ground cinnamon and ½ teaspoon of ground nutmeg, brightened by a crucial 1 tablespoon of fresh lemon juice.
Mandatory Tools: Equipment for Baking Success
While the spirit of this recipe is rustic, certain tools streamline the process to ensure success. A standard 9 inch pie dish, preferably ceramic or glass to monitor bottom browning, is essential. A reliable rolling pin and a large mixing bowl are necessary for the filling.
While a food processor can cut the butter quickly, using your fingers or a pastry blender allows for better tactile control over the final texture of the Flaky Pastry Apple Pie .
The All-Butter Dough Dossier: Fats and Flour Breakdown
The ratio of fat to flour is what delivers the desired flakiness. We use only butter because its unique melting point creates superior steam pockets compared to shortening, giving us that rich flavour profile.
The technique involves cutting the cold butter into the flour mixture until only pea-sized pieces remain visible. These unmixed fat pockets are the very cells that expand into layers when hit by oven heat, distinguishing this Homemade Apple Pie from denser alternatives.
Crafting the Flaky Shell: Mastering the Double Crust Technique
The assembly phase demands a cool environment and a gentle hand. This recipe calls for a double crust, meaning we divide our prepared dough into two equal discs.
Chilling is Crucial: Secrets to a Non-Shrinking Dough
Once mixed, the dough must rest. After dividing and flattening each half into a disc, wrap them tightly in plastic wrap. They require a minimum of two hours in the refrigerator. This resting period allows the gluten strands, developed during mixing, to relax, preventing the dough from snapping back when rolled out.
More importantly, it ensures the butter is rock solid before it enters the heat source.
Layering for Texture: How to Line and Fill Your Dish
Remove one chilled disc first. On a lightly floured surface, roll it gently from the centre outwards, turning frequently, until you achieve an approximate 12 inch circle. Carefully drape this into the 9 inch pie dish, ensuring it settles without stretching.
Once the Apple Pie Filling Recipe is gently mounded inside, dot the very top of the apples with 2 tablespoons of small butter pieces this enriches the juices as they simmer.
Venting and Glazing: Finishing Touches Before the Heat Rises
Roll the second dough disc and place it atop the filling. Trim the edges, leaving about an inch of overhang, and press the top and bottom crusts together firmly, crimping decoratively with fingers or a fork to create a tight seal. Steam management is critical: cut 4 to 6 well placed slits in the top layer.
Before baking, whisk one large egg with 1 tablespoon of milk for the wash, brushing it evenly over the surface, then scattering it with 2 tablespoons of coarse Turbinado sugar for a sparkling finish.
The Transformation: Achieving Golden Brown Perfection in the Oven
Preheat your oven to a robust 425° F ( 220° C). Place the pie on a baking sheet to manage any potential overflow. Begin the bake here for 15 minutes. This initial blast of high heat sets the bottom crust quickly, fighting off sogginess.
After 15 minutes, reduce the temperature to 375° F ( 190° C) and continue baking for 45 to 60 minutes. If the edges brown too aggressively, shield them with strips of aluminum foil.
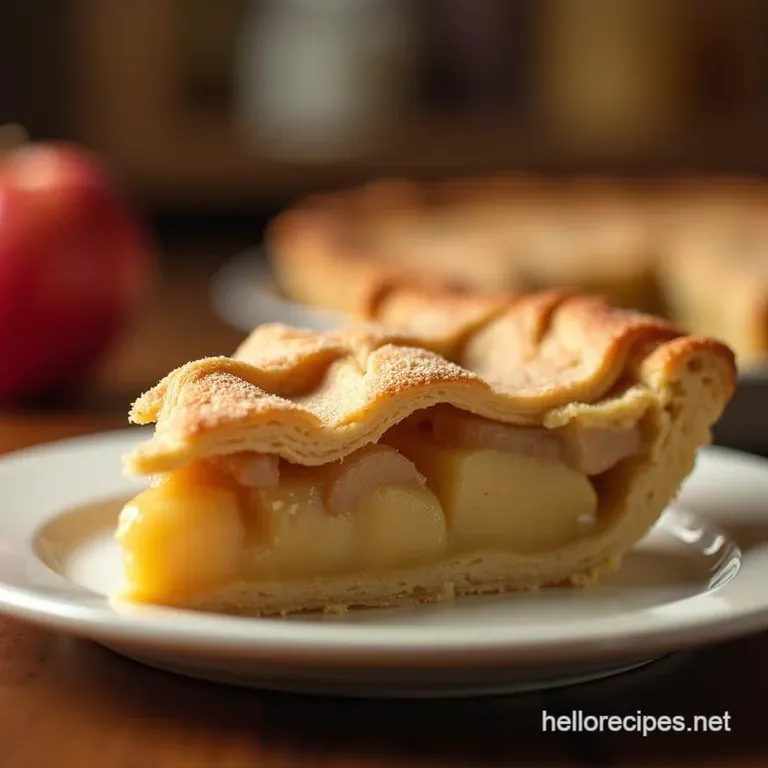
The pie is done when the filling bubbles thickly and the crust is a deep, appealing golden brown colour throughout, signifying a successful Warm Spiced Apple Pie .
Elevating Your Experience: Next Level Serving Suggestions and Storage
The final, and perhaps hardest, step is waiting. A Classic Apple Pie must cool for at least 3 to 4 hours on a wire rack before slicing. This critical time allows the flour or cornstarch thickener to fully set the molten juices into a luscious, sliceable consistency.
Freezing Facts: Storing Unbaked and Baked Apple Pie
This recipe freezes exceptionally well. For unbaked pies, ensure the dough is fully chilled after assembly; wrap tightly in plastic and foil and freeze flat. Bake directly from frozen, adding about 15– 20 minutes to the total bake time.
Baked pies can be frozen once completely cooled, though the crust texture may soften slightly upon thawing and reheating.
Beyond Cinnamon: Creative Filling Flavor Twists
While our classic blend of cinnamon and nutmeg is divine, you can easily customize the spice profile. Consider adding a pinch of ground cardamom or a tiny grating of fresh ginger root to the Apple Pie Filling Recipe for an unexpected brightness.
For an intense flavour profile, swap a quarter of the sugar for pure maple syrup.
Preventing the Soggy Bottom: Advanced Heat Management Tips
If you struggle consistently with a soft base, employ these advanced tactics: 1) Place the pie directly onto the lowest rack for the first 20 minutes of baking.
2) Brush the inside of the bottom crust lightly with an egg wash before adding the filling this creates a moisture barrier. 3) Ensure your apples are not overly wet before mixing them with the sugar and spices.
Pairing Perfection: The Ideal Custard or Cream Accompaniment
To truly complete this dessert experience, pairing is essential. While ice cream is universally loved, consider serving slices alongside a homemade, slightly thin custard (crème anglaise) that flows beautifully around the wedge, or opt for a dollop of crème fraîche for a tangy counterpoint to the sweetness of the finished Apple Pie .

Recipe FAQs
Why is my Apple Pie crust soggy on the bottom?
A soggy bottom usually means two things: the filling was too wet, or the base didn't cook long enough in a hot enough environment. Ensure you use firm apples, dot the top of the filling with butter, and always bake your pie on the lowest rack of the oven, preferably on a preheated baking sheet, to ensure the bottom crust gets direct heat.
How can I make sure my all-butter pastry is perfectly flaky and not tough?
The golden rule for flakiness is temperature control; everything must be ice cold your butter, your water, even your bowl! Handle the dough as little as possible; overworking it develops gluten, leading to a tough texture instead of a desirable 'shatter'.
Always chill the dough for at least two hours before rolling it out.
My Apple Pie vents look dry before the filling is bubbly; should I add more butter?
If the edges start browning too quickly while the centre is still pale, it’s time to put a foil 'hat' on it! Cover the crimped edges loosely with strips of aluminium foil to shield them from direct heat. This allows the interior apples time to heat through and release their juices without burning the crust.
Can I make this Apple Pie ahead of time, and how should I store leftovers?
Yes, you absolutely can bake the pie a day ahead; in fact, cooling completely allows the filling to set better! Store cooled, uneaten pie tightly covered at room temperature for up to two days, or in the fridge for up to four days. Reheat slices gently in the oven rather than the microwave to crisp the crust back up.
What are the best types of apples to use for this recipe?
For the best results in a baked dish like this, you need apples that hold their shape and offer a good tart flavour balance. A mix is best: use Granny Smith for structure and tartness, and complement them with varieties like Honeycrisp, Braeburn, or Jonagold for complex flavour.
I'm not great at crimping. What's an easy alternative topping for my Apple Pie?
If a full top crust and intricate crimping feel like a faff, switch to a beautiful crumble topping! Simply toss flour, sugar, and cold butter with some oats until crumbly, scatter it generously over the apples, and bake as directed. It offers a lovely textural contrast.
Flaky Buttery Apple Pie
Ingredients:
Instructions:
Nutrition Facts:
| Calories | 1186 kcal |
|---|---|
| Protein | 6.7 g |
| Fat | 29.4 g |
| Carbs | 95.0 g |
| Fiber | 10.0 g |
| Sodium | 5055 mg |
