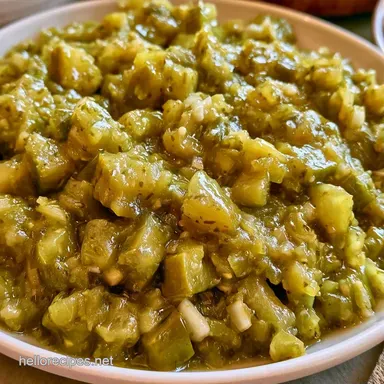
Canned Dill Pickle Relish: Zesty and Snappy
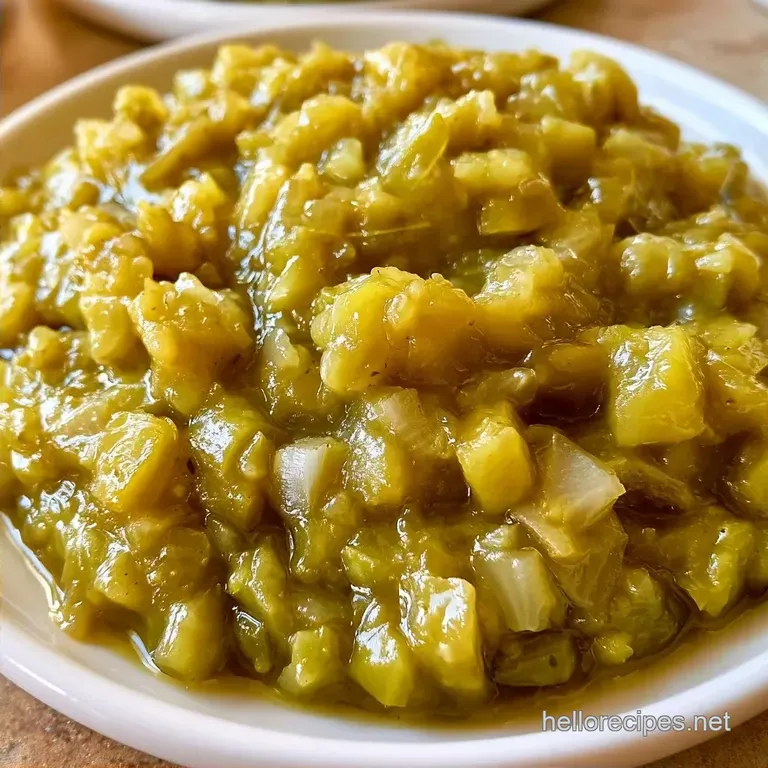
- Hands-on Time: 30 minutes + 2 hours resting
- Key Appeal: Zesty, herbal, with a bold snap
- Perfect for: Pantry stocking, summer BBQs, and homemade burgers
- Canned Dill Pickle Relish Recipe Specs
- Gathering Your Essentials
- Essential Kitchen Tools
- Key Preparation Steps
- Why This Version Works
- Common Mistakes & Troubleshooting
- Adjusting Your Batch Size
- Dispelling Canning Myths
- Storage and Preservation
- Creative Flavor Twists
- Best Serving Ideas
- Recipe FAQs
- 📝 Recipe Card
The aroma of simmering vinegar and toasted dill seeds always reminds me of Augusts spent in my grandmother's kitchen. She kept enormous wooden crates of cucumbers on the porch, and we would spend entire afternoons dicing until our fingers felt stiff.
It was a fragrant, bustling tradition that concluded with lines of jars cooling on the counter.
Unlike sugary, commercial relishes, this version is vivid and sharp, capturing the essence of a fresh garden. Its punchy acidity provides the ideal contrast to rich meats or creamy dressings.
I've learned the hard way that patience is the most important ingredient. If you hurry, you'll end up with a soggy consistency rather than a crisp finish. Trust me the wait is exactly how you get that perfect crunch.
Canned Dill Pickle Relish Recipe Specs
Here are the key details. This recipe yields 6 half pint jars. You will spend roughly 30 minutes on active prep, while the total time comes to 160 minutes including the required soak. The cooking phase takes only 10 minutes.
This plant based essential brings a bright, global flair to any dish. Whether you are crafting fusion tacos or a simple hot dog, this relish delivers a fantastic zesty kick.
Gathering Your Essentials
You'll need produce that can handle the heat. Always go for pickling cucumbers, as they have thicker skins and aren't as prone to collapsing.
- 3 lbs pickling cucumbers, finely diced or grated Why this? Thicker cell walls maintain crunch during canning
- 1 cup white onion, finely diced Why this? Sharp bite that complements the dill
- 1/4 cup canning salt (for the initial soak) Why this? Pure salt prevents cloudy brine
- 2 cups white distilled vinegar (5% acidity) Why this? Necessary acidity for safe canning
- 2 tbsp canning salt (for the brine)
- 1 tbsp sugar Why this? Balances acidity without making it "sweet"
- 2 tbsp dill seeds Why this? Concentrated, earthy flavor
- 1 tsp celery seeds
- 1/2 tsp black peppercorns
For those wanting a No Sugar Canned Dill Pickle Relish, you can simply leave out the tablespoon of sugar. It won't affect the preservation, only the edge of the flavor.
Essential Kitchen Tools
You don't need fancy equipment to get started, though a couple of specific tools can streamline the process.
Stick to a stainless steel saucepan; reactive materials such as aluminum can interact with the vinegar and discolor your relish. You will also need a colander for the rinsing stage. To process the jars, use either a boiling water bath canner or a sufficiently deep stockpot.
To remove air bubbles before sealing the lids, use a bubble remover or a clean plastic knife. While a food processor is great for dicing, be sure to pulse it carefully; processing for too long will turn your relish into a puree.
Key Preparation Steps
- Dice the pickling cucumbers and white onions into small, uniform pieces. Note: Uniformity ensures everything pickles evenly
- Toss the diced cucumbers and onions in a large bowl with 1/4 cup of canning salt. Stir well to coat every piece.
- Allow the mixture to sit for 2 hours. Wait until you see a pool of liquid forming at the bottom of the bowl.
- Pour the mixture into a colander and rinse thoroughly under cold water to remove the salt, then drain well.
- In a stainless steel saucepan, combine the rinsed vegetables, white distilled vinegar, 2 tbsp canning salt, sugar, dill seeds, celery seeds, and black peppercorns.
- Bring the mixture to a boil over medium high heat, stirring occasionally.
- Reduce heat to a gentle simmer and cook for 10 minutes until the relish looks glossy.
- Ladle the hot relish into sterilized half pint jars, leaving 1/2 inch of headspace.
- Remove trapped air bubbles with a bubble remover or plastic knife, wipe rims clean, and seal with lids and bands until finger tip tight.
- Process the jars in a boiling water bath for 10 minutes, then remove and let cool on a towel.
Why This Version Works
The Salt Treatment: Salting helps extract moisture from the cucumber cells. This allows the vinegar to seep deeper into the vegetable and prevents them from releasing excess water in the jar.
Vinegar Acidity: Utilizing distilled vinegar with 5% acidity maintains a sufficiently low pH level to stop spoilage. If you want to explore more home preserving, you might enjoy my guide on homemade dill pickles.
| Method | Time | Texture | Best For |
|---|---|---|---|
| Quick Fridge | 30 mins | Very Crisp | Immediate use |
| Canned Classic | 160 mins | Firm/Glossy | Long term storage |
What Each Ingredient Does
| Ingredient | What It Does | Best Swap |
|---|---|---|
| Pickling Cucumbers | Provides the structure | Kirby cucumbers (similar crunch) |
| Distilled Vinegar | Preserves and adds tang | White wine vinegar (milder taste) |
| Dill Seeds | Core herbaceous flavor | Fresh dill (add at the end) |
Common Mistakes & Troubleshooting
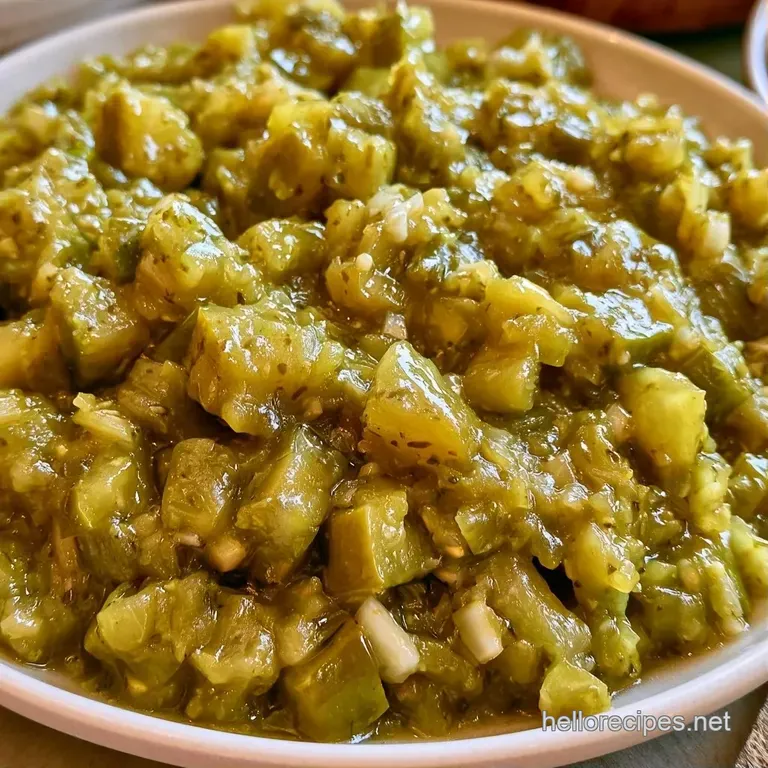
Fixing Mushy Relish
This usually happens if you skip the salt soak or use slicing cucumbers. Slicing varieties have too much water and collapse when they hit the boiling brine.
Solving Seal Failures
If the lid doesn't pop, you likely had a bit of food debris on the rim. Always wipe the jar rims with a damp cloth before applying the lid.
Adjusting Over Saltiness
If the relish tastes too salty, you probably didn't rinse the vegetables enough after the soak. Next time, rinse until the water runs clear.
| Problem | Fix |
|---|---|
| Mushy texture | Use pickling cucumbers + salt soak |
| Lid won't seal | Wipe rims and re process |
| Too salty | Rinse longer after soaking |
Adjusting Your Batch Size
If you have a bumper crop and need to increase the yield, avoid simply multiplying every ingredient linearly.
For a double batch using 6 lbs of cucumbers, use roughly 1.5 times the usual amount of spices. This prevents the celery seeds and peppercorns from masking the flavor of the fresh dill. Additionally, since a larger volume of vegetables releases more natural moisture, you can cut the vinegar back by around 10%.
When preparing a half batch, monitor your simmering closely. Because smaller volumes of liquid evaporate more quickly, check the consistency at 7 minutes to ensure the relish doesn't dry out.
| Batch Size | Cucumber Weight | Vinegar Amount | Process Time |
|---|---|---|---|
| Half Batch | 1.5 lbs | 1.75 cups | 7-10 mins |
| Full Batch | 3 lbs | 2 cups | 10 mins |
| Double Batch | 6 lbs | 3.5 cups | 12-15 mins |
Dispelling Canning Myths
You might hear that you can't use a slow cooker for the simmering stage. While you can, the heat is less precise than a saucepan, and you risk overcooking the vegetables into a jam.
Some people think that adding more sugar makes the relish last longer. That's not true for this recipe. The vinegar does the heavy lifting for preservation, not the sugar.
Storage and Preservation
Keep your sealed jars in a dim, cool spot such as a pantry or basement, where they will remain good for roughly a year. Once a jar is opened, transfer it to the refrigerator; it will keep for approximately 3 weeks.
To prevent waste, stir any remaining relish into a mayo based spread. This creates a simple tartare sauce that pairs perfectly with fish or fries.
Creative Flavor Twists
It's easy to customize this Canned Dill Pickle Relish Recipe to your liking.
For more heat, stir in a finely diced habanero or a teaspoon of red pepper flakes during the simmering process. To emphasize the garlic, add three minced cloves right before ladling the relish into jars.
To create a "sweet dill" hybrid, bump the sugar up to 3 tablespoons. This mimics the flavor of commercial brands while keeping the vibrant, homemade quality.
Best Serving Ideas
This relish is a powerhouse for adding contrast to rich foods. It's a natural partner for my traditional potato salad, where the acidity cuts through the creamy dressing.
For a fusion twist, try it on a grilled halloumi burger with avocado. The saltiness of the cheese and the tang of the relish work brilliantly together. It's also great as a topping for plant based corn dogs or mixed into a tuna salad for a bit of extra snap.
Recipe FAQs
To make relish out of cucumbers, what is the method?
Dice cucumbers and onions, then soak them in canning salt for two hours to remove moisture. Rinse them well before simmering with vinegar and seasonings for 10 minutes.
What foods pair well with this dill relish?
Use this relish as a topping for hot dogs, burgers, or sandwiches. It also adds a great tangy contrast to a savory patty melt.
How can I make the relish sweeter?
Increase the amount of sugar added during the boiling process. Balance the extra sweetness with a pinch more canning salt to keep the flavor profile sharp.
Is it true that I can skip the salt soak?
Not true. Skipping the osmotic pressure step leaves too much water in the cucumbers, which prevents the relish from thickening and becoming glossy.
Why is my relish too watery?
Simmer the mixture for a full 10 minutes after it reaches a boil. This allows the liquid to reduce and the vegetables to achieve the correct glossy consistency.
Canned Dill Pickle Relish