Authentic Greek Pita the Easy Way
Authentic Greek Pita: Your Kitchen's New Best Friend!
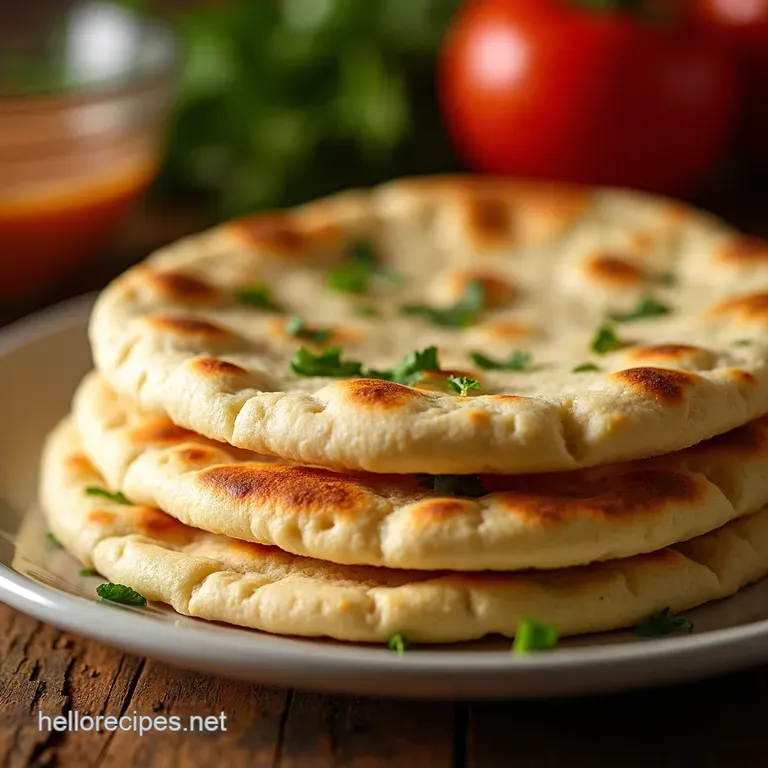
Ever had that craving for a proper Greek Pita , the kind that makes you want to shout "Opa!"? Honestly, nothing beats a warm Pita Bread Recipe , fresh from the pan.
This recipe is all about bringing that authentic taste right into your home, no plane ticket required!
What's the Deal with This Pita?
The Greek Pita Bread has roots deep in Mediterranean culture. Think family gatherings, sunny afternoons, and delicious food shared with loved ones.
This version is super easy to make we're talking beginner friendly. You'll whip up about eight Greek Flatbread in roughly an hour and a half, perfect for a quick lunch or a tasty dinner.
Why You'll Obsess Over These Pitas
These aren't just any Pita Bread Recipe . They're the key to unlocking awesome meals. Think juicy gyros, flavour packed souvlaki, or just dipping them into some creamy hummus.
Plus, they're lighter than you might expect, making them a healthier alternative to some breads. Honestly, it's the perfect excuse to gather your mates and enjoy some tasty Mediterranean Flatbread .
Gather 'Round, You'll Need This
Time to get your apron on. For this Easy Pita Recipe , you'll need: warm water, active dry yeast, sugar, all-purpose flour, kosher salt, and olive oil.
Basically, everything you probably already have in your pantry! We're keeping it simple, remember? It's like baking with Jamie Oliver easy peasy.
Let's Get Pitas Cookin'
First up, you need to wake up that yeast with some warm water and sugar. Then, it's all about mixing the dough, giving it a quick knead (don't overdo it!), and letting it rest.
While the dough is resting, you can enjoy a cup of tea, watch TV. After the dough has rested, you'll roll out those pitas and cook them on a hot stovetop.
And that's it. You have just made some Stovetop Pita Bread .
Pro Tips From Your Mate
Trust me, a hot pan is essential for those beautiful air pockets to form. Don't skip that olive oil brush either it adds flavour and helps them brown perfectly.
And if you are making Gyros, you must have a good Gyros Bread . Honestly, these tips will take your Authentic Pita Bread from good to legendary.
Enjoy!
Ingredients & Equipment: Let's Get This Pita Party Started!
Right then, let's talk ingredients! Honestly, this Greek Pita Bread recipe is super straightforward. You don't need fancy stuff. We're aiming for delicious, not complicated, right?
Main Ingredients: Simple is Best
- Warm Water: 1 cup (240ml) . Make sure it's around 105- 115° F (40- 46° C) . Too hot and you'll kill the yeast, and nobody wants that.
- Active Dry Yeast: 1 teaspoon (5ml) . Quality matters here. A good yeast will give you that lovely rise.
- Granulated Sugar: 1 teaspoon (5g) . Just a pinch to get the yeast going.
- All-Purpose Flour: 2 1/2 cups (300g) , plus extra for dusting. Plain flour does the trick.
- Kosher Salt: 1 teaspoon (6g) . Salt is essential for flavour, you know?
- Olive Oil: 2 tablespoons (30ml) , plus extra for brushing. Use good quality olive oil. Its worth it for the flavour.
Quality Indicators: For the yeast, make sure it's not expired. If the water and yeast mixture doesn't get foamy after 5- 10 minutes , your yeast might be dead.
Time to grab some new ones, mate!
Seasoning Notes: A Touch of Greek Magic
Okay, this Easy Pita Recipe is simple, so we don't go crazy with spices. The olive oil adds a lovely flavour.
You can add a pinch of dried oregano to the dough for a more authentic Mediterranean Flatbread flavour. Just a touch!
Flavor enhancers and aromatics. A small squeeze of lemon at the end, right before serving, can be awesome.
Quick substitution options. If you don't have olive oil, you can use a neutral oil, but olive oil is better.
Equipment Needed: Keep It Basic
- Large Mixing Bowl: For mixing the dough.
- Clean Kitchen Towel: For covering the dough while it rises.
- Rolling Pin: To roll out the pitas.
- Cast Iron Skillet or Non-Stick Griddle: For cooking. A cast iron is amazing for even heat.
- Tongs: For flipping the pitas.
- Wire Rack (optional): To cool the pitas, but not essential.
Honestly, you can totally skip the rolling pin. Just use your hands! It gives the Greek Flatbread a more rustic, homemade look.
Common household alternatives, use plates if you need to measure a circle shape, you know?
You could even try cooking these on a BBQ. That would give them a lovely smoky flavor. This Stovetop Pita Bread recipe is so versatile! You can use any pan you have at home.
I once made these on a camping stove. They were delicious. And this Homemade Pita Bread can be perfect for gyros.
Alright, let's get this pita party started! There's nothing quite like the taste of authentic pita bread .
Cooking Like a Greek God: Mastering Pita
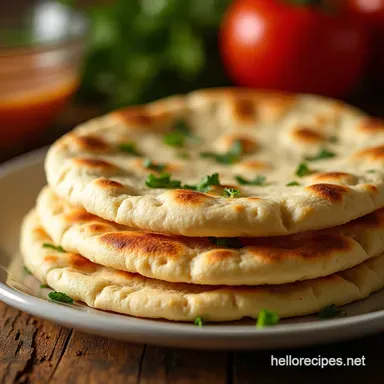
Ever craved that perfect Greek pita , fluffy and ready for all your favorite fillings? Honestly, making your own Greek pita bread is easier than you think.
And way better than store-bought, trust me. It brings the taste of the Mediterranean right to your kitchen. Think warm, golden pockets, perfect for gyros, souvlaki, or just dipping in hummus.
Let's dive in!
Prep Steps: Get Your Mise en Place On!
First things first, let's get organized. It's all about the mise en place . Measure out one cup of warm water, one teaspoon of active dry yeast, one teaspoon of sugar, two and a half cups of all-purpose flour, one teaspoon of kosher salt, and two tablespoons of olive oil .
Having everything ready saves so much time and stress. Think of it as your culinary chill pill. Make sure your water is between 105-115 degrees Fahrenheit .
Too hot and you’ll kill the yeast.
step-by-step: Pita Perfection is Within Reach
- Wake Up the Yeast : Combine the warm water, yeast, and sugar. Let it chill for 5- 10 minutes . You'll see it get foamy.
- Make the Dough : Add flour, salt, and olive oil. Mix until it forms.
- Knead : Knead the dough for 3- 5 minutes . It should be smooth.
- First Rise : Let the dough rise for 60 minutes . It should double in size.
- Shape : Divide and roll each portion into a circle.
- Cook : Cook each pita for 2- 3 minutes per side until golden.
Pro Tips: Secrets to Pita Success
The secret? A hot pan! A hot pan is crucial for getting those signature puffy pitas. Also, don’t over knead! That will lead to tough pitas.
And if you're short on time, you can make the dough ahead of time and keep it in the fridge for up to 24 hours.
I've done it a million times, especially when I'm planning a big Greek feast. Plus! You can have Homemade Pita Bread any time you want!.
Recipe Notes for the Best Greek Pita Ever!
So, you're about to embark on your Greek Pita Bread journey? Ace! Here are a few extra tips and tricks I've picked up along the way to ensure your Greek Pita are absolutely banging! Honestly, I've made my fair share of flatbread fails, so learn from my mistakes, you know?
Serving Up Some Deliciousness
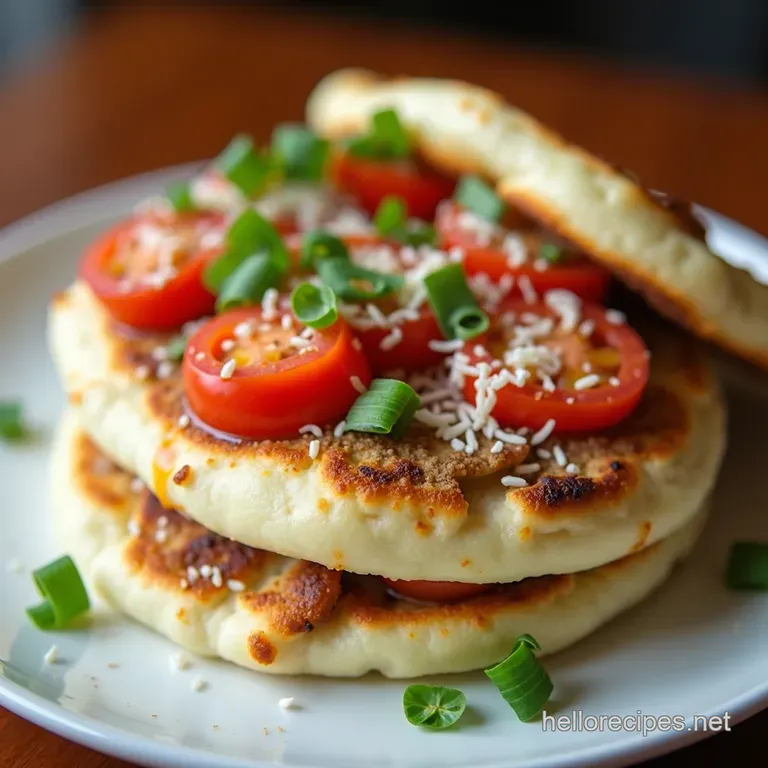
Thinking about plating? Get creative! Homemade Pita Bread is super versatile. For a casual vibe, pile them high on a wooden board with a selection of dips like hummus and baba ghanoush.
Feeling fancy? Try rolling your Greek flatbread into cones filled with gyros and a generous dollop of tzatziki. Trust me, it's a total crowd pleaser.
As for sides, a fresh Greek salad or some roasted vegetables will complement those Authentic Pita Bread perfectly. Thirsty? A crisp glass of white wine or a refreshing iced tea does the trick!
Storing for Later
If you have any leftover Greek Pita , which is rare in my house, let them cool completely before storing them.
Pop them into an airtight container or a zip-top bag. They'll keep in the fridge for up to 3 days.
Want to keep them longer? Freeze them! Stack them with parchment paper in between to prevent sticking, then wrap well in plastic wrap and foil.
They’ll last for up to 2 months in the freezer. Reheating is easy: microwave them for a few seconds, toast them lightly, or warm them up in a dry skillet.
Just don't overheat them; you want them soft and pliable, not crispy.
Mix It Up a Little
Want to spice things up? I often make a whole wheat version by swapping half the all-purpose flour for whole wheat.
Gives them a lovely nutty flavour. Looking for gluten-free Gyros Bread ? Just use a good quality gluten-free flour blend, and you're good to go! As for seasonal swaps, in the summer, I love adding some chopped fresh herbs to the dough, like oregano or thyme.
It gives your Easy Pita Recipe an extra boost of flavour.
Keep it Healthy
Each Greek Pita contains about 200 calories. They're a good source of carbohydrates for energy and contain a bit of protein and fiber.
They're pretty low in fat too. Plus, making your own means you control the ingredients, so you can keep them nice and healthy.
So there you have it! With these extra tips, you're ready to make the best Stovetop Pita Bread ever. Don’t be scared to experiment and have fun.
You got this. Enjoy your amazing Mediterranean Flatbread !

Frequently Asked Questions
My Greek pita isn't puffing up. What am I doing wrong?
Ah, the dreaded non-puff! Usually, it's down to pan temperature. Make sure your skillet or griddle is nice and hot before you start cooking. Also, don't be tempted to flip the pita too early; let it cook for a good 2-3 minutes per side to allow those air pockets to form. It's all about creating steam inside the pita!
Can I make the Greek pita dough ahead of time?
Absolutely! Making the dough ahead is a great time saver, especially if you are having a dinner party. After the first rise, punch down the dough, wrap it tightly in plastic wrap, and refrigerate for up to 24 hours.
When you're ready to bake, let the dough come to room temperature for about 30 minutes before dividing and rolling it out.
How do I store leftover Greek pita bread?
To keep your leftover pitas soft and delicious, store them in an airtight container or a resealable plastic bag at room temperature for up to 2 days. For longer storage, you can freeze them. Wrap each pita individually in plastic wrap or foil before placing them in a freezer bag.
Reheat in a skillet, toaster, or oven until warmed through.
I'm trying to be health conscious. Are there any healthy variations I can make to this Greek Pita recipe?
Certainly! You can easily boost the nutritional value by using whole wheat flour for half of the all-purpose flour. This adds fibre and a lovely nutty flavour. Also, be mindful of the oil you use; stick to extra virgin olive oil and use it sparingly.
Filling your pita with plenty of fresh veggies and lean protein is always a winning strategy for a healthy meal. Think of it as building your own healthy Greek salad in a pita!
Can I use a different kind of yeast for this Greek Pita recipe?
Yes, you can! This recipe calls for active dry yeast. If you only have instant yeast on hand, you can use it in the same amount without blooming it in water first; just add it directly to the flour mixture. The rising time should remain roughly the same. Just make sure it hasn't passed its expiration date!
What are some good filling suggestions to make a great Greek Pita?
Oh, the possibilities are endless! For a classic experience, try filling your warm Greek pita with grilled gyro meat, sliced tomatoes and onions, and a generous dollop of tzatziki sauce. Alternatively, souvlaki (grilled skewers of meat or vegetables) are fantastic.
For vegetarians, consider roasted vegetables like eggplant, zucchini, and bell peppers with hummus or feta cheese. Don't forget to season generously!
Authentic Greek Pita The Easy Way
Ingredients:
Instructions:
Nutrition Facts:
| Calories | 200 calories |
|---|---|
| Fat | 5g |
| Fiber | 2g |
