The Spoonworthy Secret Safetoeat Brown Butter Chocolate Chip Cookie Dough
- Why This No-Bake Treat Deserves a Spot in Your Rotation
- Decoding the Magic: Safety First for Your Edible Cookie Dough
- Gathering the Building Blocks for Perfect Dough
- Essential Gear for Crafting the Ultimate Edible Cookie Dough
- Mastering the Crucial Step: Making Flour Safe to Consume
- Assembling Your Guilt-Free Cookie Dough Base
- Transforming Your Basic Recipe into Spectacular Variations
- Storing and Serving Your Homemade Delight
- Recipe FAQs
- 📝 Recipe Card
Why This No-Bake Treat Deserves a Spot in Your Rotation
There’s a universal truth about baking: the most irresistible part of the entire process is that moment you sneak a tiny spoon into the bowl when no one is looking. That rich, unbaked flavour that perfect marriage of sugar, vanilla, and fat is pure, unadulterated nostalgia.
For too long, enjoying that moment meant taking a risk. Well, I’m here to tell you that you can finally indulge in that childhood craving without a second thought. This Edible Cookie Dough Recipe is specifically engineered for immediate, guilt free gratification.
It delivers the deep, comforting flavour profile of your favourite chocolate chip cookies, but it’s ready the moment you mix it together. Forget licking the spoon after the cookies are baked; we are making the main event ready to eat right now!
This recipe truly elevates the simple act of snacking into a sophisticated, flavour packed experience.
Decoding the Magic: Safety First for Your Edible Cookie Dough
The genius of a truly great Edible Cookie Dough lies entirely in the preparation specifically, the steps taken to eliminate potential contaminants found in traditional raw mixtures. Many homemade attempts fail because they overlook the two main culprits in raw dough.
We are going to tackle those head-on so you can confidently serve this delicious treat to anyone, anytime. This careful methodology ensures that our Easy Edible Cookie Dough Recipe is as safe as it is satisfying.
That Irresistible Childhood Craving, Solved Safely
That nostalgic longing for raw dough is what inspired this entire creation. We want the exact texture, the perfect sweetness, and that signature buttery note, but without the risk associated with raw ingredients.
When you follow the simple safety steps outlined below, you unlock the ability to enjoy Edible Cookies straight from the mixing bowl, making it the perfect quick fix for a dessert emergency or an easy weeknight treat.
The Twin Pillars of Safe Dough: Egg Removal and Flour Treatment
The two non-negotiables for safe consumption are the elimination of raw eggs and the proper treatment of flour. Since we aren't baking, we skip the eggs entirely, which solves half the problem instantly. The trickier element, however, is the flour.
Raw flour, straight from the bag, can sometimes harbour bacteria like E. coli. Our solution? We must heat treat the flour to an internal temperature of 165° F ( 74° C) before it ever touches the butter and sugar.
This simple act of thermal diligence is what transforms the mixture from a baking ingredient into a genuinely safe, spoon worthy confection.
A Nostalgic Flavor Profile Without the Raw Risk
Once safety is guaranteed, we can focus on flavour. To elevate this standard Edible Cookie Dough , I like to introduce a depth often missing from simple mixtures. We achieve this by browning the butter lightly before creaming it with the sugars.
This process introduces subtle, nutty, caramel notes that mimic the richness achieved only after traditional baking, resulting in a supremely flavorful Edible Cookie Dough Recipe Easy to execute.
Gathering the Building Blocks for Perfect Dough
Creating this indulgent treat requires just a handful of pantry staples, but the quality matters. Remember, since there's no baking to mask mediocre ingredients, every component shines through.
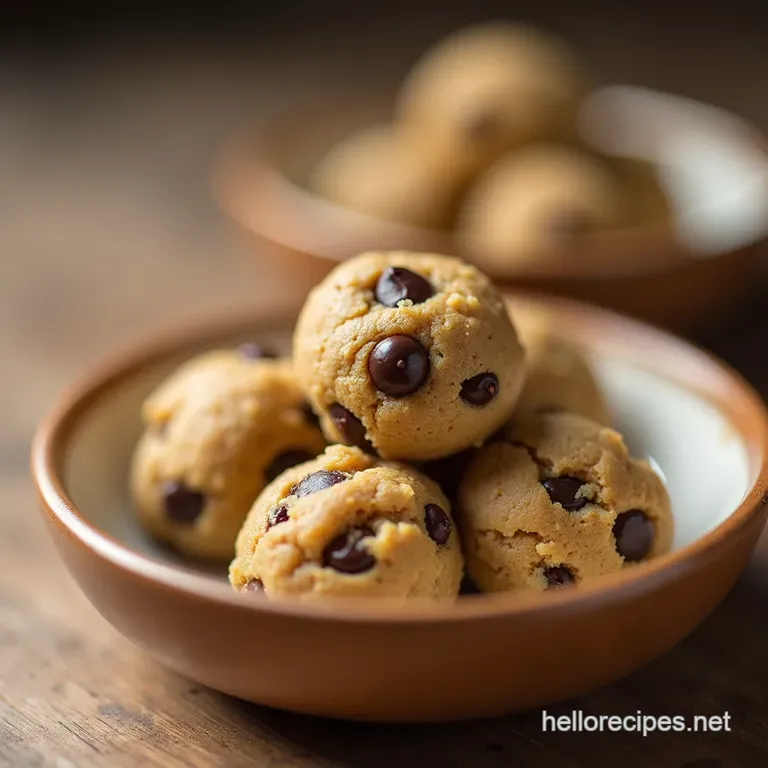
For our Seriously Safe & Scrumptious Edible Chocolate Chip Cookie Dough , we’ll need 1 cup of all-purpose flour (which we will toast), a combination of light brown and granulated sugar, rich unsalted butter, a splash of milk for texture, vanilla, salt, and, of course, glorious chocolate chips.
Essential Gear for Crafting the Ultimate Edible Cookie Dough
While this isn’t a complicated procedure, having the right tools on hand ensures a smooth process, particularly when tackling the crucial flour treatment. You don't need any specialized baking equipment, but efficiency is key to keeping our total prep time low.
The Dairy and Sweetener Foundation
The texture and moisture balance hinge on how you handle your fats and sugars. We use both light brown sugar for that classic chewiness and molasses depth, alongside granulated sugar for necessary sweetness. For the fat, unsalted butter is essential, especially since we are elevating it by browning it slightly.
This optional step, which takes just a few extra minutes, infuses the entire batch with an almost toffee like aroma.
Selecting the Right Chocolate Chips for Maximum Melt
When choosing your mix-ins, consider texture. I prefer standard semi sweet chocolate chips (about 3/4 cup for this batch), but feel free to use dark chocolate chunks or even white chocolate chips if that’s your preference.
The key is to fold them in gently at the very end to ensure they remain whole and provide those satisfying bursts of melted flavour when you take a bite.
Tools Needed to Conquer the Flour Heat Treating Step
The most important piece of equipment for safety is a reliable digital thermometer. While you can toast the flour over the stovetop, knowing precisely when it hits 165° F ( 74° C) is non-negotiable.
Alternatively, you can use a standard baking sheet and an oven, but a heavy bottomed saucepan is fantastic for stovetop toasting as it distributes heat evenly, preventing scorching. A sturdy whisk and a rubber spatula will round out your necessary gear for creaming and folding.
Related Recipes Worth Trying
- NoBake Chocolate Chip Edible Cookie Dough EggFree — Craving chocolate chip cookie dough This easy recipe for edible cookie dough skips the raw eggs and oven time So safe so simpleget scooping
- The Ultimate Safe Edible Cookie Dough Recipe No Raw Flour — Craving Yummy Cookies This Easy Edible Cookie Dough Recipe ditches the raw risks with toasted flour Its smooth safe and ready in a jiffy
- The Best Edible Playdough Recipe Naturally Coloured NonToxic Fun — Looking for an easy playdough recipe thats safe to eat This homemade playdough recipe uses natural dyes and is so soft youll want a batch yourself
Mastering the Crucial Step: Making Flour Safe to Consume
This step separates a potentially risky raw dough from a perfectly safe Edible Cookie Dough . This process is called heat treatment, and it’s incredibly simple. Spread your 1 cup of all-purpose flour thinly onto a dry, heavy bottomed saucepan or a small baking sheet.
If using the stovetop, keep the heat on medium low and stir the flour constantly think of it like making a very dry roux. You’ll notice the aroma changing from dusty to faintly nutty.
Use your thermometer to confirm it has reached at least 165° F ( 74° C). If baking, spread it on a sheet and bake at 350° F ( 175° C) for about 5 to 7 minutes, checking the internal temperature.
Once done, spread it out on a plate to cool completely before proceeding; warm flour will melt your butter prematurely!
Assembling Your Guilt Free Cookie Dough Base
With our safe flour ready and cooled, we move into the classic cookie making action, minus the oven. This process is rapid and satisfying.
Microwave vs. Stovetop: Heat Treating Flour Methods
While I highly recommend the stovetop method for its evenness, if you are looking for the quickest approach to safe flour, you can microwave it in 30-second bursts, stirring well between each interval, until the internal temperature hits the mark. Regardless of the method, cooling is vital before the next steps begin.
Creaming Butter and Sugars to Golden Perfection
Take your 1/2 cup of butter. If you chose to brown it (and you should!), pour the golden liquid, complete with all those flavourful brown bits, into your mixing bowl. Immediately add the 1/2 cup of packed light brown sugar and 1/4 cup of granulated sugar.
Whisk this mixture vigorously for about two minutes until it becomes visibly lighter in colour and slightly fluffy. This aerates the base, providing structure. Next, quickly whisk in 1 teaspoon of vanilla extract and 1/4 teaspoon of salt.
Folding in the Chocolate: When to Stop Mixing
Now, gradually incorporate the cooled, heat treated flour into the butter mixture. Mix only until it just comes together. The dough will likely look quite crumbly at this stage. This is where the liquid comes in: slowly add 2 to 3 tablespoons of whole milk or cream, adding just enough until the mixture comes together into a cohesive, firm but slightly soft dough.
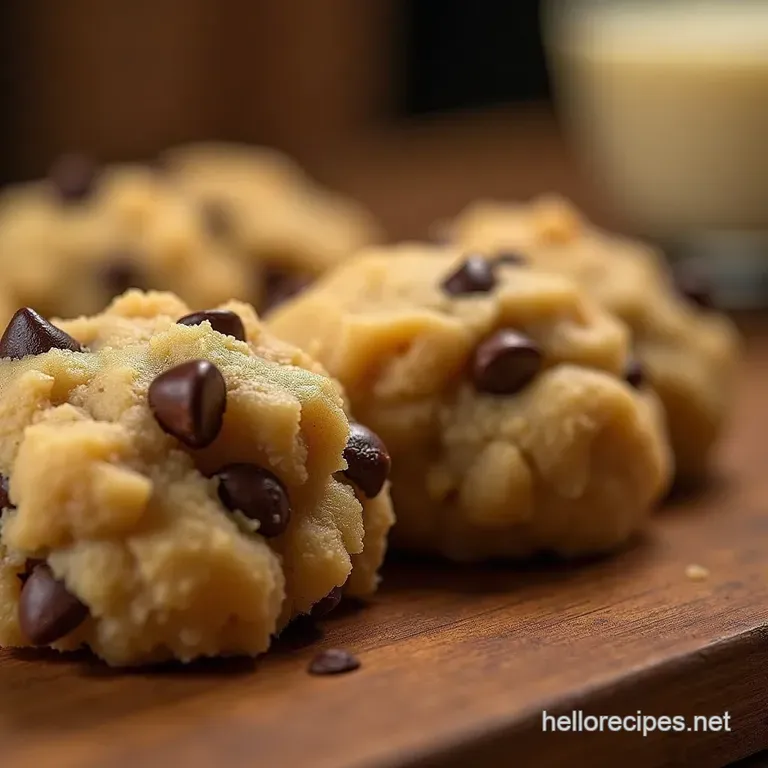
Finally, gently fold in your 3/4 cup of chocolate chips using a rubber spatula. Stop mixing the moment the chips are evenly distributed; overmixing develops gluten and leads to a tougher texture, which we definitely don't want in a spoonable treat.
Transforming Your Basic Recipe into Spectacular Variations
This base recipe is designed to be highly adaptable. If you're looking for something beyond the standard chips, or perhaps want a Cookie Dough For One serving that’s customized to your mood, this is where you get creative.
Flavor Twists: Beyond the Classic Chocolate Chip Edible Cookie Dough
For those craving something different, consider these easy additions before chilling: Swirl in a quarter cup of creamy peanut butter for a rich PB profile, or try adding half a teaspoon of cinnamon and a pinch of nutmeg for a spiced effect.
If you enjoy dried fruit, substitute half the chocolate chips with dark raisins for a delightful oatmeal raisin inspired Edible Cookie Dough . If you are exploring Healthy Edible Cookie Dough options, consider replacing some of the sugar with a low-calorie alternative, though this will slightly alter the texture.
Storing and Serving Your Homemade Delight
The beauty of this creation is immediate enjoyment, but leftovers are often too good to resist!
Troubleshooting Common Dough Consistency Issues
If your dough comes out too crumbly, it likely needs more moisture; add milk or cream, half a teaspoon at a time, until it binds without being sticky. Conversely, if it’s too soft or greasy, it’s likely due to warm butter or too much milk. The solution here is simple: cover it and chill it!
This is why chilling is highly recommended.
Optimal Chilling Times for Firmness and Flavor Depth
While you can eat this Cookie Dough For One immediately after mixing, I strongly advise a minimum of 30 minutes in the refrigerator.
Chilling allows the ingredients to fully hydrate and the flavours especially that toasted butter note to meld together beautifully, firming up the dough into a consistency that feels exactly right on the spoon.
Shelf Life Expectations for Unbaked Concoctions
Because we have eliminated raw eggs and pasteurized the flour, this mixture has a decent shelf life. Store your Edible Cookie Dough in an airtight container in the refrigerator. It will keep beautifully for up to one week.
If you want to make a big batch of Vegan Edible Cookie Dough (using vegan butter and dairy-free milk), the shelf life remains similar. Just remember to let it sit at room temperature for about 10 minutes before scooping if it has been chilled for a long time, ensuring that perfect, ready-to-eat texture returns.
Enjoy every safe, sweet spoonful!

Recipe FAQs
Why do I have to heat treat the flour for this Edible Cookie Dough?
That’s the million dollar question, isn’t it? Unlike flour destined for the oven, raw flour hasn’t been treated to kill potential bacteria like E. coli. Heat treating the flour to 165°F (74°C) is absolutely non-negotiable for food safety, so you can tuck in without worrying about getting the jitters the next day!
Can I skip browning the butter, or is it really worth the extra faff?
Honestly, while you can skip it, browning the butter is what gives this recipe its signature, deep, nutty flavour it turns it from perfectly nice dough into something truly special.
If you’re short on time, just use softened, room temperature butter, but promise me you’ll try browning it next time; it’s worth every minute!
How long does this Edible Cookie Dough keep in the fridge?
Because we're using milk or cream instead of eggs, this dough keeps quite well, generally lasting up to a week when stored in an airtight container in the refrigerator. If it gets a bit hard after a couple of days, just let it sit on the counter for 10-15 minutes before digging in.
My dough is too dry/crumbly after mixing; what’s the fix?
Don’t panic, that’s an easy fix! Dough consistency is tricky because flour absorbs liquid differently every time. Just stir in a tiny splash think half a teaspoon at a time of milk or cream until it loosens up to a perfect, scoopable texture.
Stop as soon as it feels right, or you’ll end up with more of a batter!
Is there a way to make this recipe vegan or dairy-free?
Absolutely, you can easily adapt this for a vegan treat! Swap the butter for a good quality vegan butter block or refined coconut oil, and use your favourite plant based milk, such as almond or soy milk. Remember to use dairy-free chocolate chips, and you're good to go!
Safe Brown Butter Cookie Dough

Instructions:
Nutrition Facts:
| Calories | 380 kcal |
|---|---|
| Fat | 21g |
| Fiber | 2g |
