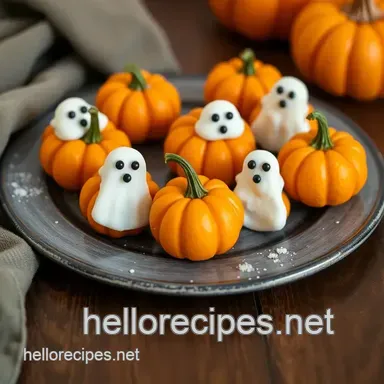
Pumpkin & Ghost Treats with White Chocolate
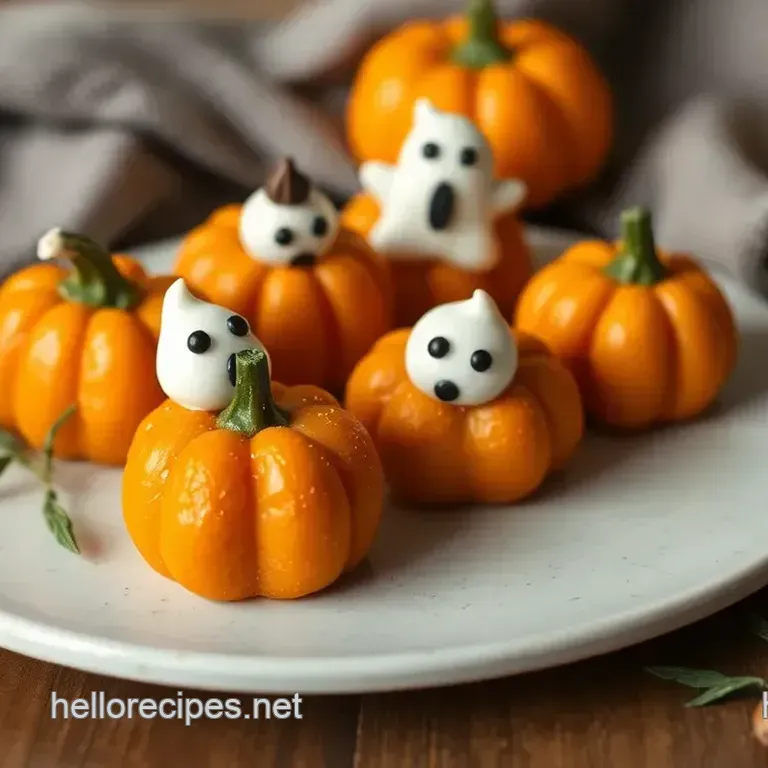
- Time: 30 minutes hands-on + 30 minutes to set
- Taste & Feel: A velvety cake center with a crisp chocolate shell
- Great for: Easy Halloween parties and child-friendly activities
Assembled Mini Orange Pumpkins & Ghost Treats with White Chocolate
Melting white chocolate always brings a cozy, autumnal feeling to my kitchen. I used to believe that great Halloween treats required a professional studio and hours of grueling piping to look impressive. Find the ideal recipe for Assembled Mini Orange Pumpkins & Ghost Treats with White Chocolate below.
These are essentially fancy cake truffle bites that are surprisingly easy to make. We use a shortcut cake base to speed up the process, meaning you can focus on the decorating rather than scrubbing flour off your surfaces.
The kids adore adding the googly eyes, and in all honesty, the adults usually can't resist diving in first. It is a simple way to create a festive platter without spending your entire weekend in the kitchen.
Quick Recipe Stats
These treats are all about efficiency. Since we aren't baking a cake from scratch, the timeline stays tight.
- Prep time: 30 minutes
- Cook time: 8 minutes
- Total time: 68 minutes
- Yield: 24 treats
How the Texture Works
The success of this recipe comes down to a couple of simple physical reactions. It's not about magic, just a bit of kitchen logic.
- Oil Based Color: Water based dyes make chocolate clump and seize. Using oil based coloring keeps the chocolate flowing smoothly.
- Temperature Contrast: Chilling the cake balls for 30 minutes ensures the chocolate sets quickly on contact, preventing the treats from flattening or sliding.
Getting Your Ingredients Ready
I prefer using melting wafers because they don't require tempering. If you use a bar of chocolate, just chop it very fine so it melts evenly.
What Each Ingredient Does
| Component | Purpose | Substitute Notes |
|---|---|---|
| Vanilla Cake Crumbs | Base structure | Use any light sponge or pound cake |
| Cream Cheese | Binds crumbs together | Mascarpone works for a richer taste |
| Coconut Oil | Thins the chocolate | Vegetable oil works, but is less creamy |
| White Chocolate | Outer shell | Use high-quality wafers for a smoother finish |
Ingredients & Substitutes
- 2 cups (250g) vanilla cake crumbs Why this? Provides a light, sweet base
- Substitute: Pound cake crumbs
- 4 oz (115g) softened cream cheese Why this? Acts as the glue for the cake
- Substitute: Mascarpone
- 2 tbsp (30ml) milk Why this? Thins the paste for easier rolling
- Substitute: Heavy cream
- 16 oz (450g) white chocolate melting wafers Why this? Melts quickly and sets firm
- Substitute: Chopped white chocolate bars
- 2 drops (0.1ml) orange oil based food coloring Why this? Gives that classic pumpkin hue
- Substitute: Orange candy melts
- 1 tsp (5ml) coconut oil Why this? Prevents the chocolate from being too thick
- Substitute: Vegetable oil
- 24 pieces candy googly eyes Why this? Adds character to the ghosts
- Substitute: Mini chocolate chips
- 12 small green candy pearls Why this? Serves as the pumpkin stems
- Substitute: Green M&Ms
- 10g melted dark chocolate Why this? Adds the pumpkin ribbing
- Substitute: Cocoa powder mixed with a drop of water
Necessary Kitchen Tools
You don't need any fancy gear here. A few basic bowls and a tray will do the trick.
- Two microwave safe glass bowls (vital for even heating)
- Baking sheet lined with parchment paper
- Toothpicks (for dipping)
- Mixing bowl and spoon
Step by step Assembly
Right then, let's crack on. The key is to keep your movements steady so the shapes stay clean.
1. Shaping the Bases
Combine the cake crumbs, softened cream cheese, and milk in a bowl. Mix until the texture resembles a thick paste that holds its shape. Roll the mixture into 12 small spheres for the pumpkins and 12 slightly elongated oval shapes for the ghosts.
Place them on your parchment lined tray and chill in the fridge for 30 minutes until firm and cold to the touch.
2. Preparing the Chocolate Palette
Divide the white chocolate wafers into two microwave safe glass bowls. Melt them in 30 second bursts, stirring between each interval, until smooth and glossy. Stir the orange oil based coloring and coconut oil into the first bowl until the color is vibrant.
Keep the second bowl pure white.
3. The "Dip and Dot" Assembly
Using a toothpick, dip a pumpkin base into the orange chocolate. Rotate it to cover the whole ball and let the excess drip off. Place it on the parchment. Immediately press a green candy pearl onto the top for the stem.
4. Creating the Ghosts
Dip the oval bases into the pure white chocolate. Before the chocolate sets, carefully apply two candy eyes to the upper half of the treat.
5. Final Detailing
Once the orange pumpkins have set for 5 minutes, use the melted dark chocolate to draw vertical curved lines from the stem to the base. This creates those classic pumpkin ribs.
Chef's Tip: If your chocolate feels too thick to dip, stir in a tiny bit more coconut oil. It makes the coating thinner and prevents air bubbles from clinging to the cake.
Pro Tips & Pitfalls
Working with chocolate can be temperamental, especially when you're rushing for a party. Trust me on this, a few small adjustments make a huge difference.
Fixing Grainy Chocolate
If your chocolate looks clumpy or has separated, it has likely seized due to overheating or a drop of water. You can't really "un seize" it for a clean dip, but adding a tablespoon of boiling water or heavy cream and stirring vigorously can turn it into a glaze.
However, for these treats, it's usually faster to just start a new batch and be more careful with the microwave bursts.
Stopping Leaking Eyes
Sometimes the candy eyes sink or slide down the ghost's face. This happens if the chocolate is too warm. Wait a few seconds after dipping the treat before placing the eyes. This gives the chocolate a slight "skin" that holds the weight of the candy.
Shaping Round Pumpkins
If your pumpkins look like lumpy potatoes, use the "palm roll" method. Place the cake dough in the center of your palm and move your hand in a circular motion with light pressure. Avoid over working the dough, or the cream cheese will make it too sticky to handle.
Keeping Treats Fresh
With proper care, these maintain their quality surprisingly well. Since they require no baking, they're a perfect match for other easy treats like chocolate oat bites.
Storage Guidelines Keep the treats in a container with parchment paper layers so the chocolate doesn't stick. They will stay fresh in the refrigerator for around 5 days.
For long-term storage, they can be frozen for 2 months, though you'll want to let them thaw for 10 minutes before serving.
Zero Waste Tips Don't toss any leftover cake crumbs. Instead, combine them with sugar and a bit of melted butter to make a quick crumble topping for vanilla ice cream. Any remaining white chocolate can be drizzled over popcorn for a tasty sweet and salty snack.
Swaps and New Flavors
Feel free to adjust this recipe to better suit your dietary preferences or budget. For a more adventurous approach, try these ghostly toppers to give your dessert a new look.
Ingredient Substitutions
| Original Ingredient | Substitute | Why It Works |
|---|---|---|
| White Chocolate | Orange Candy Melts | Matches fat content; eliminates the need for dyes |
| Cream Cheese | Mascarpone | Similar consistency; provides a richer, buttery flavor |
| Milk | Heavy Cream | Enhances richness; creates a more stable base |
Quick Decision Shortcuts
- Need deeper orange? → add 1 drop more oil based coloring.
- Prefer a thinner coating? → stir in 1/2 tsp extra coconut oil.
- Want more ghosts? → mold pumpkin spheres into ovals.
Fresh vs. Shortcut Base
| Method | Effort | Result |
|---|---|---|
| Fresh Baked Cake | High | Moister, softer crumb |
| store-bought Crumbs | Low | More consistent, simpler to shape |
Best Ways to Serve
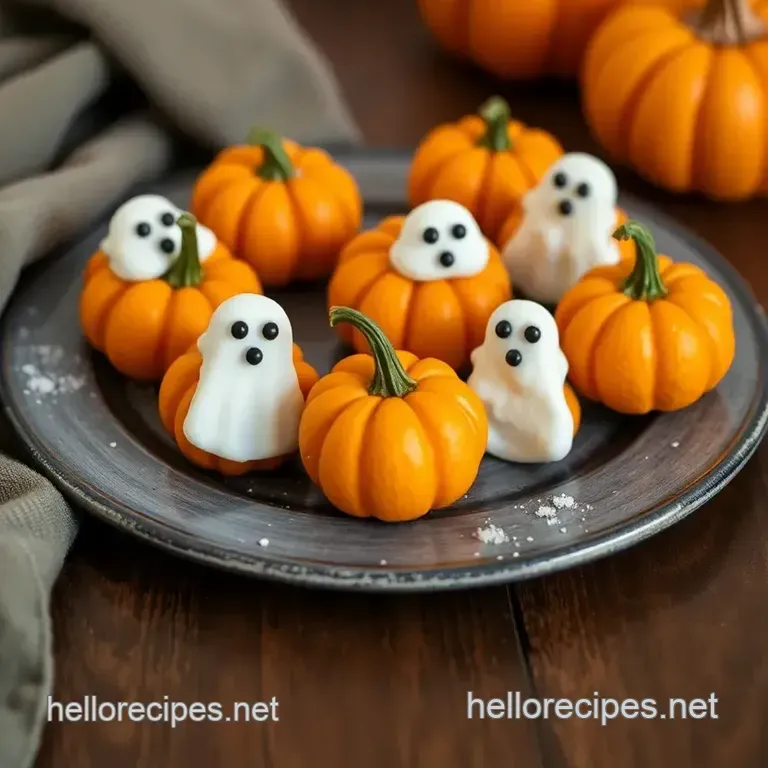
Because these are bite-sized, they look wonderful on a festive platter. I suggest using a wooden tray or a dark slate board to make the orange and white colors pop. Fill the gaps around the pumpkins and ghosts with a few mini marshmallows or some candy corn.
These pair perfectly with a spiced latte or warm apple cider. The richness of the white chocolate balances the acidity of the cider beautifully. If you're serving them to children, provide a small paper cupcake liner for each treat to keep their hands clean.
Final Precision Checkpoints
- 1. 30 second bursts
- To avoid burning the chocolate, never microwave it for several minutes at a time.
- 2. 30 minute chill
- Do not skip the refrigeration time, otherwise the cake balls may melt into the chocolate.
- 3. 5 minute set
- Allow the pumpkins to firm up slightly before drawing the ribs with dark chocolate.
Recipe FAQs
What are some ideas for teal pumpkin treats?
Provide non-food items or allergen-conscious sweets. While these treats contain dairy and gluten, they serve as great inspiration for shaped, themed desserts for your guests.
Which foods work best for a Halloween party?
Stick to handheld, themed appetizers. These mini pumpkins and ghosts are perfect for grazing. If you enjoyed making these no-bake shapes, the same assembly principle applies to our protein bites.
How to keep the treats from flattening?
Chill the rolled shapes for 30 minutes. Refrigeration firms the cream cheese and cake crumb mixture so the treats maintain their form during the dipping process.
Is it true that water thins melted chocolate?
No, and here's why. Water triggers a reaction called seizing which makes the chocolate grainy and clumped; coconut oil is the correct additive for a smooth flow.
Can I swap white chocolate for milk chocolate?
Yes, but you lose the ghost appearance. The texture and setting time remain the same, though the treats will be brown instead of white.
Why is my orange coloring uneven?
Whisk the oil-based dye and coconut oil more vigorously. Ensure the coloring is fully incorporated into the melted chocolate before you begin dipping the pumpkin bases.
Pumpkin & Ghost Treats in 38 Minutes