Sugar Cookie Icing: the Stable Royal Glaze Recipe
- The Definitive Royal Icing: Achieving the Perfect Glaze for Stackable Sugar Cookies
- Essential Components for 'The Queen's Glaze' and Pro Substitutions
- Mastering Consistency: Step-by-Step Guide to Mixing and Thinning the Icing
- The Science Behind Stability: Why This Professional Icing Sets Rock-Hard
- Troubleshooting & Advanced Techniques for Picture-Perfect Sugar Cookie Decorating
- Preserving Your Polish: Storage Solutions for Unused Icing and Decorated Biscuits
- Beyond the Basics: Creative Ways to Use Your Hard-Setting Decorator Icing
- Recipe FAQs
- 📝 Recipe Card
The Definitive Royal Icing: Achieving the Perfect Glaze for Stackable Sugar Cookies
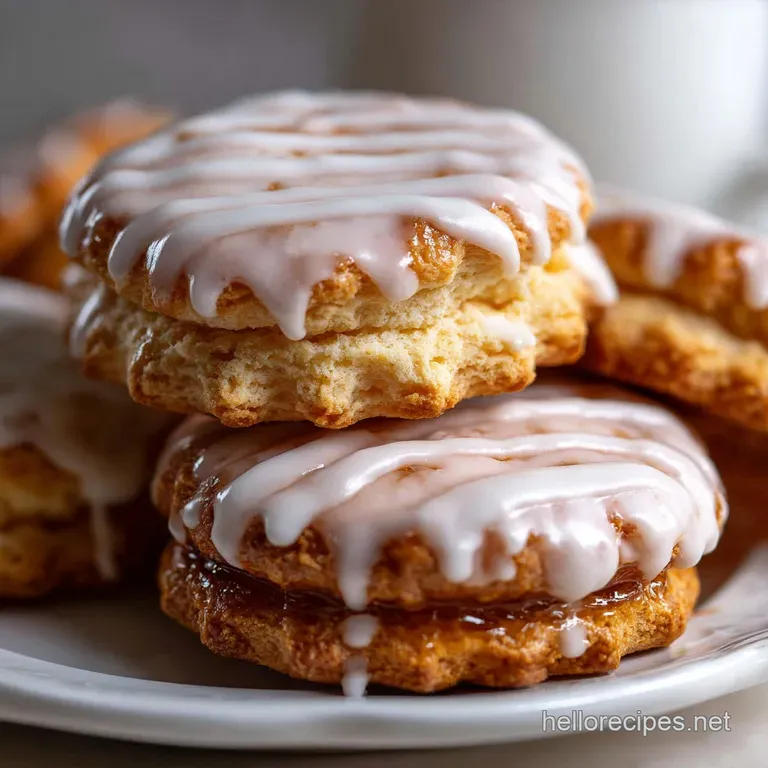
That glorious smell of vanilla and sugar hitting the warm kitchen air it signals cookie season, right? But the true magic of decorating comes down to the finish, that pristine, glossy coat that holds a sharp edge.
That is exactly why you need this incredibly stable, reliable Sugar Cookie Icing recipe. Forget those stiff, grainy buttercream versions that smear when stacked. This is fast, cheap, and transforms basic cut-outs into edible masterpieces, and trust me, it dries perfectly smooth.
You can achieve stunning, professional results with this Sugar Cookie Icing even if you’re a beginner, provided you pay attention to the consistency. I’ve had many icing fails over the years, but this specific meringue powder method guarantees a perfectly smooth, hard finish every single time.
Let’s dive into the secrets behind the ultimate Sugar Cookie Icing !
What Makes Meringue Powder Superior to Raw Egg Whites?
Using meringue powder is the key to mastering this cookie icing recipe and keeping your decorating stress free. First and foremost, it solves the safety issue; we eliminate the risk of salmonella associated with raw egg whites entirely, which is essential if you plan on selling or gifting your cookies.
More importantly for the structure of the glaze, meringue powder offers unmatched stability and predictable volume. It ensures the protein structure is consistent, allowing the finished product to dry fully, resulting in that beautiful, hard shell.
The Secret to a Non-Gritty, High Gloss Finish
The enemy of any good glaze is grit, and the secret to avoiding it starts before you even turn on the mixer. You must, absolutely must , sift your powdered sugar and meringue powder together.
Even if your sugar feels soft right out of the bag, there are always lumps that will clog your piping tips and create a gritty texture on the cookie surface. Next, whipping time is crucial for this type of Sugar Cookie Icing .
We aren’t just mixing; we are truly whipping air into the base until the icing turns from dull off-white to a bright, opaque, glossy white, guaranteeing that mirror like shine you see in fancy bakeries.
Understanding Icing Density: Flood vs. Detail Consistency
When preparing Sugar Cookie Icing , you are actually aiming for two entirely different consistencies from one batch, and this is where many people panic. The first is the stiff, detail consistency it’s thick and holds sharp peaks, perfect for outlining and piping delicate details that won’t melt.
The second consistency is the flood icing, which is intentionally thinner and runs out to fill the outlined area smoothly. Getting this balance right is critical; it’s the difference between gorgeous, flat color fields and messy, lumpy pools.
Mastering this distinction is truly critical for great Sugar Cookie Icing that looks professional.
Essential Components for 'The Queen's Glaze' and Pro Substitutions
Every ingredient in this recipe is chosen for a purpose, mainly ensuring stability and a bright white finish. You might be tempted to swap out components, but proceed with caution! Messing with the liquid-to-sugar ratio can ruin the structural integrity of your Sugar Cookie Icing .
Powdered Sugar Quality: Sifting and Brand Choice
The powdered sugar (or confectioner’s sugar, if you prefer) makes up the bulk of your icing, so its quality matters. Always use a reliable, well-known brand. More importantly, as mentioned, every single particle must be sifted.
If you run out of powdered sugar mid-recipe, you can technically make your own by blending granulated sugar with cornstarch, but honestly, just go buy another bag. This step ensures the final texture of the Sugar Cookie Icing is flawless.
| Ingredient | Role | Viable Substitution | Notes on Substitution |
|---|---|---|---|
| Meringue Powder | Stability, Hardening | Pasteurized Liquid Egg Whites | Requires significant measurement adjustments and may soften the final glaze. |
| Filtered Water | Consistency | Milk (Whole or 2%) | Use sparingly; milk makes the final icing less hard and slightly softer. |
| Clear Vanilla Extract | Flavour | Almond, Coconut, or Peppermint Extract | Adjust the amount slightly as almond extract tends to be stronger than vanilla. |
The Power of Meringue Powder: Stability and Safety
I know some classic recipes call for raw egg whites, but using meringue powder is far superior for modern decorating. It provides the protein necessary to form a stable matrix that allows the icing to dry rock hard that satisfying clink when you stack the cookies!
Plus, it has stabilizers built right in. See the chart above if you absolutely must use liquid egg whites, but know that it compromises the stable, quick setting shine of true Sugar Cookie Icing .
Flavoring Options: Vanilla vs. Clear Extracts
I strongly recommend using clear vanilla extract instead of the regular brown kind. Why? Because the brown extract will slightly yellow your brilliant white glaze, and that’s a tragedy when you’re aiming for pristine snowmen or wedding cookies.
Almond extract is another incredible addition; it pairs wonderfully with sugar cookies. Using clear flavors is a small trick that elevates your final, colored Sugar Cookie Icing .
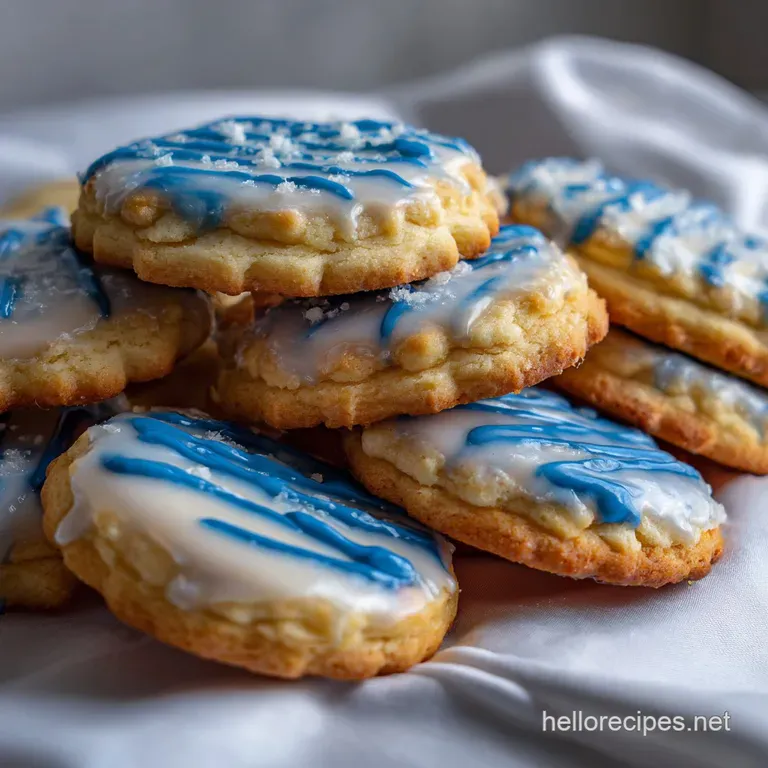
Coloring Techniques: Gel Paste vs. Liquid Dyes
If you want vibrant, deep colors, you must use high-quality gel paste food coloring. Liquid dyes are the enemy of Royal Icing! They are mostly water, and adding even a few drops of liquid dye can throw off the delicate consistency of your icing, transforming it from a perfect 10 second flood into a watery mess.
Use a toothpick to add gel paste gradually, mixing thoroughly until you reach the desired shade.
Mastering Consistency: step-by-step Guide to Mixing and Thinning the Icing
This is where your inner scientist comes out. Royal Icing is less about following the recipe exactly and more about trusting your gut and testing the consistency.
The Initial Mix: Avoiding the Meringue Powder Dust Cloud
Start by sifting the sugar and meringue powder together into your mixer bowl. Then, add the extract and the initial amount of water (6 tablespoons). Keep the mixer speed on the absolute lowest setting for the first 30 seconds.
If you skip this, you will trigger a confectioner’s sugar dust explosion that coats your entire kitchen in a fine layer of sticky white powder. Don’t ask me how I know. This slow start is crucial when mixing your base Sugar Cookie Icing .
Whip Speed and Duration for Optimal Volume and Flow
Once combined, scrape down the bowl, then crank the speed up to medium high. You are now whipping, not mixing! Let it go for 5 to 7 minutes. The meringue powder needs time to dissolve completely and incorporate air.
The sound of the mixer will change, and the icing will look noticeably whiter and thicker. When you lift the whisk, the icing should hold a very stiff, slightly curled peak this is your piping/detail consistency.
This intense mixing defines how durable your finished Sugar Cookie Icing will be.
Achieving 10 Second Consistency for Smooth Flooding
Now, take half of that thick icing and set it aside, covering it tightly. This reserved portion is for piping your outlines. The rest needs to become flood consistency. Put the mixer back on low, and slowly start adding the remaining water, literally ½ teaspoon at a time.
The 10 second test is gospel for smooth flood coverage: drizzle a line of icing across the surface in the bowl. Count how long it takes for that line to completely disappear and become smooth again. You are aiming for 8 to 12 seconds. If it disappears faster, it’s too thin.
This thin version of the Sugar Cookie Icing should melt back into itself beautifully.
Preparing Bags and Tips for Piping Outlines
Once you have your two consistencies, transfer them carefully. The thick, piping icing (our stiff consistency) goes into piping bags fitted with tiny tips, like a Wilton #2 or #1. The thinner, flood icing works best in squeeze bottles, especially if you are decorating large batches.
Squeeze bottles give you far better control over the volume than piping bags for filling big spaces, preventing those annoying overflow disasters at the edges of your sugar cookies.
The Science Behind Stability: Why This Professional Icing Sets Rock Hard
The magic of Royal Icing lies in its structural composition. When you use meringue powder, you are creating a super saturated suspension of sugar crystals held together by stable protein foam.
As the water evaporates (which takes hours), the sugar recrystallizes into an organized structure, reinforced by the dried meringue. This strong protein matrix is why the icing sets entirely dry, unlike buttercream, which retains fat and moisture.
That’s why this particular Sugar Cookie Icing works perfectly for mail outs and complicated stacking.
Troubleshooting & Advanced Techniques for Picture Perfect Sugar Cookie Decorating
Even seasoned bakers run into issues with Royal Icing; it's temperamental! But almost every problem has a simple solution.
Controlling Crystallization for a Smooth Texture
Sometimes, even with careful sifting, the icing can feel slightly rough, or you notice tiny, distinct sugar crystals. To control crystallization and guarantee a silky smooth mouthfeel, try adding 1 teaspoon of light corn syrup (or liquid glucose) per batch right when you start whipping the initial ingredients.
Corn syrup is an interfering agent; it prevents the sugar molecules from forming large, rough clusters, maintaining smoothness in your finished Sugar Cookie Icing .
Humidity Management: Setting Times and Environmental Factors
High humidity is the biggest enemy of dry, shiny Royal Icing. If it’s raining outside, your drying time will significantly increase sometimes up to 48 hours!
Conversely, if you live in a very dry climate, the icing can set so fast that it causes "crusting" before the flood consistency fully settles. The only fix for high humidity is a fan! Place your decorated cookies under a low-speed fan for the first few hours to expedite the drying process.
This is the biggest enemy of setting Sugar Cookie Icing .
Why Your Icing Separates or Cracks (Cratering Prevention)
If you notice large holes or "craters" in the center of your flooded cookies, your icing was likely too thin or you filled the outline too thickly in one go. To prevent cratering, ensure your flood icing is exactly 10 second consistency. For deep cutouts, flood the area in two thin layers, letting the first layer dry for 30 minutes before adding the second layer. Also, make sure you start with a truly sturdy base; for best results, use our Sugar Cookie Recipe: Best Cut-Outs For Decorating .
Fixing Icing That Is Too Runny or Too Stiff
The most common mistake is overshooting the water. If your icing is too thin, stop what you are doing, take a deep breath, and stir in another half cup of sifted powdered sugar. Whip it briefly and re-test. If the icing is too stiff, add water, but only a quarter teaspoon at a time.
Remember, you can always add more sugar, but it's hard to take the water back out. Always adjust slowly when dealing with Sugar Cookie Icing .
Preserving Your Polish: Storage Solutions for Unused Icing and Decorated Biscuits
You rarely use a whole batch of icing at once, so knowing how to keep it fresh is essential.
Short Term Storage: Preventing a Crust From Forming
Royal Icing forms a crust instantly when exposed to air. If you are taking a break longer than five minutes, put your icing away. Place any reserved icing in an airtight container and press a layer of plastic wrap directly onto the surface of the icing. This removes the air pocket that encourages crusting.
You can keep the icing at room temperature this way for several hours if necessary.
Long Term Icing Preservation: Refrigeration Guidelines
Unused Sugar Cookie Icing lasts well in the fridge for up to two weeks. Store it in its airtight container with the plastic wrap pressed down. When you are ready to use it again, you will notice the water has separated and pooled on top. This is normal!
Simply stir it aggressively with a spatula or use your mixer on low speed to reincorporate the liquid. You may need to add a touch more powdered sugar if the stirring process makes it too thin.
Beyond the Basics: Creative Ways to Use Your Hard Setting Decorator Icing
This powerful glaze is useful for more than just flat cookies. Its hard setting nature makes it a fantastic structural adhesive.
- Piping Lace: The stiff consistency is perfect for creating delicate 3D elements like piped flowers, lace borders, and intricate mesh designs on a parchment sheet. Once dry, you can peel them off and apply them to the cookies.
- Gingerbread Construction: Use the piping consistency as the only cement you’ll ever need for building sturdy gingerbread houses and securing heavy candy decorations. It sets stronger than glue!
- Dipping and Glazing: Use the flood consistency to dip and coat small fruit or sponge petit fours for a high gloss finish that dries quickly.
Mastering this Sugar Cookie Icing recipe means the end of sad, flaky cookies and the beginning of professional level decorating. Go bake, decorate, and enjoy! This truly is the ultimate Sugar Cookie Icing .

Recipe FAQs
Why is my royal icing too runny, and how do I achieve the right consistency for piping?
Icing that is too runny usually results from adding too much water or liquid coloring initially. To thicken it, gradually beat in more sifted powdered sugar, one tablespoon at a time, until the desired consistency is reached.
For crisp piping lines, aim for "stiff peak" consistency, where a lifted spoon leaves a peak that barely bends.
How should I store leftover royal icing, and does it need to be refrigerated?
Prepared royal icing is shelf stable and can be stored at cool room temperature for up to two weeks, or refrigerated for one month. Always keep the icing in an airtight container with a piece of plastic wrap pressed directly onto the surface to prevent a hard crust from forming.
Before use, re-whip the stored icing slightly to restore its smooth texture.
Can I use raw egg whites or a non-meringue powder alternative for this recipe?
While traditional Royal Icing uses raw egg whites, meringue powder is strongly recommended for safety, reliability, and superior stability for decorating. If you require a vegan alternative, successfully substituting with aquafaba (whipped chickpea brine) is possible, although you may need to adjust the sugar and liquid ratios significantly to achieve the high gloss structure.
My icing is crusting or clogging the tip of my piping bag what can I do?
Royal icing starts to dry immediately when exposed to air, causing rapid crusting inside the bag or bowl. To prevent clogs, always cover the tip of your piping bag with a damp paper towel or use a protective piping cap between uses.
If storing icing in a bowl, mist the top surface with a fine spray of water before placing the plastic wrap directly against the icing.
I have tiny pinhole bubbles appearing after I ‘flood’ the cookies. How do I fix this texture?
These minuscule bubbles are caused by air trapped during the initial mixing process or when spreading the liquid flooding consistency. Immediately after covering the cookie, gently run a scribe tool or a toothpick across the surface to pop any visible bubbles.
Tapping or gently shaking the cookie on the counter can also encourage the trapped air to escape before the icing fully sets.
Why is the color from my piped details bleeding into the base layer?
Color bleeding usually occurs when the base layer of icing is not fully dry before the detailed piping is applied, or if there is excessive humidity in the air. Ensure the flood coat has dried completely ideally 6 to 8 hours or overnight before applying subsequent wet details.
Using concentrated gel paste colors, rather than liquid coloring, also helps reduce excess moisture.
Can I freeze decorated sugar cookies, and will the icing hold up?
Yes, cookies decorated with royal icing freeze exceptionally well because the icing sets rock hard and seals the cookie. To freeze, place the fully dried, decorated cookies in an airtight container, separating layers with parchment paper.
Thaw them inside the container at room temperature for several hours before opening, as this prevents condensation from dulling the icing’s glossy finish.
The Queens Royal Sugar Cookie Icing

Ingredients:
Instructions:
Nutrition Facts:
| Calories | 812 kcal |
|---|---|
| Protein | 0.0 g |
| Fat | 0.0 g |
| Carbs | 214.0 g |
