Homemade Oat Flour: the Easy Way to Create Your Own Gluten-Free Flour

The first time i grinded oats into flour, oh my gosh, you would’ve thought i discovered the wheel! i had this bag of rolled oats sitting in my pantry.
You know, the kind that somehow always gets pushed to the back, surviving on the hope of future baking adventures? well, one day, feeling adventurous (and quite possibly a bit bored), i decided to make homemade oat flour .
Spoiler: it changed my baking game completely.
Using homemade oat flour in recipes like gluten-free banana bread or even pancakes not only makes everything taste amazing, but it's also such a fun way to get creative in the kitchen.
Honestly, if i could share a bit of wisdom from that experience, it's that making your own oat flour is ridiculously easy, and it just feels special transforming simple oats into something extraordinary.
Recipe Overview
Did you know oat flour has been around for years? it’s been a staple for many folks looking for gluten-free options.
The beauty of it lies in its nutty flavor and smooth texture, perfect for anything from pancakes to muffins. today, oat flour is making serious waves in the baking community.
Everyone from athletes to gluten-free bakers has caught on to its greatness. it’s not just grown attractive on health food blogs; it’s accessible and budget friendly.
You’re looking at a mere 10 minutes of total time to whip this up. yes, you read that right! it’s that easy.
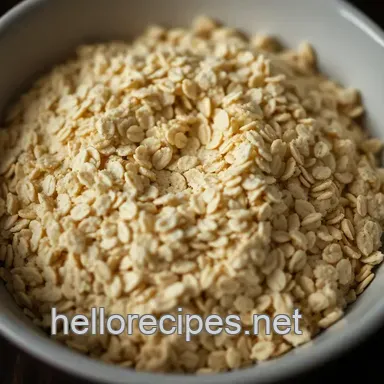
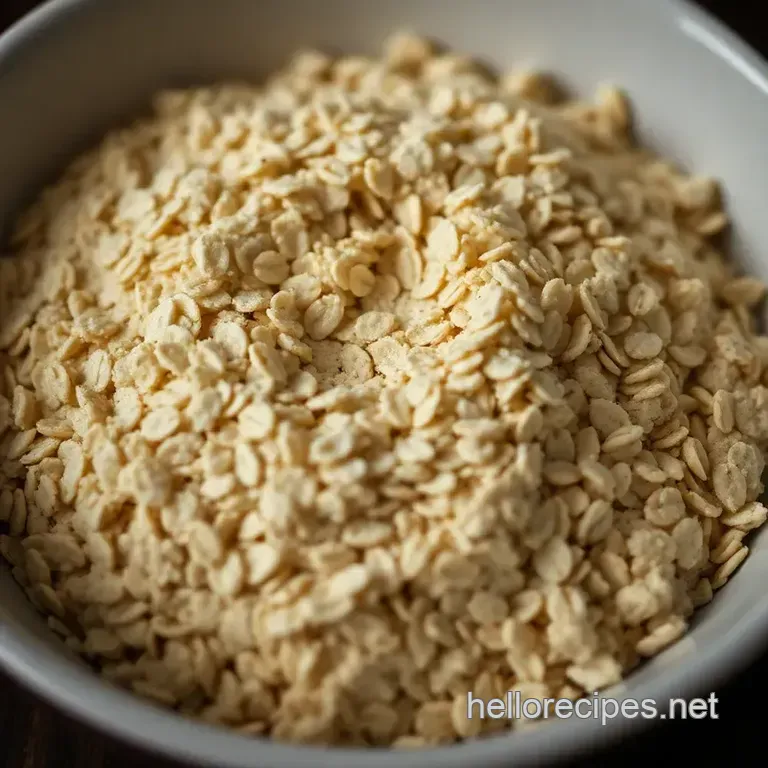
And guess what? you only need 1 cup of rolled oats to get about 1 cup of oat flour . talk about minimal effort for maximal payoff!
Key Benefits
Now, let's chat about why this recipe rocks. first off, the health benefits are pretty impressive. oats are naturally rich in fiber, which means you’ll feel fuller for longer.
Plus, they're packed with vitamins and minerals, making your baked goodies not just tasty, but also wholesome. if you’re tracking calories or trying to eat better, you’ll be thrilled to know that this is a solid low-calorie oat bread alternative.
What’s really cool is this oat flour can be used in so many ways. you can whip up a batch of gluten-free honey oat quick bread or even get fancy with a vegan oat flour bread .
It's perfect for special occasions, whether it’s a casual sunday brunch with friends or a cozy holiday dinner. trust me, your guests will be raving about your healthy oatmeal bread recipes !
You’ve also got the advantage of being able to say you made it yourself. i mean, who doesn’t love that moment of “oh yeah, i totally made that!” when someone asks for your recipe? it’s a conversation starter, for sure.
Thinking about switching from regular flour? this is a smart move! bread without wheat flour can actually taste delicious, and let’s not forget how versatile oat flour is.
You can use it in pretty much any recipe from quick breads to pancakes and everything in between. this means you’re not just making oat flour quick bread , but opening the door to a whole new world of baking possibilities!
How about we dive into the ingredients you'll need to get started on this super easy adventure? Grab your rolled oats, and let’s get our baking on!
Essential Ingredients Guide
Alright, my friend, let’s dive into the essential ingredients guide ! whether you're a casual cook or someone who wants to level up their baking game, knowing your ingredients can make all the difference.
From the basics to those notable seasonings, we've got a lot to unpack here.
Premium Core Components
Let's kick things off with the Premium Core Components . When grabbing your pantry staples, precision is key. Here’s the scoop on detailed measurements :
- For instance, if you're using rolled oats , 1 cup is about 90 grams in metric. Knowing this keeps your baking consistent and your nerves at bay!
Now, don't just buy any oats. look for quality indicators . brands that are certified gluten-free can be a lifesaver if you or your loved ones have dietary restrictions.
And when it comes to storing? make sure to keep those oats in an airtight container . they can last about six months if stored properly, but trust me, they’ll be gone way before that!
Here’s a cool tip always pay attention to freshness. give those oats a gentle sniff. if they smell nutty and delightful, you’re good to go.
If it’s a bit stale? toss ‘em out life’s too short for bad oats!
Signature Seasoning Blend
Next, we have the signature seasoning blend . oh man, these spices can turn your basic dish into something amazing! think classic combinations like garlic powder and onion powder, or throw in some chili powder for a kick.
Herbs? don’t even get me started! i love keeping a stash of parsley, basil, and thyme around. they pair well with almost anything.
If you're feeling fancy, maybe try regional variations like italian herbs for a pasta dish or a mexican blend for those taco tuesdays!
Let’s not forget the flavor enhancers . A pinch of salt can brighten flavors like you wouldn’t believe, while a splash of lemon juice can take a dish from blah to brilliant!
Smart Substitutions
Okay, life happens, right? Sometimes you find yourself missing an ingredient. Enter Smart Substitutions !
Need a gluten-free bread with oat flour? try almond flour if you’re in a pinch. got a recipe asking for eggs? flaxseed meal mixed with water is a fantastic vegan alternative.
And don’t sweat the small stuff if you’ve run out of baking soda, a bit of vinegar can save the day.
Remember that there are seasonal options too. Use fresh herbs in spring, and root veggies in winter to keep your dishes exciting and fresh.
Kitchen Equipment Essentials
Now onto kitchen equipment essentials ! you don't need a fancy kitchen to cook up a storm. a good blender or food processor is a must have for making your own homemade oat flour .
Seriously, blending oats takes literally, what, 30 seconds?
Can’t afford the high end stuff? No worries! A good old-fashioned whisk can do wonders too.
And here's a pro tip for storage solutions: keep your spices in small, clear containers. You’re more likely to use them and avoid that forgotten jar of cumin buried in the back.
Closing Notes
So there you have it, friends! whether you’re mixing up a batch of gluten free honey oat quick bread or whipping up a low calorie oat bread , knowing your ingredients is half the battle.
Understanding those core components and making smart substitutions can set your cooking apart from the rest. now you’re prepped and ready to dive into the delicious world of baking!
Next up, let’s move on to some practical instructions so you can get your kitchen buzzing. Grab those oats, and let’s get to work!
Mastering the Art of Professional Cooking
So, you’re ready to step into the world of professional cooking? heck yes! it can seem intimidating, but trust me, with some solid prep and organization, you’ll be flipping pans like a pro in no time.
Let’s break it down into bite sized pieces.
Essential Preparation Steps
First up, let’s talk about mise en place . this fancy french term just means having all your ingredients prepped and ready to go.
You’d be surprised how much smoother your cooking goes when your garlic is minced, your veggies are chopped, and your spices are measured out.
Seriously, it’s like having everything lined up for a game winning play!
Now, speaking of organization, time management is key in the kitchen. if you’re cooking a full meal, start with the items that take the longest.
For example, if you're baking a gluten free bread with oat flour , start mixing that batter before you throw the chicken on the grill.
This way, while your bread rises, you’re not standing there twiddling your thumbs.
Remember, a messy kitchen is a stressful kitchen. keep your workspace tidy. a little organization goes a long way when you’re simmering sauces and juggling pans.
And safety first! always wash your hands after handling raw meat and keep your knives sharp nothing is better than a well maintained knife.
Step-by-step Process
Ready to dig in? Here’s a quick and easy guide to follow.
- Gather Your Ingredients : Make sure everything is accounted for.
- Set Your Temperatures : If you’re jumping into that Oat Flour Quick Bread , preheat your oven to 350° F (that’s 175° C for my metric friends).
- Control the Heat : If sautéing, start on medium high heat. Too low, and your veggies will be soggy; too high, and they might burn before cooking through.
- Timing is Everything : For that perfect Vegan Oat Flour Bread , keep an eye on the clock. It typically takes about 30- 35 minutes to bake, depending on your oven.
- Visual Cues for Doneness : Use your eyes! Bread should be golden brown, and if you tap the bottom, it should sound hollow.
Expert Techniques
Now, let’s level up your cooking game. Here are some tips that will take your skills from novice to gourmet.
- Quality Check : Always taste as you go. This isn’t just about looks your food should taste amazing.
- Troubleshooting Tips : What if your bread is too dense? Next time, try baking soda or a pinch of vinegar to help with rising. It seriously works wonders!
- Professional Methods : Ever heard of resting your meat? For juicy results, let that steak hang out for a few minutes after cooking. You’ve gotta give it some TLC, right?
Success Strategies
Let’s talk about those little hiccups we all face.
- Common Mistakes to Avoid : Trust me, don’t skip the measuring. A cup of flour is way different than a cup of sugar.
- Quality Assurance Tips : If your dough seems off, it’s okay to double check your measurements. Better safe than sorry!
- Perfect Results Guide : Use an instant read thermometer for meat. Chicken should hit 165° F and keep in mind that carryover cooking can bring it up a degree or two.
- make-ahead Options : If you’re pressed for time, you can prep your mixes, even those for Low Calorie Oat Bread , ahead of time.
In the end, professional cooking isn’t all about fancy terms and techniques it's about making delicious food with love and creativity! plus, mastering these steps will help create flawless gluten free oatmeal bread recipes and even bread made with oat flour that you’ll be proud of.
Additional Information…
Stay tuned because in the next section, we’re diving deeper into some must have tips that will keep your kitchen running like a well oiled machine.
Whether you want to explore homemade recipes or tackle that yearning for fresh baked goods, i’ve got you covered!
Tips and Tricks for Using Homemade Oat Flour
Making your own homemade oat flour is super easy and totally rewarding. Let's dive into some pro tips and insights that will take your baking game up a notch!
Pro Tips & Secrets
First off, use quality oats . seriously, it makes a difference. if you're gluten sensitive, grab some certified gluten-free rolled oats to ensure you're in the clear.
And if you're aiming for speed? blend in batches. it helps everything mix evenly.
When you’re blending, make sure to scrape down the sides of your blender halfway through. this ensures you get all those oats perfectly ground.
And here’s a game changer: sift your oat flour after blending for that super fine texture . trust me, it will make your gluten free bread with oat flour light and fluffy.
Presentation Perfection
Now, let’s talk about making your creations look as good as they taste. plating can elevate even the simplest dishes.
For a colorful pop, add fresh berries or nuts on top of your slime like pancake stacks. a drizzle of honey or maple syrup adds not just flavor but glam!
Experiment with color, too! Pair your oat-based goods with vibrant accompaniments. Bright orange carrot muffins with a sprinkle of green herbed butter? Major wow factor !
Storage & make-ahead
So, what do you do with that whole cup of fresh oat flour? first, store it in an airtight container in a cool, dry place.
If you're looking to keep it fresh for a longer time, throw it in the fridge. this way, it can last a couple of months talk about a time saver!
As for make-ahead magic, you can batch cook and freeze your gluten free bread . slice it up before freezing, so you can pop a piece in the toaster for a quick breakfast.
It’s like having instant breakfast toast at your fingertips.
Creative Variations
Feeling adventurous? let’s mix it up! don’t be afraid to try different flavors. add spices like cinnamon for a warm kick in your oatmeal flour bread recipes .
Want it a bit more seasonal? how about a pumpkin spice oatmeal bread in the fall? y’all know how much we love fall flavors!
If you're vegan or watching calories, try some of the low-calorie oat bread versions to lighten things up. you can easily swap eggs for flaxseeds or applesauce.
And if you're craving something regional, check out gluten free honey oat quick bread that's a favorite down south.
Your Complete Nutrition Guide
Now, let’s get real about nutrition. that cup of homemade oat flour packs a punch. with about 120 calories , it’s rich in fiber and protein perfect for a healthy start.
Oats are known for their benefits like heart health and keeping you full longer.
When measuring your portions, think balance. A slice or two of Low Gluten Bread paired with some healthy toppings like avocado and tomatoes gives nutrition a delicious twist that feels indulgent.
In Closing
So there you have it! homemade oat flour is not just a recipe; it’s a gateway into healthier baking. whether you're whipping up vegan oat flour bread or experimenting with a bread without wheat flour twist, you’ll have lots of options to keep things fresh and exciting.
I encourage you to jump in and try it out. It’s simple, and let’s be honest, there’s something special about creating something from scratch. Happy baking!
Frequently Asked Questions
What is homemade oat flour made from?
Homemade oat flour is made from rolled oats, which you can easily blend into a fine powder using a blender or food processor. It’s a simple process that transforms ordinary oats into a versatile gluten-free flour perfect for a variety of recipes!
How can I use homemade oat flour in recipes?
You can use homemade oat flour in many ways! It's great for pancakes, cookies, and as a thickener for smoothies and sauces. If you're experimenting, start by substituting it for about 25% of the all-purpose flour in your usual recipes and adjust from there.
Can I store homemade oat flour? If so, how?
Absolutely! Store your homemade oat flour in an airtight container in a cool, dry place, preferably in the refrigerator for longer shelf life. This helps prevent spoilage and keeps it fresh for up to a month or two!
Is there a difference between homemade oat flour and store-bought?
While both types are made from oats, homemade oat flour usually tastes fresher and has a more robust flavor since you make it on demand. Also, you have control over the consistency, which can be finer or coarser than store-bought options depending on how you blend it!
Can I make homemade oat flour with gluten-free oats?
Yes, in fact, it’s highly recommended to use certified gluten-free rolled oats if you're looking for a gluten-free flour. This way, you can ensure that your homemade oat flour is safe for anyone with gluten sensitivities or celiac disease.
What are some nutritional advantages of using homemade oat flour?
Homemade oat flour is packed with nutrients! It's high in fiber, protein, and essential vitamins, making it a healthier alternative to refined flours. Plus, it's naturally gluten-free, so it’s perfect for those seeking gluten-free options without compromising on nutrition.
Homemade Oat Flour The Easy Way To Create Your O