Easy Incredible Ice Cream Cake: Layered and Rich
- Time: Active 30 minutes, Passive 6 hours 30 mins, Total 7 hours
- Flavor/Texture Hook: A shatter crisp chocolate cookie center nestled between fudgy cake and cloud like whipped cream
- Perfect for: Backyard birthday parties, budget-friendly celebrations, or cooling down on a humid July afternoon
- The Secret to This Easy Incredible Ice Cream Cake
- Choosing the Right Size for Your Party
- The Chemistry of a Frozen Masterpiece
- Component Deep Dive
- Essential Tools for Success
- Ingredients and Smart Substitutes
- Step by Step Assembly for Perfect Layers
- Avoiding the Soggy Mess with Precision Techniques
- Scaling the Recipe for Any Crowd
- Flavor Variations and Dietary Adjustments
- Keeping It Fresh with Proper Storage Methods
- The Perfect Pairings for Your Summer Party
- Debunking Frozen Dessert Myths
- Recipe FAQs
- 📝 Recipe Card
The Secret to This Easy Incredible Ice Cream Cake
Imagine the smell of a chocolate cake cooling on the counter while the humid summer air drifts through the window. That rich, cocoa heavy aroma always reminds me of my niece’s seventh birthday when I tried to make a "fancy" bakery cake that cost fifty bucks and arrived half melted.
I realized right then that I could do it better, cheaper, and way more reliably at home. This easy incredible ice cream cake is the result of that kitchen frustration turned into a backyard victory.
It isn’t just a dessert; it’s a cooling, velvety relief that hits the table with a thud and makes everyone stop talking for a second.
The magic happens when that first forkful hits your plate. You get the soft, slightly dense crumb of the chocolate cake, followed immediately by the cold shock of vanilla bean ice cream and that specific, satisfying "snap" of the fudge soaked cookie layer.
It's a texture profile that mimics the expensive store-bought versions but tastes infinitely fresher because the whipped cream on top hasn't been sitting in a commercial freezer for three months.
We aren't just piling frozen ingredients together here; we're building a structural marvel that survives the walk from the kitchen to the patio.
Honestly, don't even bother with the low-fat ice cream for this one. You need the fat content to keep the cake from turning into a block of ice. We want a texture that you can slice through with a warm knife, yielding layers that stay stacked rather than sliding apart.
This is the dish that makes you the hero of the cookout without requiring you to spend four hours over a hot stove. It’s practical, it’s fast to assemble, and it looks like you’ve spent all day obsessing over the details.
Choosing the Right Size for Your Party
Before we get our hands messy with batter and fudge, we need to talk about how much cake you actually need. Most people underestimate how filling a layered frozen dessert can be. Because this recipe is rich and dense, a 9 inch springform pan goes a lot further than a standard sponge cake.
| Servings | Ingredient Adjustments | Pan Size | Hands on Time |
|---|---|---|---|
| 6-8 people | Half cake batter, 1 qt total ice cream | 6 inch Springform | 20 minutes |
| 14 people | Full recipe (as written) | 9 inch Springform | 30 minutes |
| 20-24 people | 1.5x ingredients | 10 inch Springform | 45 minutes |
Choosing the right pan is the difference between a tall, majestic cake and a flat, sad looking disk. A springform pan is non negotiable here. If you try to build this in a regular cake tin, you’ll be digging it out with a spoon, and while it will still taste great, you’ll lose that beautiful visual of the clean, multicolored layers.
The Chemistry of a Frozen Masterpiece
To get those clean lines and that perfect mouthfeel, we have to understand how these ingredients react to the freezer. It’s not just about getting things cold; it's about managing ice crystals and fat.
- Fat to Water Ratio: High fat heavy cream and full fat ice cream prevent large ice crystals from forming, ensuring a silky texture rather than a gritty, snowy one.
- Thermal Buffering: The cake base acts as an insulator, protecting the bottom of the ice cream from the fluctuating temperatures of the freezer floor.
- Crumb Integrity: Using vegetable oil in the cake mix instead of butter keeps the cake base pliable and soft even when frozen, so it doesn't turn into a rock.
- The Espresso Boost: A tiny bit of espresso powder doesn't make the cake taste like coffee; it chemically enhances the cocoa solids, making the chocolate flavor profile much deeper and more intense.
- Emulsified Fudge: Chilling the fudge before mixing it with the cookies prevents the heat from melting your vanilla layer, keeping the "crunch" suspended in a fudgy grip.
Component Deep Dive
When you're shopping for this easy incredible ice cream cake, the quality of your base ingredients matters. Since we are using a cake mix for efficiency, we want to "doctor" it up so it tastes like it came from a boutique bakery.
| Component | Science Role | Pro Secret |
|---|---|---|
| Chocolate Cake Mix | Provides structure and a stable base | Add espresso powder to double the cocoa intensity |
| Vanilla Bean Ice Cream | Acts as the creamy mid layer contrast | Soften for 10 mins before spreading to avoid tearing the cake |
| Heavy Whipping Cream | Creates a light, airy insulation layer | Whip to stiff peaks so it doesn't weep when thawing |
The choice of vanilla bean ice cream over plain vanilla is intentional. Those little black flecks don't just look posh; they provide a punch of flavor that stands up against the heavy Dutch chocolate layer. It’s all about balance sweet, salty, cold, and rich.
Essential Tools for Success
You don't need a professional pastry kitchen to pull this off, but a few specific tools will make your life a thousand times easier. If you don't have a stand mixer, a hand mixer works just fine for the whipped cream, but your arm will get a workout.
- 9 inch Springform Pan: This is your best friend. It allows you to pop the sides off so the layers are perfectly visible.
- Offset Spatula: Essential for smoothing the ice cream into flat, even levels. If the layers are lumpy, the cake will lean.
- Parchment Paper: Line the bottom and the sides if you want that professional, smooth sided finish.
- Heavy Duty Gallon Bags: Great for crushing the 24 chocolate sandwich cookies without making a mess of your counter.
- Long, Thin Knife: For slicing. You'll want to dip this in hot water between every single cut.
Ingredients and Smart Substitutes
Here is everything you need to grab from the store. I’ve included some budget friendly swaps because, let’s be real, we’re all trying to save a few bucks where we can without sacrificing the final result.
- 15.25 oz chocolate cake mix: Use a "Devil's Food" or "Triple Chocolate" version. Why this? Provides the dense, moist foundation needed for freezing.
- Sub: 15 oz of homemade dry chocolate cake mix.
- 3 large eggs: Room temperature if you have the time.
- Sub: 3/4 cup unsweetened applesauce (yields a denser, fudgy base).
- 0.5 cup vegetable oil: Keep it neutral.
- Sub: Melted coconut oil for a subtle tropical hint.
- 1 cup water: Simple and clean.
- Sub: Room temperature coffee to further boost the chocolate.
- 1 tsp espresso powder: The secret weapon.
- Sub: 1 tbsp of very finely ground instant coffee.
- 1.5 quarts vanilla bean ice cream: Get the good stuff with the flecks.
- Sub: Strawberry ice cream for a Neapolitan vibe.
- 1.5 quarts Dutch chocolate ice cream: Richer and darker than standard chocolate.
- Sub: Salted caramel ice cream for a salty sweet twist.
- 24 chocolate sandwich cookies, crushed: Keep the cream filling in them!
- Sub: Chocolate graham crackers or crisp rice cereal.
- 1 cup chocolate fudge sauce, chilled: Make sure it's thick.
- Sub: Nutella or warmed chocolate hazelnut spread.
- 2 cups heavy whipping cream: Must be very cold.
- Sub: Pre made whipped topping (though it’s much sweeter).
- 0.5 cup powdered sugar: Helps stabilize the cream.
- Sub: Granulated sugar (but it might be slightly grainy).
- 1 tsp pure vanilla extract: For that nostalgic aroma.
- Sub: Vanilla bean paste for more intensity.
step-by-step Assembly for Perfect Layers
Now we get to the fun part. Building this cake is like a delicious construction project. Follow these steps closely to ensure your layers don't migrate or turn into a marbled mess.
- Heat things up. Preheat your oven according to the cake mix box instructions (usually 350°F or 180°C). Line the bottom of your 9 inch springform pan with parchment paper and grease the sides lightly with a bit of oil.
- Mix the base. Combine the cake mix, 3 large eggs, 0.5 cup vegetable oil, 1 cup water, and 1 tsp espresso powder. Whisk until mostly smooth. Pour only half the batter into the pan; save the rest for cupcakes or another small cake!
- Bake the foundation. Bake 30 minutes until a toothpick comes out clean and the center springs back. Don't overbake, or the base will be dry once frozen.
- The big chill. Let the cake cool completely in the pan. Once at room temp, slide it into the freezer for 30 minutes. Note: This firms up the crumb so the ice cream doesn't tear it apart.
- The vanilla floor. Soften the 1.5 quarts of vanilla bean ice cream on the counter for about 10 minutes. Spread it in an even layer over the frozen cake using your offset spatula.
- The crunch factor. In a medium bowl, fold 24 crushed cookies into 1 cup of chilled fudge sauce. Spread this mixture over the vanilla layer. Freeze for 20 minutes to set this "crunch" layer before moving on.
- The chocolate ceiling. Soften the 1.5 quarts of Dutch chocolate ice cream and spread it over the crunch layer. Smooth the top as much as possible.
- The whipped crown. In a cold bowl, whip 2 cups heavy cream, 0.5 cup powdered sugar, and 1 tsp vanilla until stiff peaks form. If you turn the bowl upside down, it shouldn't move. Spread this over the top.
- The long wait. Freeze the entire cake for at least 6 hours. This passive time is non negotiable for the structure to fully set.
- The reveal. Run a thin knife around the edge of the pan, pop the springform latch, and lift the ring away until the beautiful layers are fully exposed.
Avoiding the Soggy Mess with Precision Techniques
Even though this is an easy incredible ice cream cake, there are a few places where things can go sideways if you're not careful. Most issues stem from temperature management. If you try to rush the softening process in the microwave, you'll end up with a soup that never quite refreezes with the right texture.
Why Your Cake Is Too Hard to Cut
If the cake feels like a brick, it’s usually because the cake base was overbaked or the freezer is set to a "deep freeze" setting. Always let the cake sit on the counter for 10-15 minutes before you even think about putting a knife to it.
| Problem | Root Cause | Solution |
|---|---|---|
| Layers are sliding | Ice cream was too soft | Freeze for 30 mins between every single layer |
| Crumbling cake base | Base was too dry | Add a tablespoon of sour cream to the batter next time |
| Icy whipped cream | Too much water/low-fat | Use only 36% fat heavy cream for the topping |
I once made the mistake of using a "light" whipped topping that I thought would save me some calories. It turned into a weird, foamy ice that shattered when I bit into it. Trust me, the real heavy cream is the only way to go for that velvety finish. It reminds me of the rich topping I use on my Strawberry Layer Cake during the peak of summer.
Common Mistakes Checklist
- ✓ Always use a chilled bowl and beaters for the whipped cream to get maximum volume.
- ✓ Don't skip the espresso powder; it's the difference between "boxed" and "bakery" flavor.
- ✓ Ensure your fudge sauce is cold before mixing with the cookies, or the cookies will get soggy.
- ✓ Wipe your knife clean with a hot, damp cloth after every slice for those perfect Instagram shots.
- ✓ Line the bottom of the pan with parchment, or you'll never get the first slice out cleanly.
Scaling the Recipe for Any Crowd
If you’re throwing a massive block party or just want a tiny treat for a date night, you can easily adjust the proportions.
Scaling Down (The Mini Version): Use a 6 inch springform pan and cut all ingredients by half. For the egg, beat one egg in a small bowl and use about 1.5 tablespoons of it. Reduce the bake time for the cake base by about 8 minutes.
Scaling Up (The Party Monster): If you’re using a 10 or 12 inch pan, increase the ice cream to 2 quarts per layer. For the spices and espresso powder, only increase them by 1.5x rather than doubling them to avoid an overpowering bitter note.
You'll need to increase the freezing time to at least 10 hours for a larger cake to ensure the center is solid.
Flavor Variations and Dietary Adjustments
One of the best things about this easy incredible ice cream cake is how customizable it is. You can swap the flavors to match any holiday or craving.
- The Peanut Butter Twist: Use a peanut butter cup ice cream for the middle layer and add 1/2 cup of melted peanut butter into the fudge/cookie crunch layer. It’s heavy, rich, and absolutely decadent.
- Berry Blast Variation: Use a white cake mix for the base and strawberry/raspberry ice cream for the layers. Instead of fudge, use a high-quality strawberry preserve for the crunch layer (mix in some shortbread cookie crumbs for texture).
- Mint Chocolate Refresh: Swap the vanilla layer for mint chocolate chip. This is incredibly cooling on a 90 degree day. The green layers look stunning against the dark chocolate cake.
- gluten-free Swap: Use a certified gluten-free chocolate cake mix and replace the sandwich cookies with gluten-free versions (like Jo Jos or GF Oreos). Most ice creams are naturally gluten-free, but always double check the label!
Keeping It Fresh with Proper Storage Methods
Because this is a frozen dessert, storage is straightforward, but you have to protect it from the dreaded freezer burn. Air is the enemy of creamy textures.
In the Freezer: Once the cake is fully set and you've removed the springform ring, you can store the leftovers by wrapping the entire cake (or individual slices) tightly in plastic wrap, followed by a layer of aluminum foil. It will stay fresh for up to 2 weeks.
After that, the whipped cream starts to lose its stability and can pick up "freezer smells."
Zero Waste Tip: If you have leftover cake crumbs from leveling the base, don't throw them away! Toast them in a pan with a little butter and sugar to make a "cake granola" that you can sprinkle on top of your next bowl of ice cream.
Or, if you have extra fudge and cookies, mix them into a bit of softened ice cream and freeze them in ice cube trays for bite sized snacks.
The Perfect Pairings for Your Summer Party
While this easy incredible ice cream cake is a total showstopper on its own, a few simple additions can take the experience to the next level. Think about contrasting temperatures and textures.
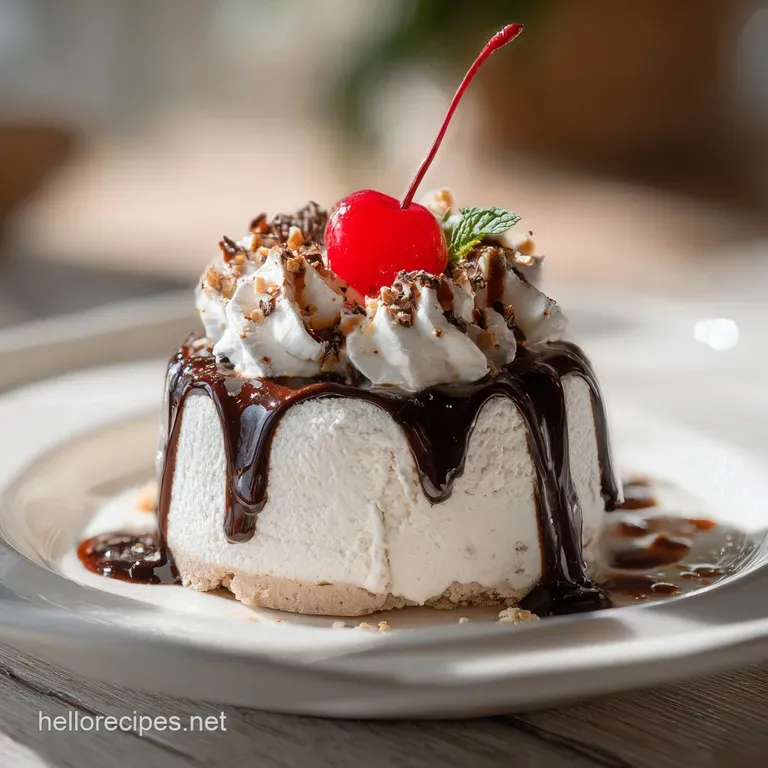
I love serving a slice alongside a steaming cup of dark roast coffee or a cold glass of milk. If you're feeling fancy, a side of macerated strawberries or fresh raspberries provides a bright, acidic pop that cuts through the richness of the Dutch chocolate. It reminds me of the flavor balance in my Mini Salted Caramel Cheesecakes, where the salt and fruit elevate the heavy cream.
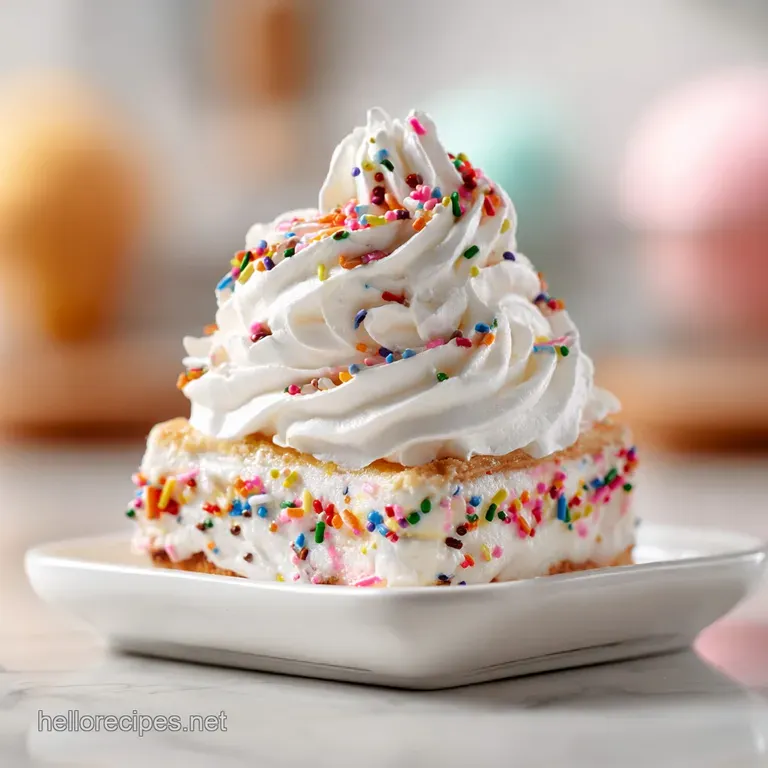
If you’re serving this at a kids' party, set out a "topping bar" with extra crushed cookies, sprinkles, and maybe some maraschino cherries. Let everyone customize their slice.
Just make sure you work fast once this cake hits the table, it’s a race against the sun, but I guarantee it won’t last long enough to melt anyway!
Debunking Frozen Dessert Myths
A lot of people are intimidated by ice cream cakes because they think they're prone to disaster. Let's clear up some common misconceptions.
Myth: You need to melt the ice cream completely to spread it. This is the fastest way to get a soupy, crystallized cake. You only want it "soft serve" consistency. If it’s liquid, you’ve gone too far.
Ten to fifteen minutes on the counter is usually all it takes to make it spreadable without losing its structure.
Myth: Homemade ice cream cake is always icier than store-bought. Not true! The "iciness" comes from thawing and refreezing or using low-fat ingredients. If you keep your freezer door closed and use high fat heavy cream, your homemade version will actually be creamier because it doesn't contain the stabilizers and air fillers (overrun) found in cheaper commercial cakes.
Myth: You can't make this without a springform pan. While a springform pan is the gold standard, you can use a deep 9x13 casserole dish. You just won't get the pretty side view. You'll serve it like a lasagna, scooping out squares.
It’s less "posh" but just as delicious for a casual family dinner.

Recipe FAQs
How to ensure the cake base releases easily from the pan?
Line the bottom of your 9 inch springform pan with parchment paper before pouring the batter. This simple barrier is essential, otherwise, the base will stick and you won't get a clean first slice.
Is it true the ice cream needs to be completely melted before spreading?
No, this is a common misconception. You only need to soften the ice cream until it is just spreadable; if it melts into a liquid, the layers will bleed into each other instead of staying distinct.
How to achieve bakery quality depth in the chocolate cake flavor?
Add 1 tsp of espresso powder to your cake mix batter. If you enjoyed learning how simple pantry additions elevate store-bought ingredients, you can apply similar flavor boosting techniques to our moist chocolate muffins.
How to keep the cookie crunch layer from getting soggy?
Ensure your fudge sauce is fully chilled before combining it with the crushed cookies. Using warm fudge will soften the cookies prematurely, causing them to lose their signature texture once frozen.
How to get clean, professional looking slices?
Wipe your knife clean with a hot, damp cloth after every single slice. This prevents leftover cream or melted ice cream from dragging across the layers and smearing your presentation.
How to maximize the volume of the whipped cream topping?
Use a chilled bowl and chilled beaters to whip your heavy cream. Keeping the equipment cold is the secret to stable structure; without that temperature control, the fat in the cream won't emulsify into stiff peaks properly.
Is it necessary to freeze the cake for the full 6 hours?
Yes, the 6-hour freeze is required to set the internal layers firmly. Cutting into the cake before this time will likely result in the softened ice cream sliding out from between the cake and topping layers.
Easy Incredible Ice Cream Cake

Ingredients:
Instructions:
Nutrition Facts:
| Calories | 739 kcal |
|---|---|
| Protein | 9.5 g |
| Fat | 36.7 g |
| Carbs | 80.4 g |
| Fiber | 2.1 g |
| Sugar | 58.5 g |
| Sodium | 288 mg |
